Terraforming is a new feature in Animal Crossing: New Horizons that lets you further customize the look and layout of your island.
If you watched the ads and promotion for Animal Crossing: New Horizons from Nintendo, you might know that at some point in the game, you're able to terraform your island paradise. Create rivers, ponds, and cliffs, laying down custom paths, and more!
A relaxing getaway
Animal Crossing: New Horizons
Build, craft, relax
Animal Crossing: New Horizons takes place on a deserted island. Start with a tent and upgrade to a house, decorate it to your liking, make friends with the villagers, and customize your entire island however you want!
But though the feature looks cool (and is), it takes quite a bit of work to unlock. You won't have it for at least a week or two after getting the game (unless you Time Travel), and when you unlock it, you'll only have limited options until you buy the rest with Nook Miles. But don't worry. We have everything you need to know about unlocking, and then using the terraforming option in New Horizons:
How to unlock terraforming
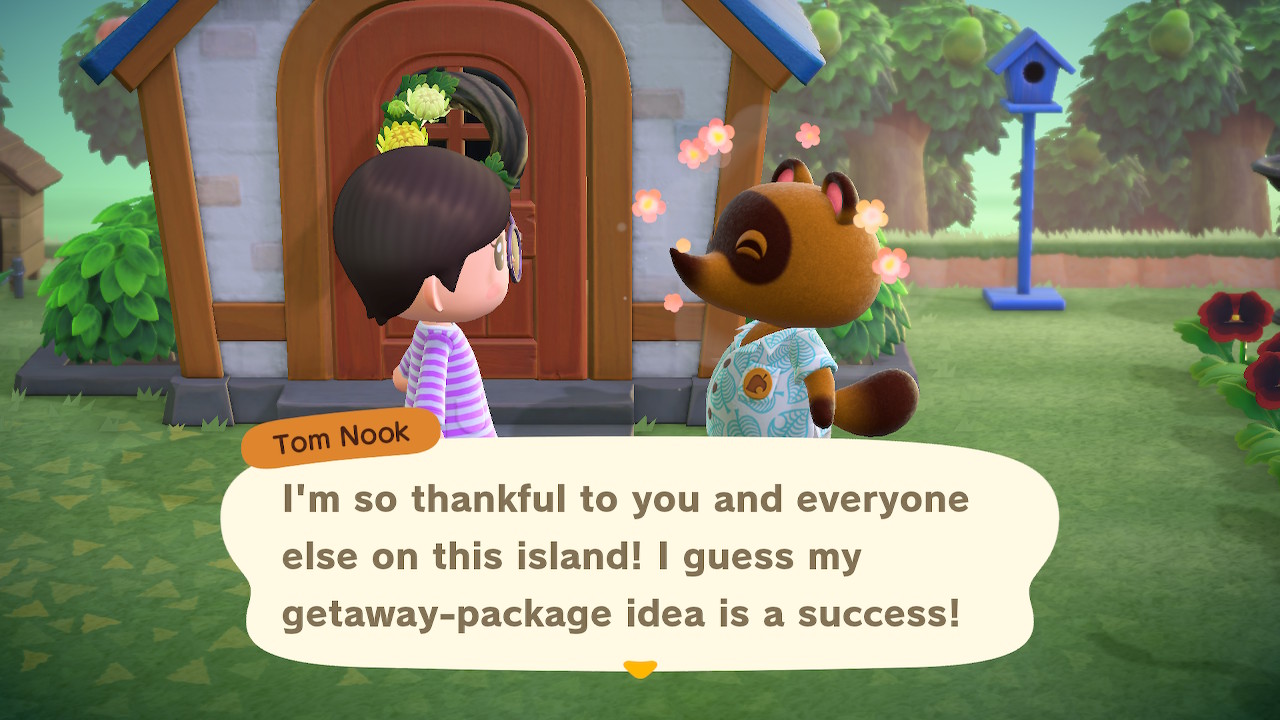
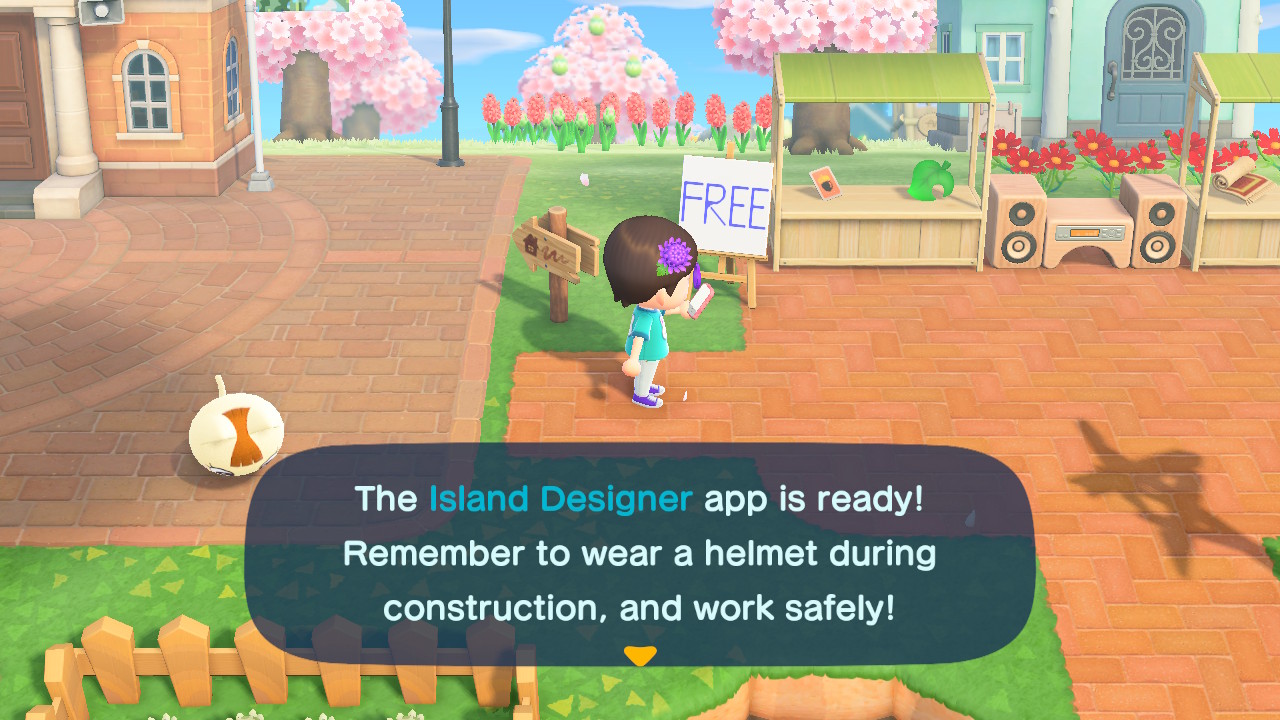
Terraforming is given to you after the completion of Project K. Once K.K. Slider has performed his first concert, Tom Nook will visit you and give you the Island Designer app on your Nook Phone, allowing you to begin terraforming your island.
However, at first, you won't be able to do much. You'll be able to lay dirt paths and replace grass. You won't have the ability to shape water or cliffs yet, either; you'll need to unlock those separately.
Unlocking waterscaping and cliffscaping

Fortunately, it's not too hard to do so. Both waterscaping and cliffscaping are available via permits you can purchase at the Nook Stop terminal in Resident Services. They cost 6,000 Nook Miles each so that they can be a bit pricey.
But at this point, you'll also have unlocked both Nook Miles+ as well as the daily bonus task to get 5x the miles. Depending on how much you play, it might take several in-game days to get both, but if you're not quite to the end of Project K yet, it's easy enough to save up the Miles ahead of time.
How to get more path options

Like waterscaping and cliffscaping, if you want more options for the kinds of paths you lay, you'll need to pay up in Nook Miles. Additional paths cost 2,000 Nook Miles apiece (the Custom Design path costs 2,300), and come in the following options:
- Arched tile
- Brick
- Dark dirt
- Sand
- Stone
- Terra-cotta
- Wooden
- Custom design
The good news is, the Nook Miles purchase is a one-time fee. Once you own the path, you can lay down as much as you want -- no crafting or extra purchases needed.
The art of terraforming
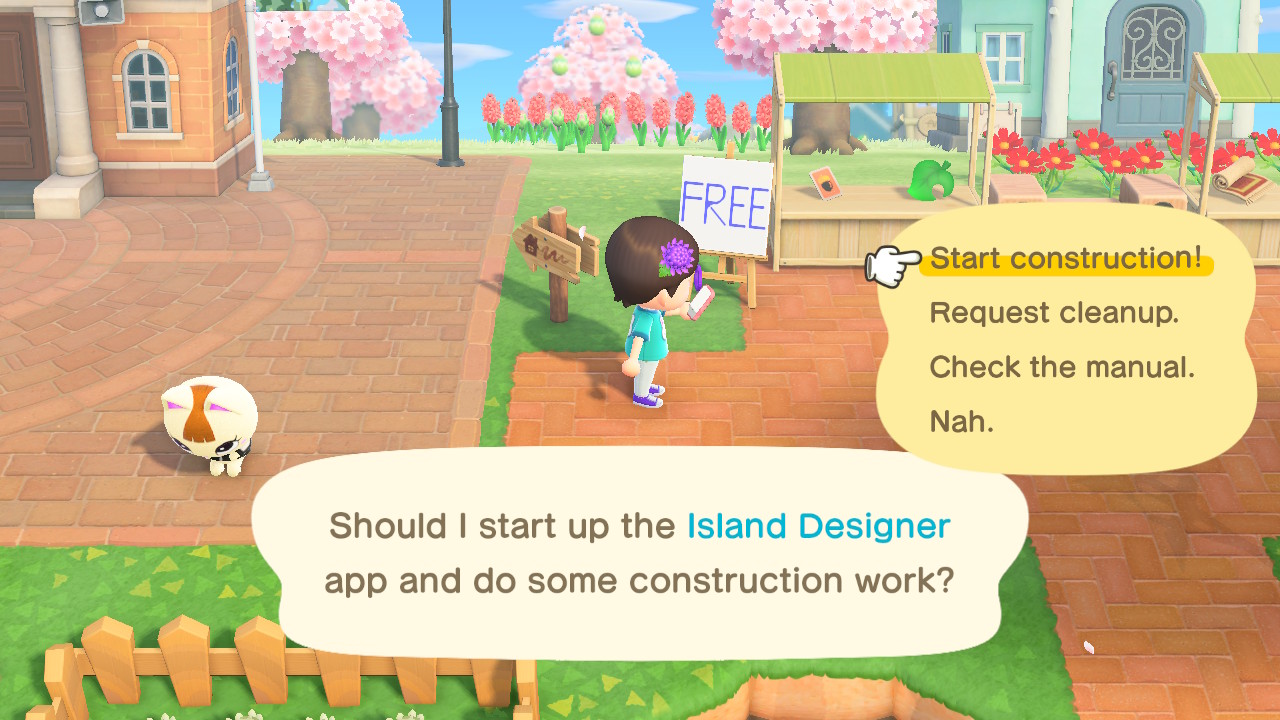
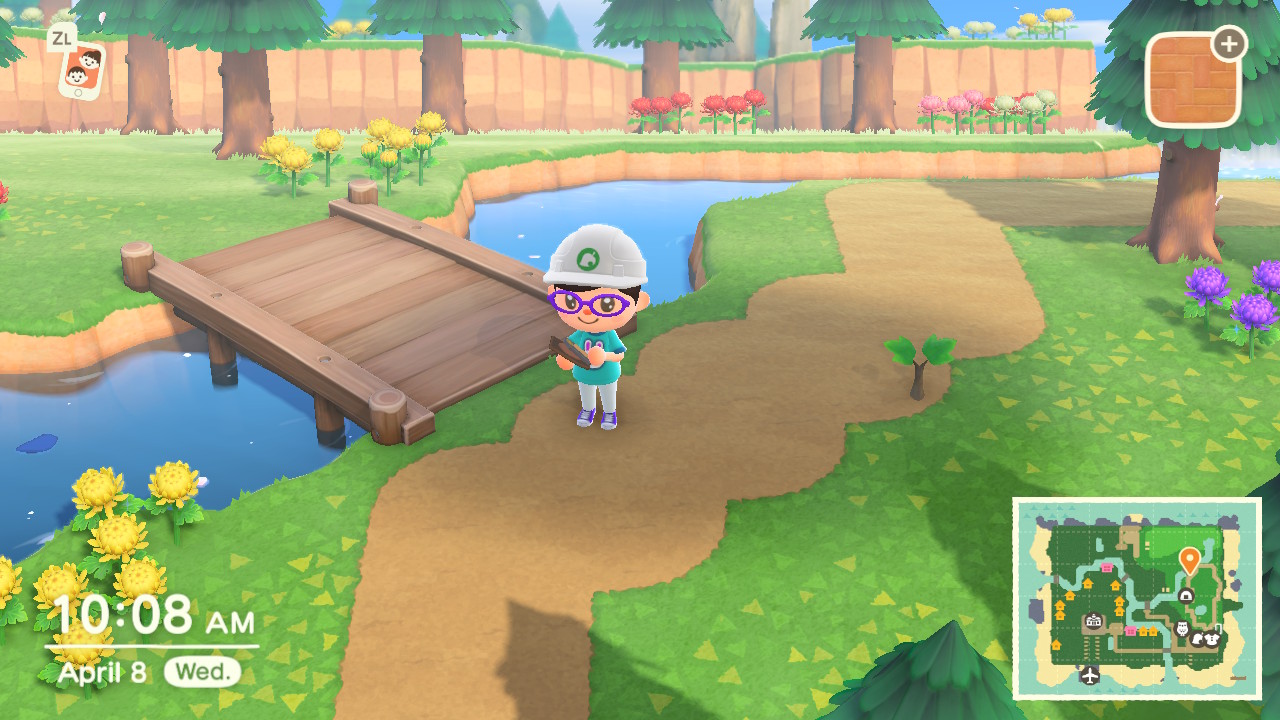
Once you have all your tools, it's time to get terraforming. To start, simply open the Island Designer app on your Nook Phone and choose "Start Construction!" You'll be given a shovel and a hard hat, and a new option will appear in the top right of your screen to choose the kind of construction you want to do. Keep in mind that you cannot terraform with your island's gates open, or with guests over.
Hit the + button to open it, and you'll see the different paths you've unlocked, as well as waterscaping and terraforming icons in the bottom corners if you've unlocked them. Select the one you want to work with.
Paths
When you've selected a path, simply press A, and your character will paint one "tile" of space in front of them with that path. You can keep doing this to get the shape of a path you want. If you place a path tile accidentally, simply press A again to erase it (you can also switch to grass tile to swap it back to its original form).
If your path has "corners," then pressing A a second time on a corner will not erase the path, but will instead "round" the edge to make it look smoother. If you're trying to erase it, just press A again, and it will be gone. But rounding corners is a great way to make your paths look more natural.
Keep in mind that you can't terraform over furniture, dropped items, trees, flowers, houses, or anything else that's already on the ground. You'll have to move those things first before you can lay paths.
Waterscaping
Waterscaping works similar to laying paths, except pressing A will automatically either dig a hole and create a tile of water (if there is no water there already) or fill in an existing body of water with one tile of dirt.
If you're interested in fishing, you probably will want to be aware of the difference between rivers and ponds. It can be a bit difficult to figure out where one transitions into the other. Still, the general rule is that if a body of water is long enough to flow, connected to the ocean, or connected to a waterfall, it counts as a river. Rounder, more enclosed bodies of water count as ponds.
To tell the difference, cast a fishing pole into the body of water. If the bobber moves "downstream" gradually, you have a river. If it stays in place, you have a pond. Keep this in mind, as some fish can only be found in rivers or ponds specifically, and some can only be found in one body of water or the other at the top of a cliff.
You can create waterfalls by waterscaping on the edges of cliffs -- no need to waterscape at the bottom unless you want to. Be aware though that you can't waterscape over curved cliff edges -- only straight ones.
And like with paths, you can "round" the curves of rivers by pressing A on a tile a second time after placing it.
You cannot waterscape on the beach.
Cliffscaping
Cliffscaping is a bit trickier than the other two. Just like before, pressing A will create or destroy one tile of a cliff in front of you. If you're already on top of the first "level" of cliffs, you'll create a second level above you. You can build a third, even taller layer, but you won't be able to climb up on top of it. It's just for show.
You must always be at the "base" of the cliff you want to build. So you'll always build up. You can't destroy a cliff while standing on top of it.
As with waterscaping, you cannot build cliffs on top of furniture, trees, flowers, or other obstacles on the ground. You'll have to move them first.
Also, as with waterscaping, you can "round" the corners of cliffs by pressing A a second time on corner tiles. Pressing it a third time will destroy the cliff tile.
You cannot build cliffs on the beach.
Tips and tricks
- You can't terraform at all (or even open the app) if you have your gates open.
- You can use waterscaping to make small islands in the middle of rivers that your character will be able to jump to. This is a free way to cross rivers without a vaulting pole or bridge!
- If you place a bridge, the game won't let you lay pathing right up to the edge of it. However, if you put the pathing down first and then the bridge, it won't erase the path that's already there.
- For some reason, your animal villagers seem to like to congregate around you whenever you're terraforming. There's not really a good way to prevent this, just be aware that they like to disrupt things.
- You can place rivers or ponds anywhere you want, but you can't move the river mouths (where the rivers exit to the ocean) nor can you make your own.
- You cannot terraform on the Plaza, the beach, or the rocks around the beach.
- Selecting "Request cleanup" will clear all furniture and items on the ground that are in your way and send them to the Recycling Box in Resident Services, making it easier to continue terraforming without filling your pockets.
- Though most paths can be "rounded" on the edges to look more natural, custom designs cannot.
- Flowers and trees can grow in dirt paths, and fossils can appear underground on them. This does not work on stone paths, however.
Any questions?
Still struggling with terraforming in Animal Crossing: New Horizons? Let me know in the comments below, and I'll try to help out!
A relaxing getaway
Animal Crossing: New Horizons
Build, craft, relax
Animal Crossing: New Horizons takes place on a deserted island. Start with a tent and upgrade to a house, decorate it to your liking, make friends with the villagers, and customize your entire island however you want!
May 2020: Added more detail on the differences between rivers and ponds, adjusted the price on one path option.

Everything you need to know about the Island Designer app posted first on http://bestpricesmartphones.blogspot.com
No comments:
Post a Comment