
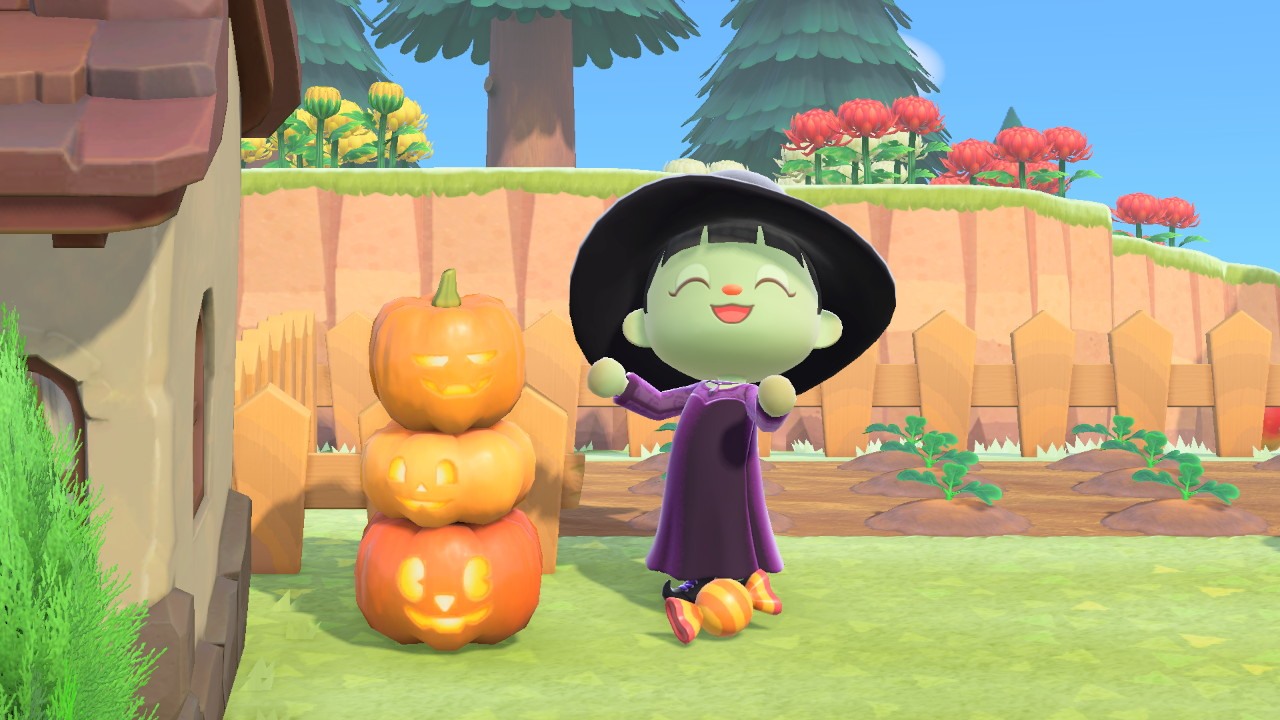
October isn't complete without pumpkins.
Halloween is by far my favorite holiday of the year, so playing Animal Crossing: New Horizons during the month of October is a must. With the Fall update, we can all finally start growing our own little pumpkin patches. And you're going to want to get busy, because you'll need plenty of pumpkins in order to craft Spooky Pumpkin DIY recipes and decorate your island for All Hallows Eve. Here are some tips and tricks for growing pumpkins and crafting Halloween decorations.
Four different types of Animal Crossing pumpkins
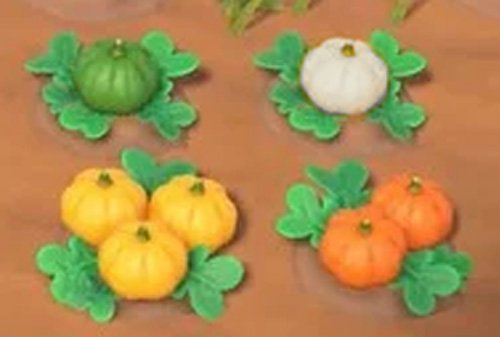
It's important to know that there are four different pumpkin colors: white, green, orange, and yellow. Thing is, there's no way of telling what color a pumpkin start will turn into, so you need to wait and watch it grow.
The recipes seem to only call for orange pumpkins, but you can use the other colored pumpkin to customize your existing Spooky Pumpkin decor into different colors.
How to get Animal Crossing pumpkins
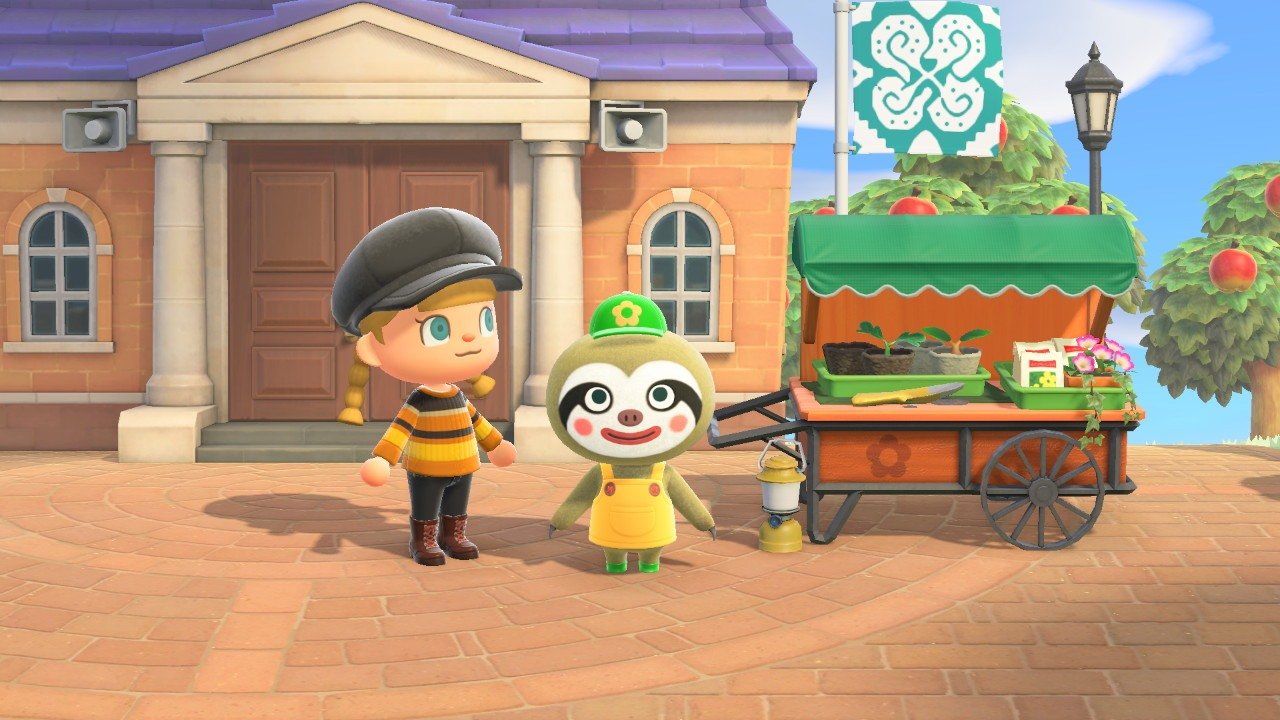
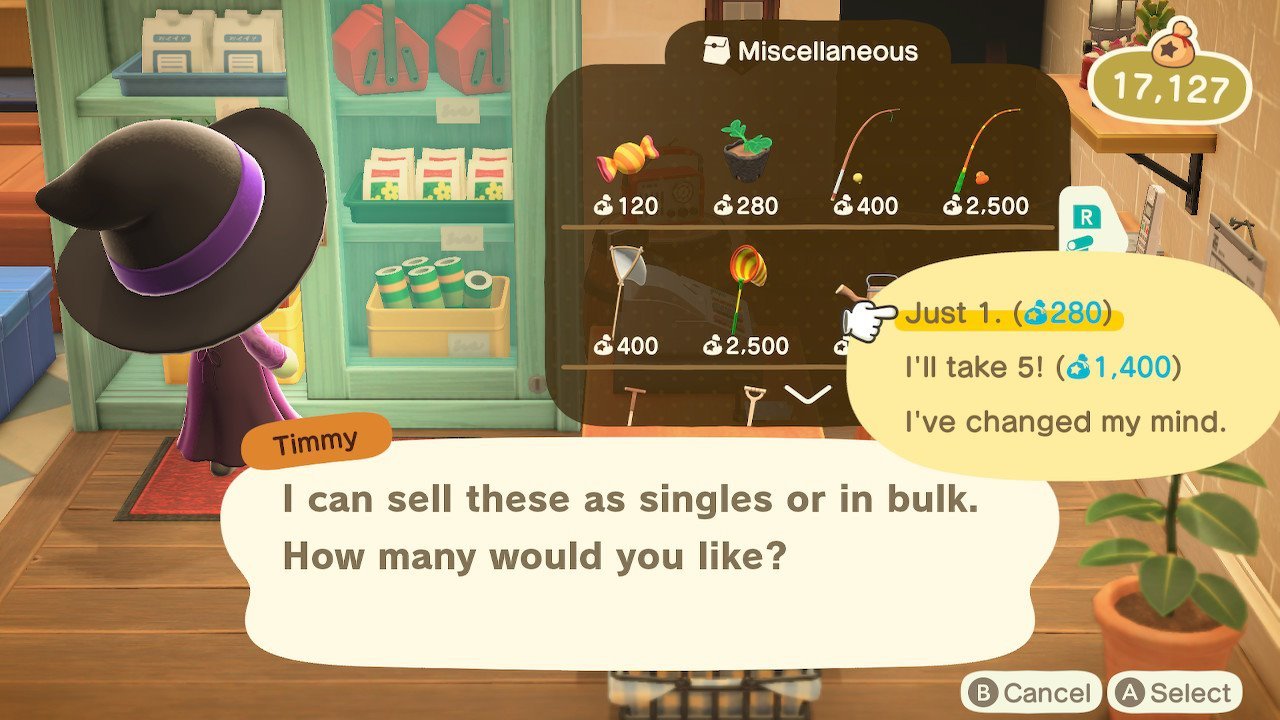
Instead of buying pumpkin seeds, you can purchase pumpkin starts either from the Nook's Cranny cabinet or from Leif if he happens to have set up shop on your island. If possible, we suggest purchasing from Leif over Nook's Cranny, because he charges half as much as the Nooks.
| Store Name | 1 Pumpkin Start | 5 Pumpkin Starts | |
|---|---|---|---|
| Leif's Shop | 140 Bells | 700 Bells | |
| Nook's Cranny | 280 Bells | 1,400 Bells |
You're going to need a ton of Pumpkins in order to make all of those Spooky Pumpkin DIY recipes, so we recommend stocking up on extra pumpkin starts whenever Leif is visiting.
The best way to grow a lot of Animal Crossing pumpkins
You're going to need several pumpkins if you want to craft all of the Spooky Pumpkin DIY recipes. So, here's how to get the most out of your pumpkin patch.
Build a pumpkin patch — This isn't strictly necessary, but if you want to keep track of your pumpkin progress more efficiently, we recommend creating a dedicated area for your gourds. It can look really cute if you put down dark dirt with a fence around it.
Water your pumpkins each day — One pumpkin start can produce as many as three pumpkins when it comes to full term. The plants that get watered more regularly throughout the four day growing process are more likely to produce more gourds.
Four stages of growth — Just as you have to wait for flowers to reach maturity in animal crossing, so too do you need to wait four days for a pumpkin start to grow into a full blown pumpkin. If just planted, a start will only have a few leaves poking out. On the second day, these leaves will be larger. On the third day a small pumpkin will appear. Finally, on the fourth day, the pumpkin(s) will be ready to harvest.
Plant more — As soon as you're able to harvest the pumpkins you've planted, you'll want to place more in the ground and start the process over again. That way you're far more likely to be able to get all of the pumpkins you need for this spooky holiday. It might even be worth planting some each day for four days, that way you'll constantly have more coming to term as the October waxes old.
Animal Crossing pumpkins
Animal Crossing is one of the best Nintendo Switch games. Now that you've got that pumpkin patch in place it's getting even more fun. Good luck decorating your island with plenty of festive Halloween decor.

Get More Switch
Nintendo Switch

Here's how to get perfect pumpkins in Animal Crossing: New Horizons posted first on http://bestpricesmartphones.blogspot.com
No comments:
Post a Comment