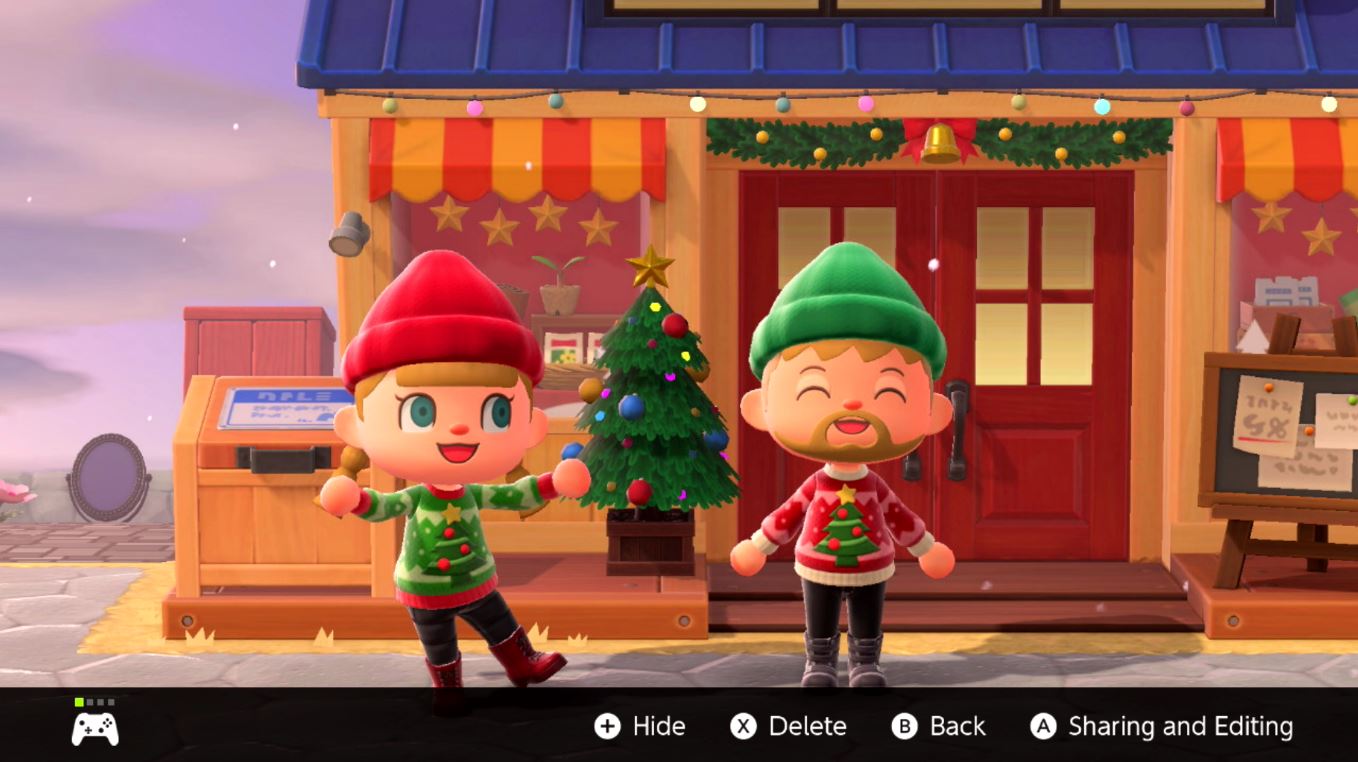
Get everyone dressed up in their most festive attire and snap some pics!
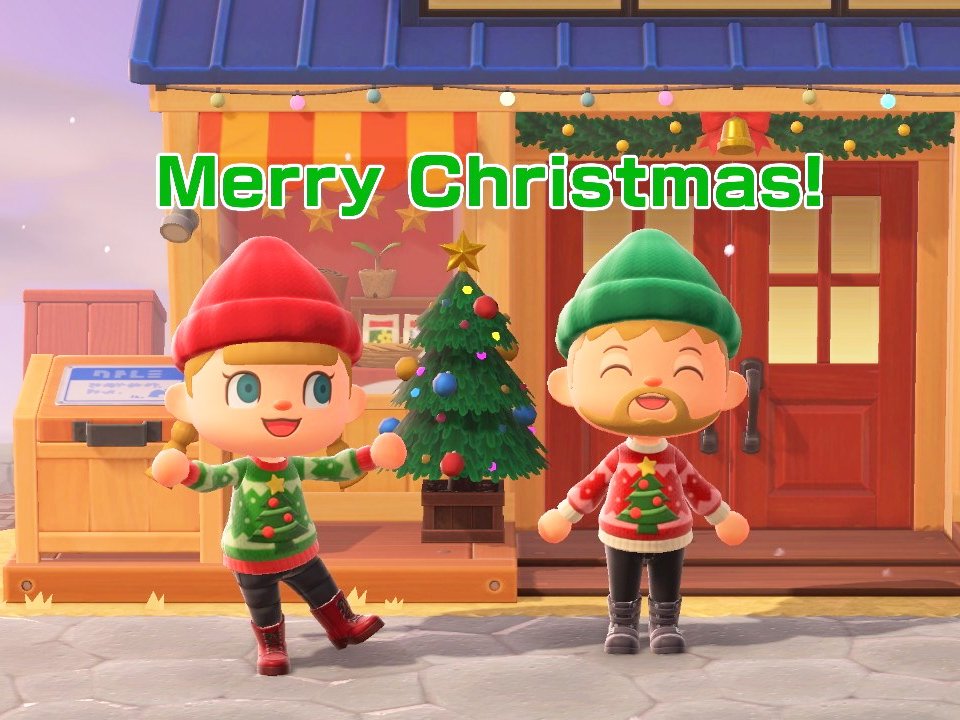
Getting a photographer for Christmas Cards isn't exactly possible during this 2020 holiday season. But that doesn't mean you can't create fun images to send to family and friends. Animal Crossing's Winter update brings Toy-Day, Christmas decorations, snow, and other festive elements to the game, which will look perfect in a photoshoot. Additionally, with the Switch's newest update, players can now add text to the pictures they've taken which is perfect for putting a festive message on your wintery Animal Crossing screenshots. Not sure what to do? I'm here to help you through it. Here's how to make Animal Crossing Christmas cards.
1. Wear festive clothes
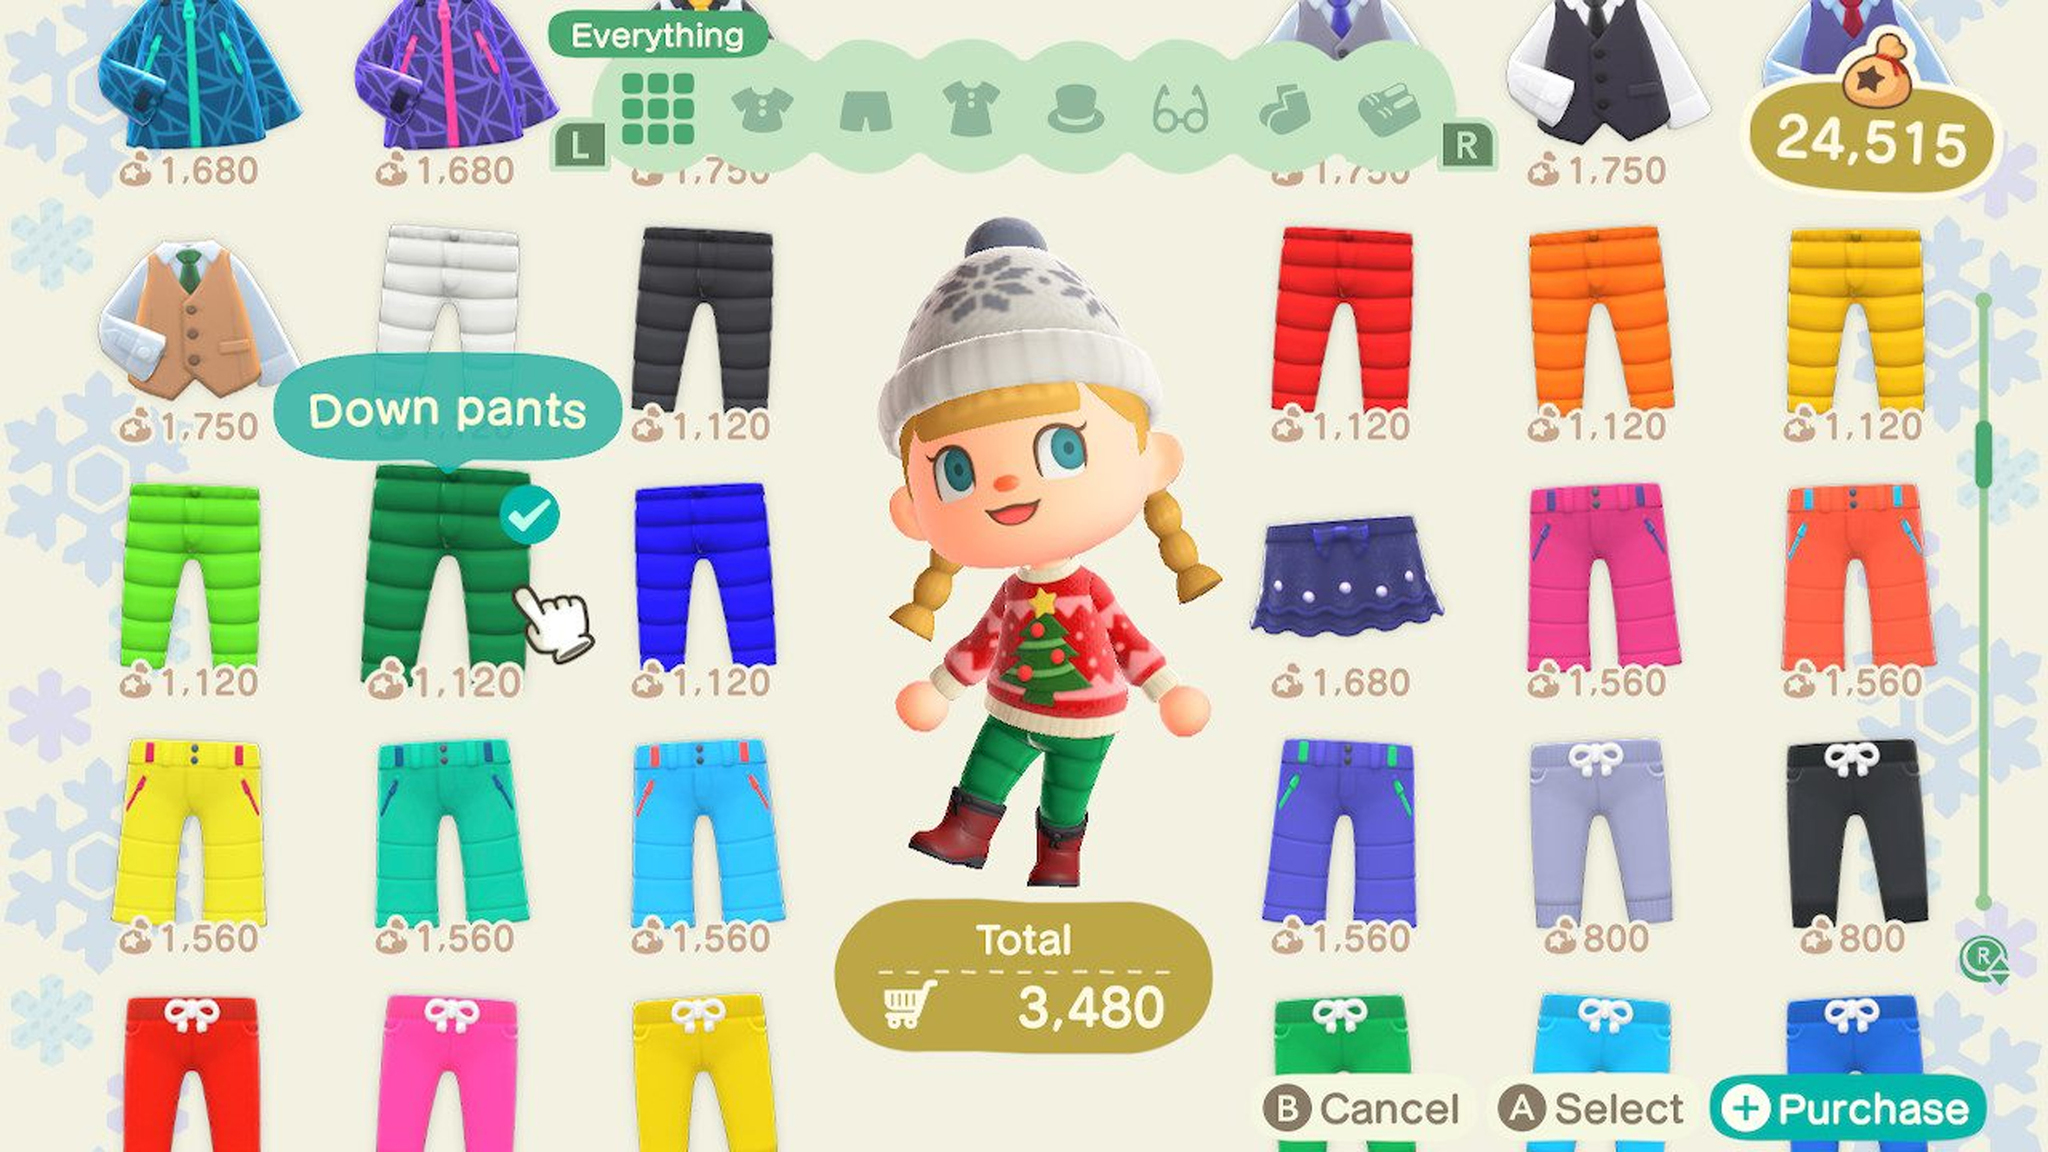
During December, you'll find Christmas sweaters, puffy pants, Ski goggles, festive dresses, and more being sold at the Able Sisters shop. Keep an eye out for the cutest designs and buy them when you can. If you don't have time to gather clothes, you can also check out our list of the best Animal Crossing Christmas designs, codes and Creator IDs to get everyone dressed up.
2. Find a nice spot on your island
Obviously, the most important question you've got to ask yourself is should you take this picture indoors or outdoors? Both options provide their own sort of holiday fun.
Indoor location
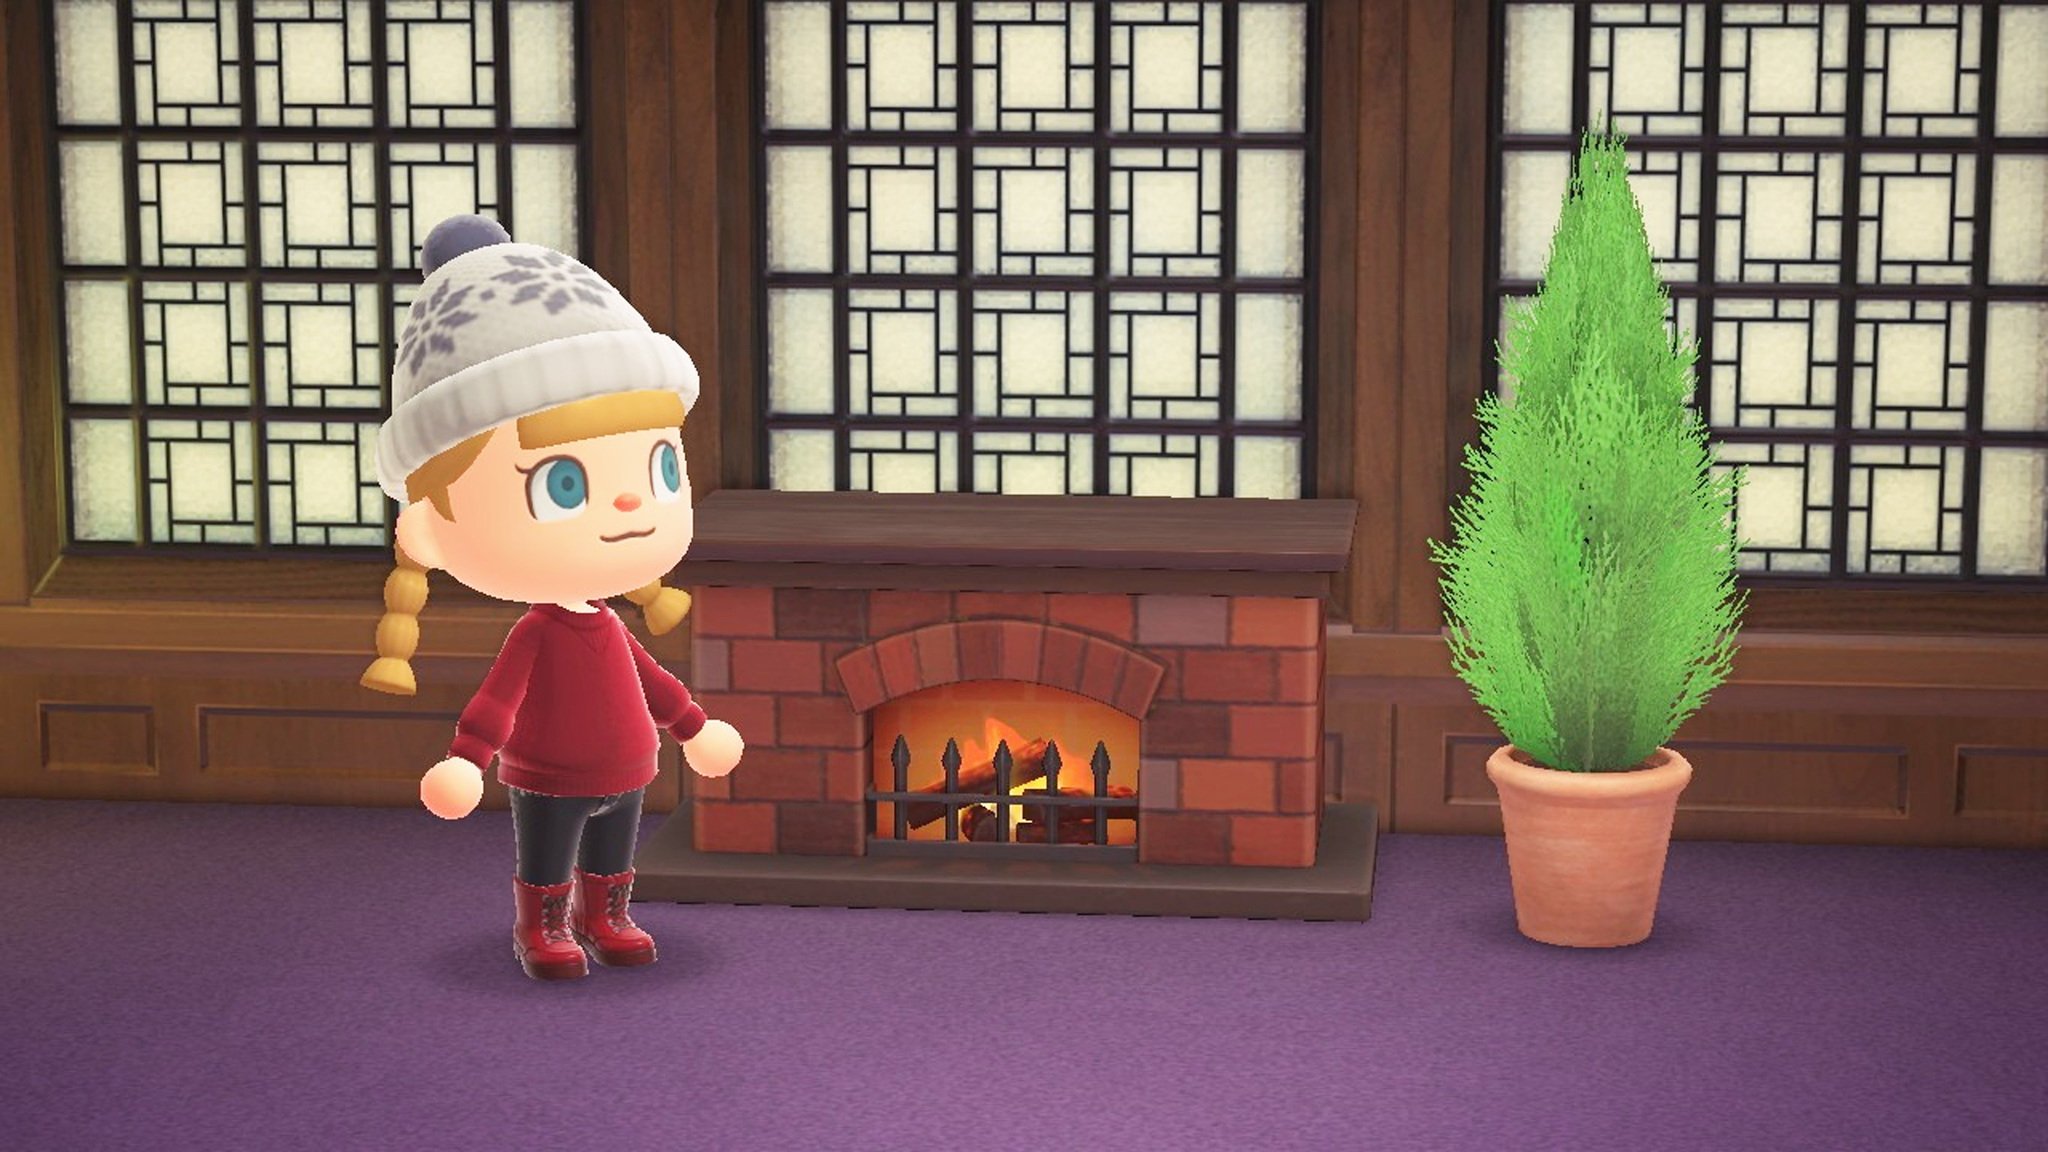
If you're looking for a cozy indoor photoshoot, you might want to consider placing down a Wood-Burning Stove or maybe a Fireplace if you happen to have them in your inventory. Keep a lookout at Nook's Cranny as they might have something in stock that you could use.
Outdoor location
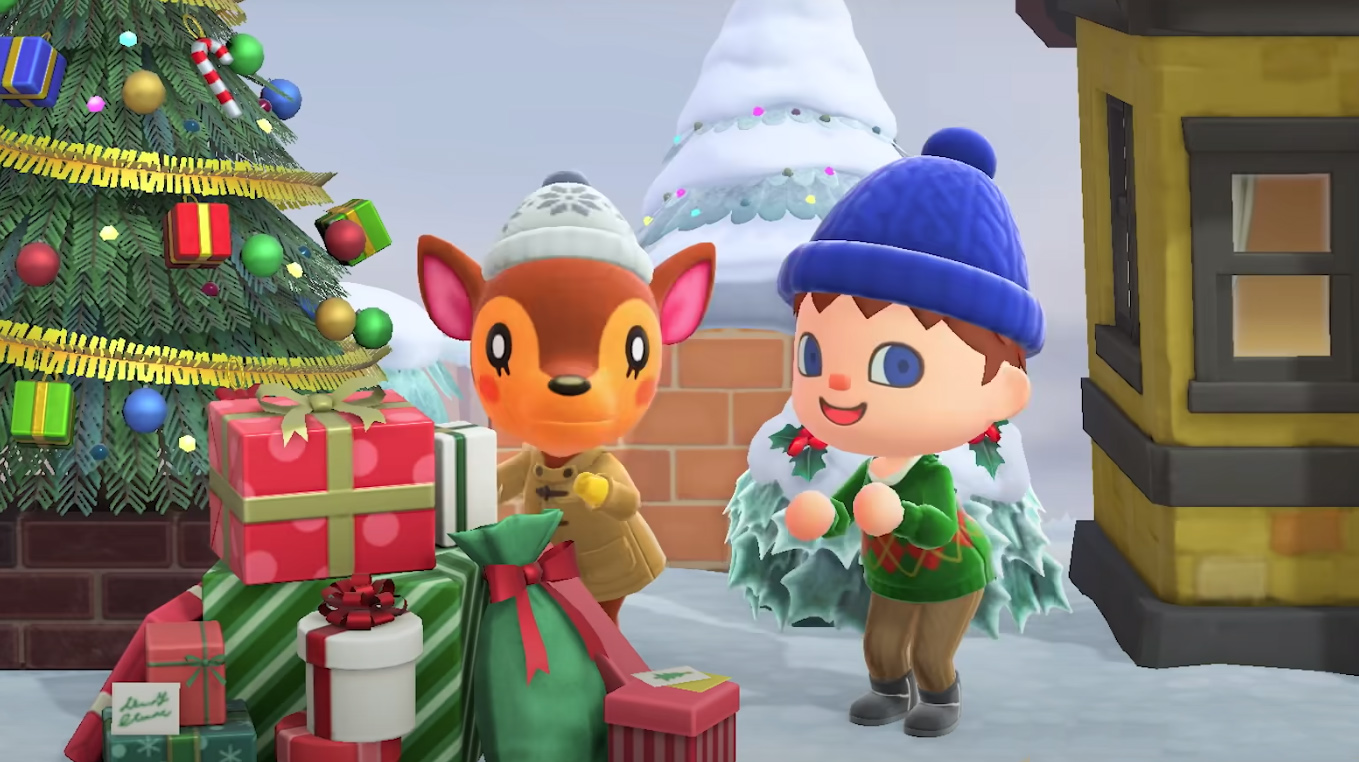
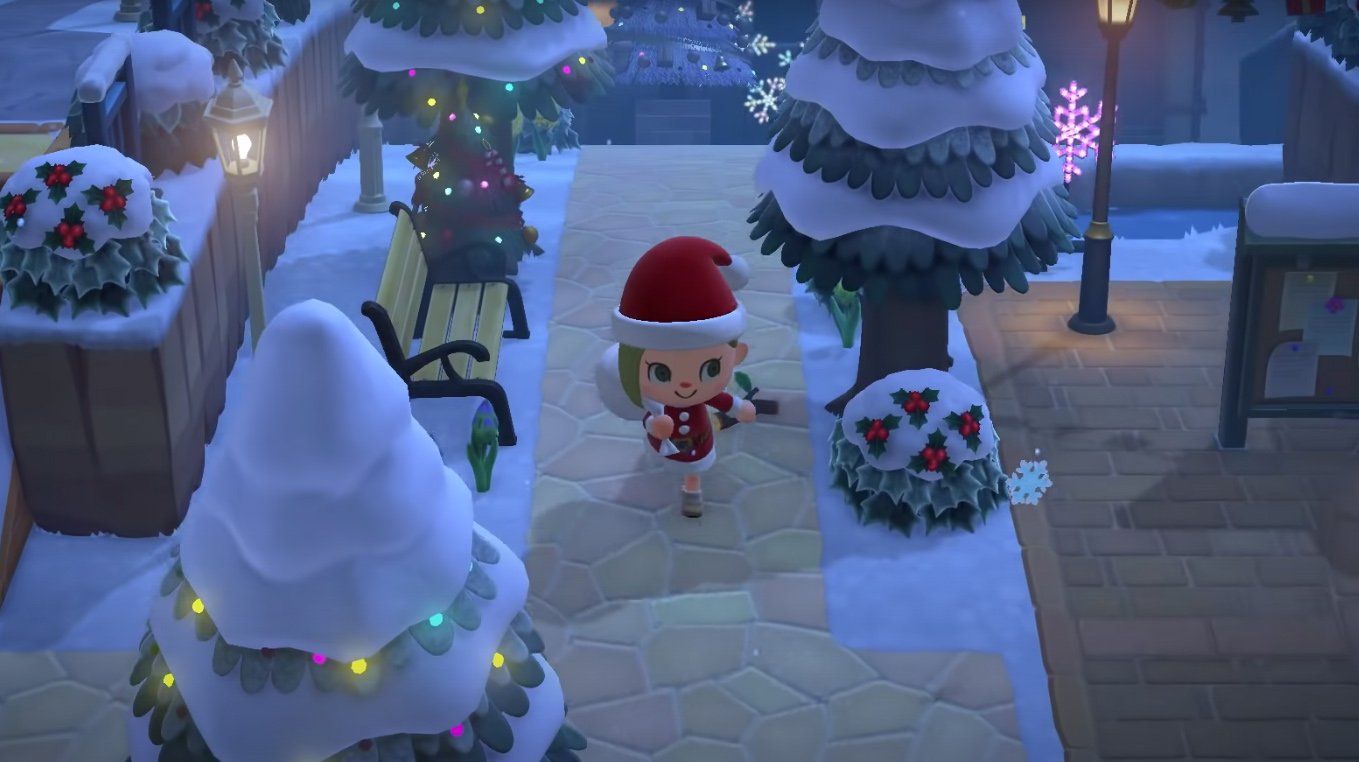
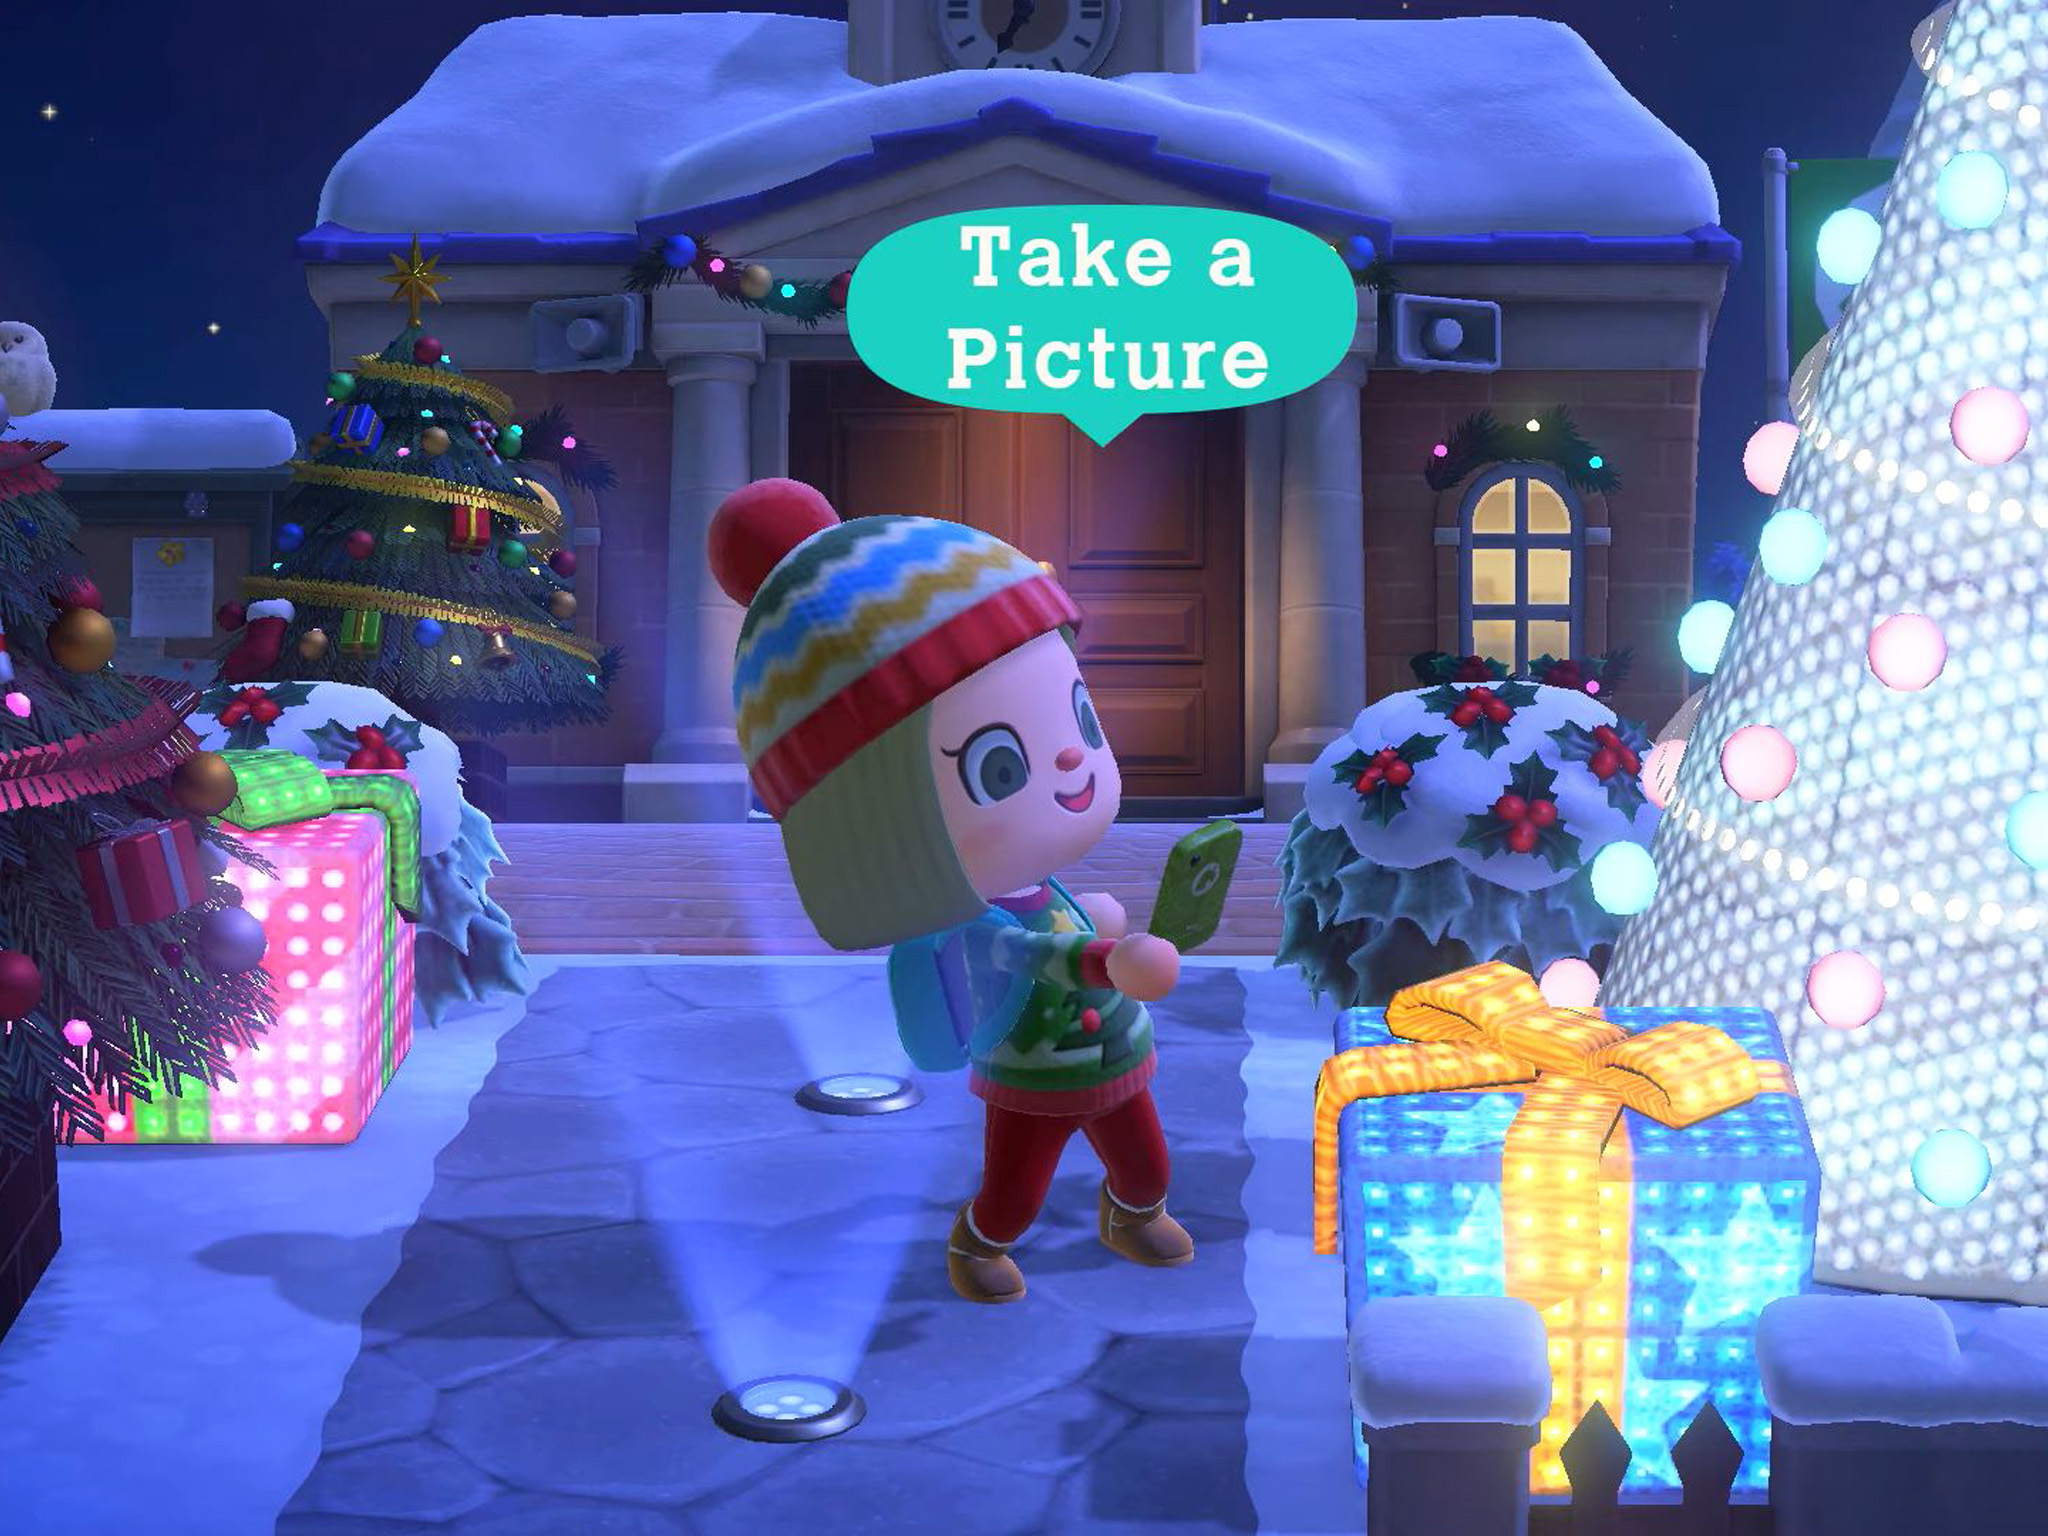
If you want your pictures to be taken outside, you should consider the time of day and your location. The plaza in front of Resident Services looks nice as there's a Christmas tree here along with garlands and lights decorating the main building. If you want it to be in the snow, find a good open location where everyone can stand next to each other.
3. Get the right decorations
During December, if you shoot down balloons floating over your village, you'll be able to gather Festive DIY recipes for things like Christmas Trees, Illuminated Snowflakes, dreidels, Festive Walls, and more. These will make perfect themed sets for when you go to take your pictures.
Several non-Christmas items will look great in these photoshoots. Look for any items that might match the overall color scheme you're going for. For instance, the many Papa Bear color variations could look good as a set-piece.
4. Get everyone together
If you want to take pictures with people who each have their own island, then someone will need to play host. To make this easier, I suggest getting on a group call or doing a free Google Meet session so you can talk and plan together more easily. If you don't know how to visit another person's island, check out our Animal Crossing multiplayer guide.
5. Camera & Reaction tips
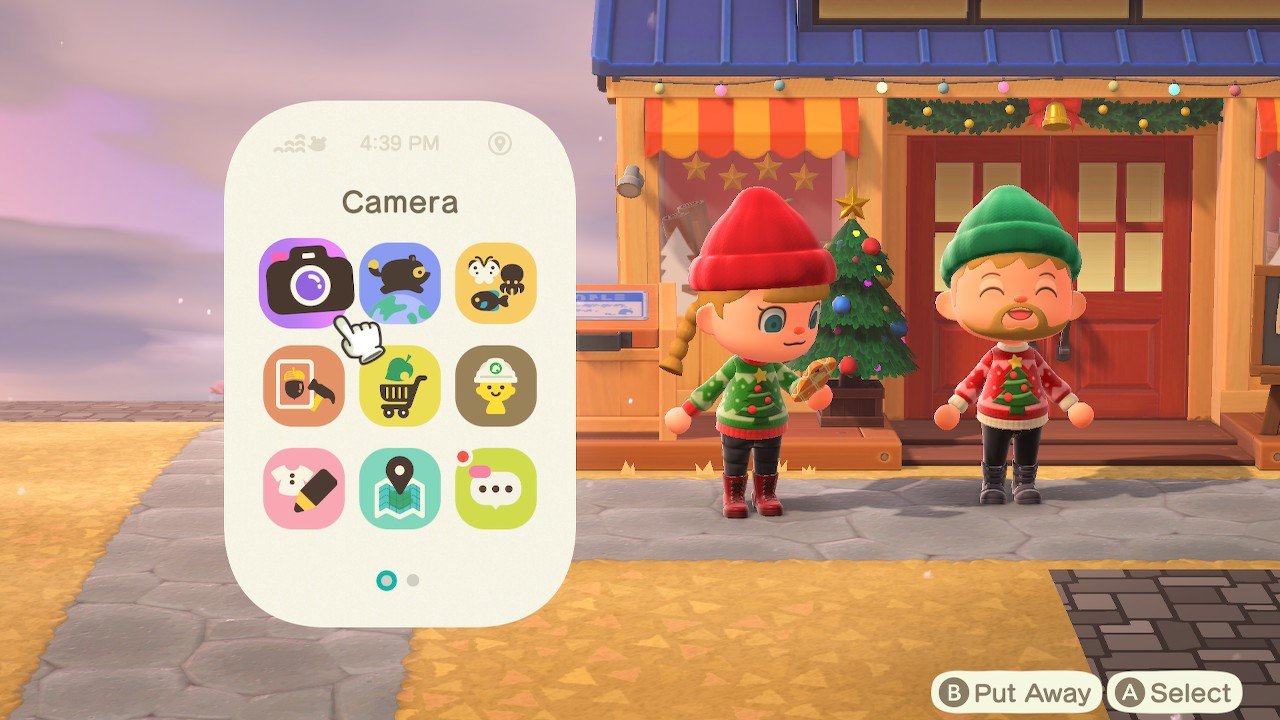
When everyone's gathered, and in position, the person taking the picture needs to press the ZL button and then select their Camera app. Make sure to get the camera into a good position. Obviously, you can take a perfectly good picture at this point by opening your camera. But choosing a Reaction can also help convey a special feeling.
Photography tips
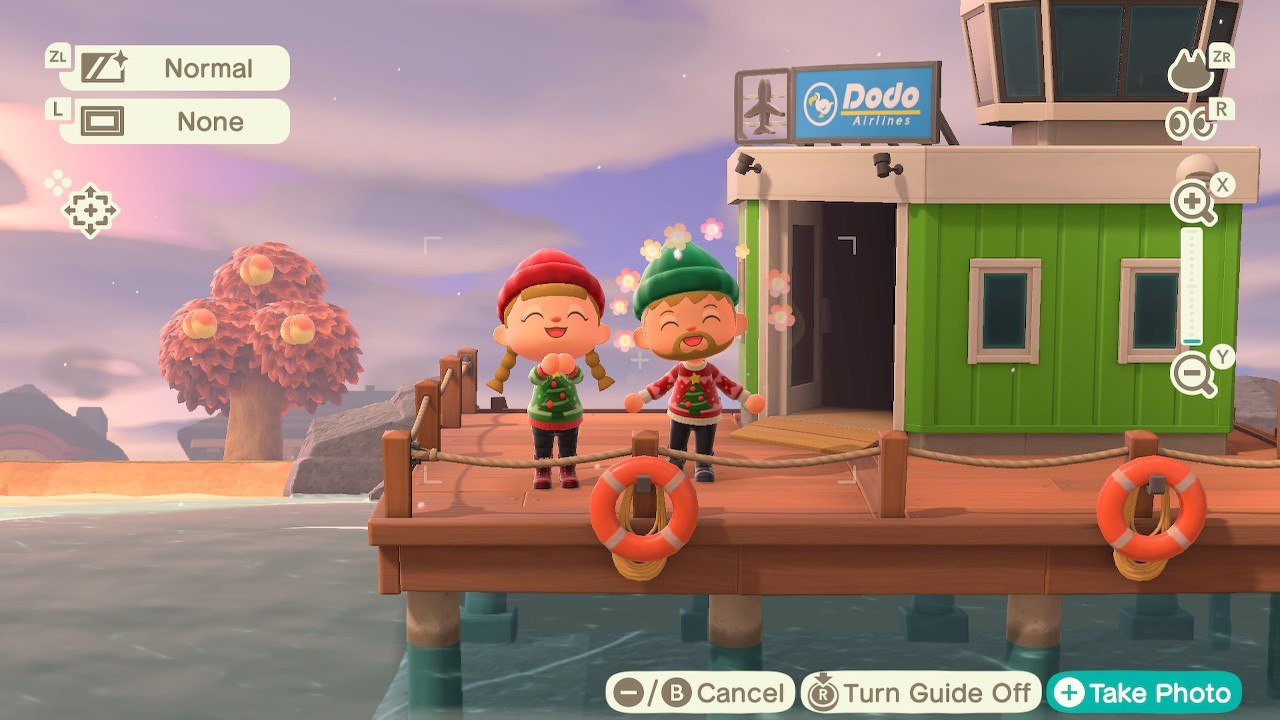
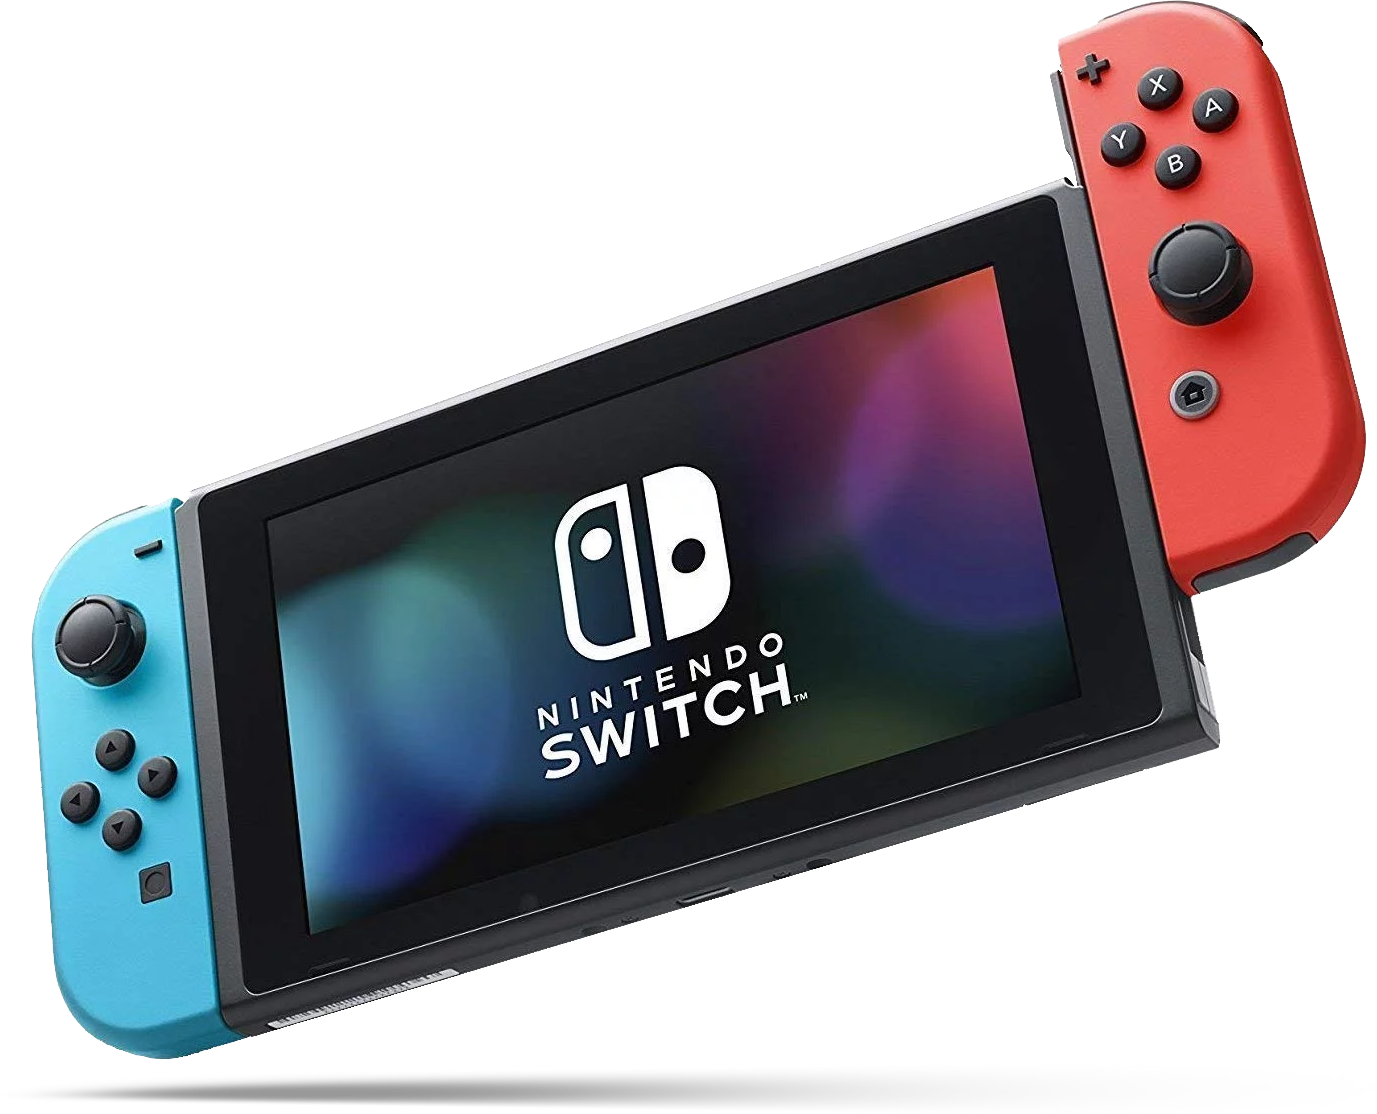
- The left Joy-Con's buttons move the camera up, down, left, or right. However, the camera can only move so far.
- Pro tip: The camera automatically centers on the character who opened the camera app. Because of that, you should probably stand in the center of your group when you pull out the camera and then move your character into position.
- The X button zooms in while the Y Button zooms out.
- The ZL button rotates through the filter settings.
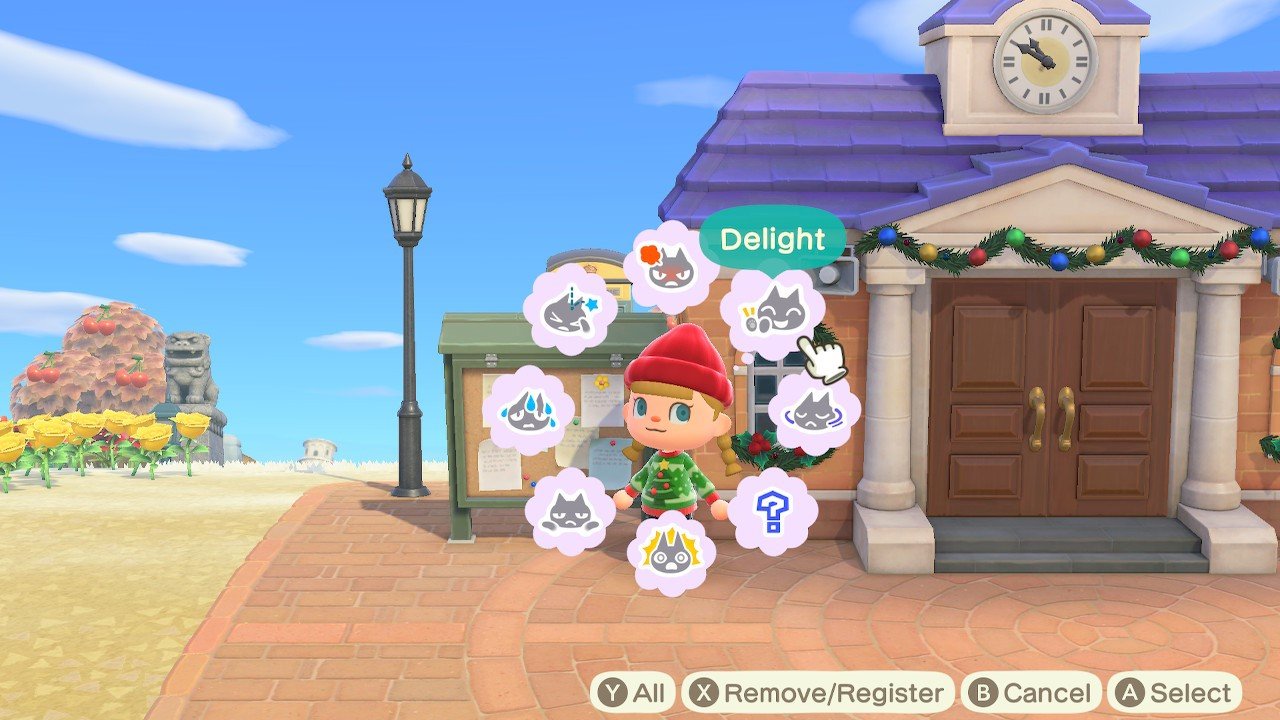
- The ZL button brings up your Reaction wheel. If you want to access more of your Reactions, press the Y button while the Reaction Wheel is on your screen.
- Don't use the screenshot button! This will leave all of those ugly icons on your screen. Instead, press the + button on the Switch's right side to take clean pictures.
- Pro tip: I recommend spamming the + button and taking several images at once in case someone's avatar blinks.
Everyone else, say "cheese!"
Anyone who isn't taking the picture will emote in a slightly different way from the photographer. Anyone who isn't taking the picture just needs to press the ZR button on their own Switch to bring up their Reaction wheel.
- Pressing the Y Button on this wheel page brings up additional Reaction options.
- Select the Reaction you want to use and then wait for the photographer to take pictures.
Note: Some Reactions don't last very long, so you might need to choose a different one or be ready to start emoting right before a picture is taken.
How to add text to your images
Now that your pictures have been taken, it's time to get them ready to send them off. With the recent Nintendo Switch 11.0.0 update, you now have the option of adding text to your images. It's perfect for writing a Holiday message!
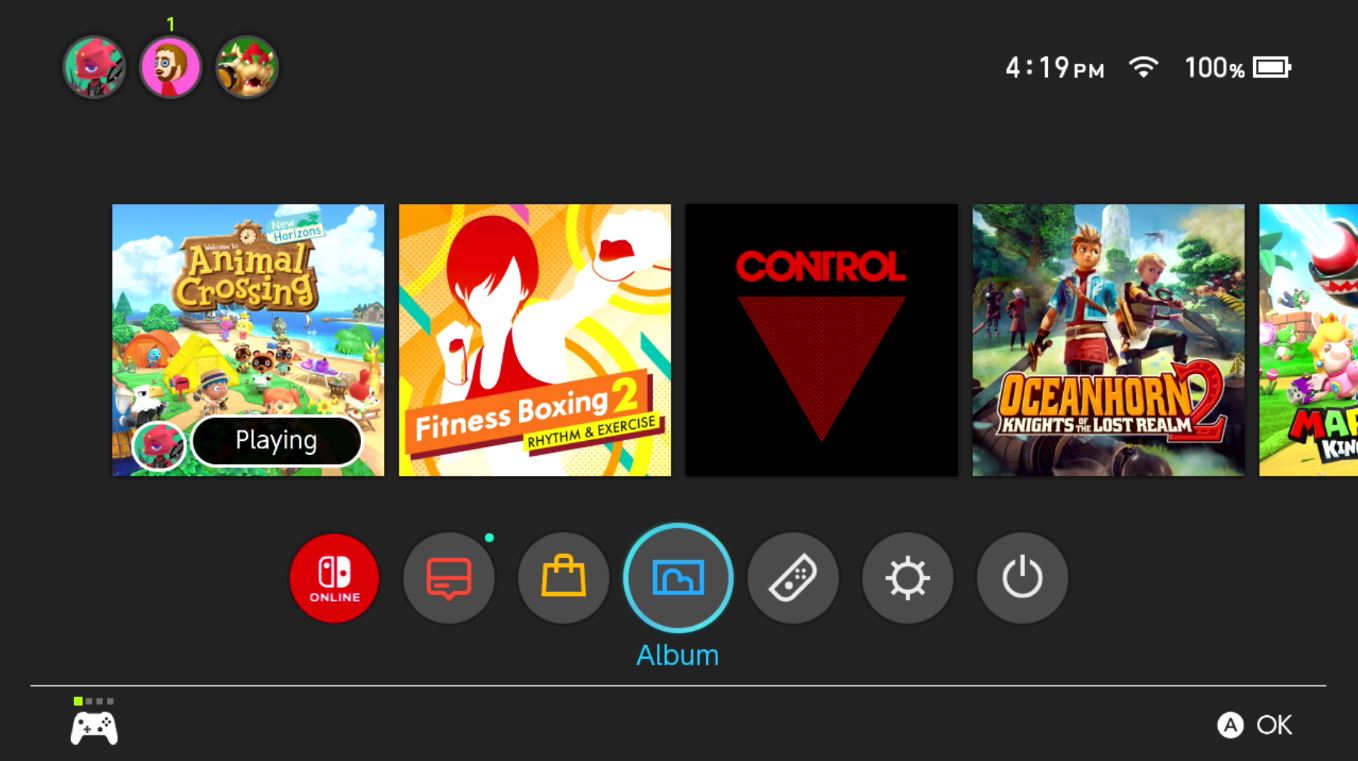
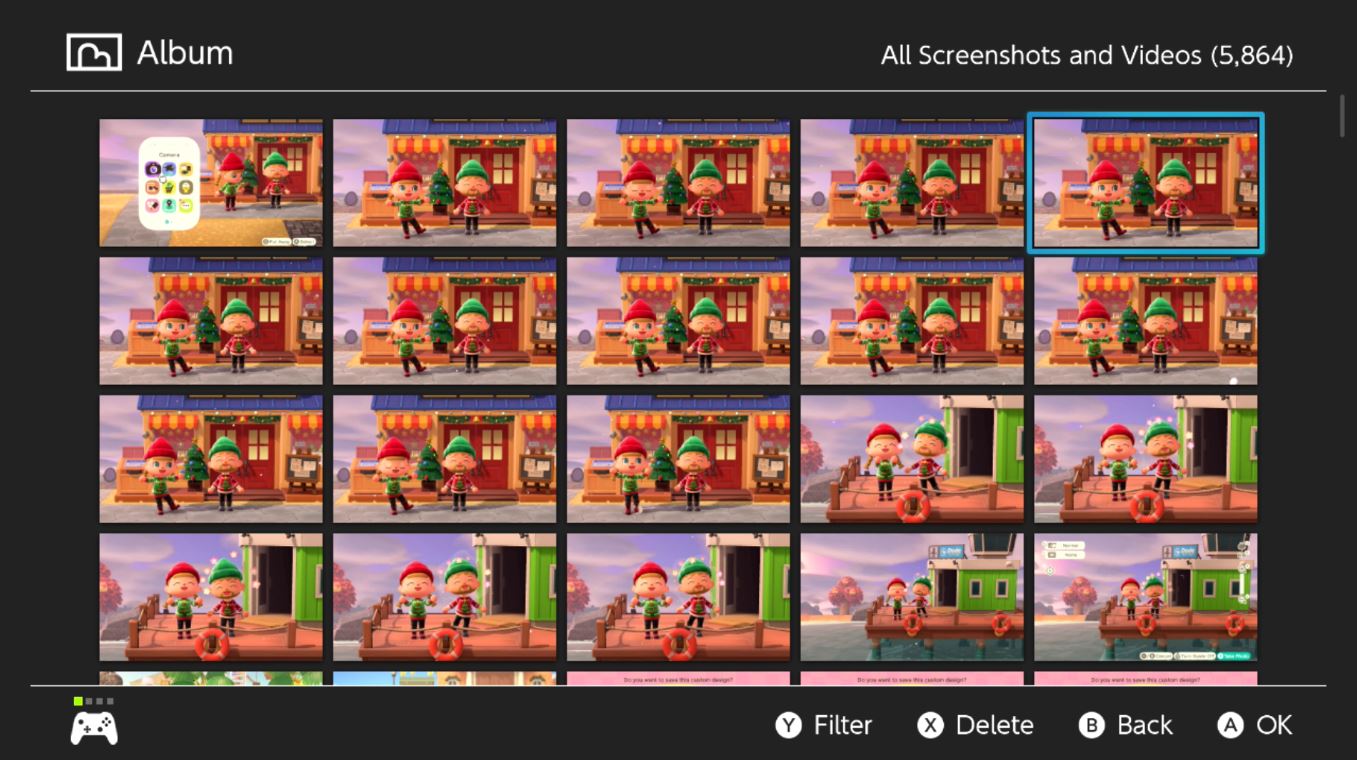
- From your Nintendo Switch's main menu, select Album represented by the blue picture icon at the bottom.
-
Now select the image you want to use.
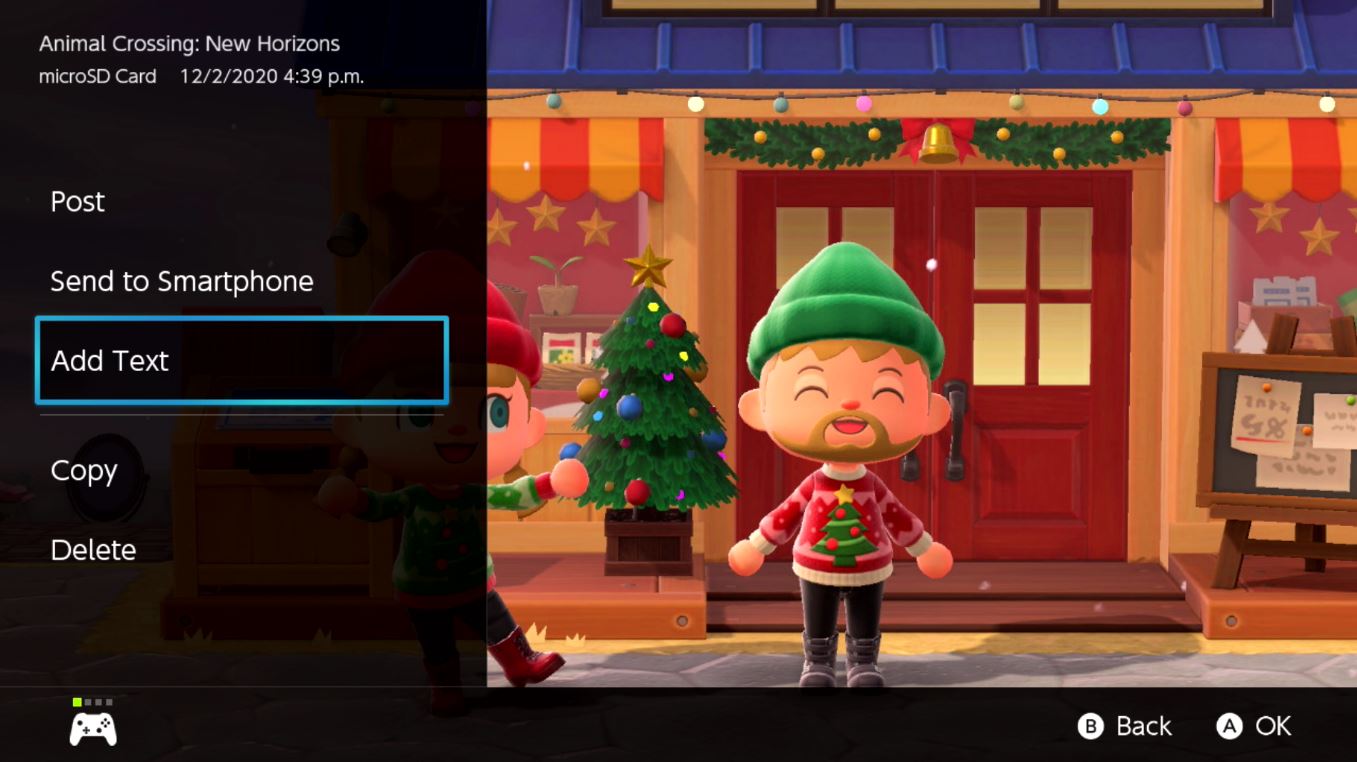
- Press A to bring up the menu.
-
Select Add Text.
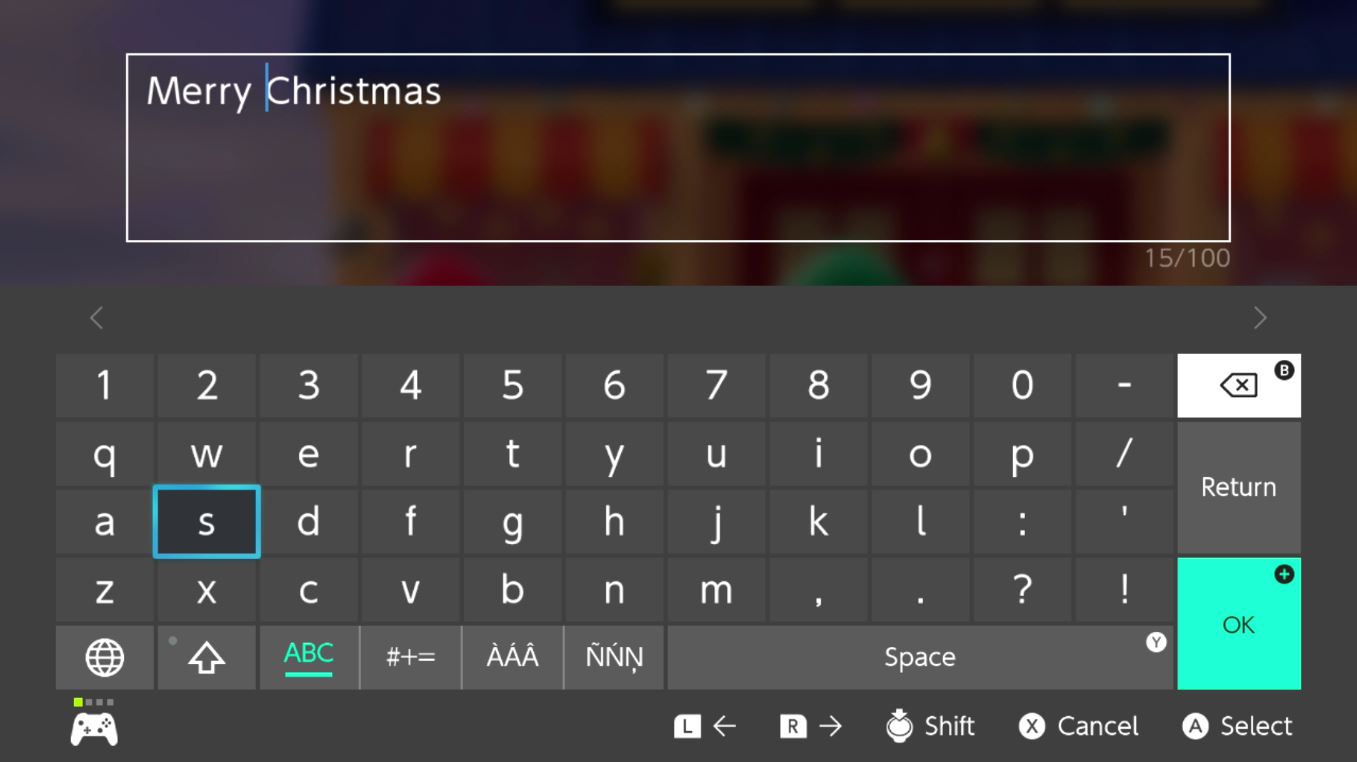
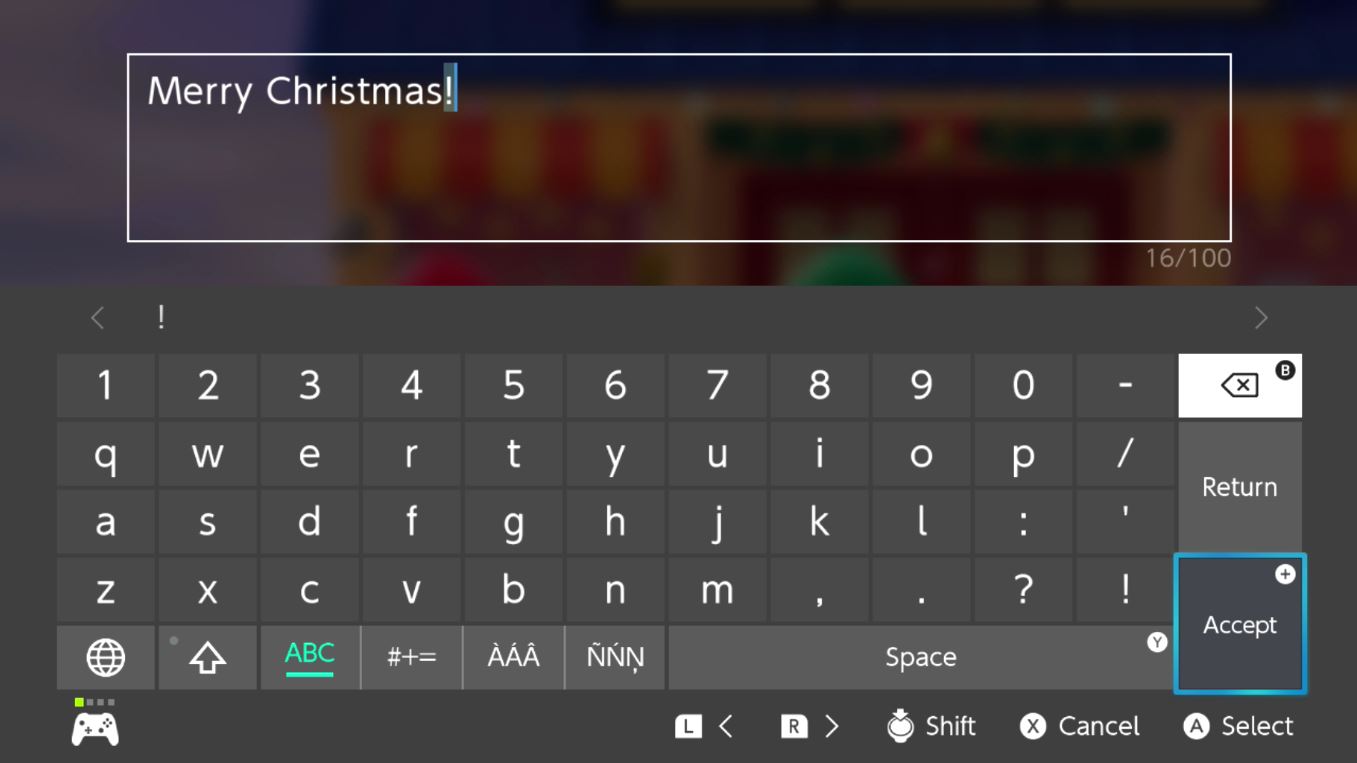
- Type in the message you want to display on the picture. Space is limited. You can only use up to 100 characters, including spaces.
-
Select Accept or press the + button to go to the next step.
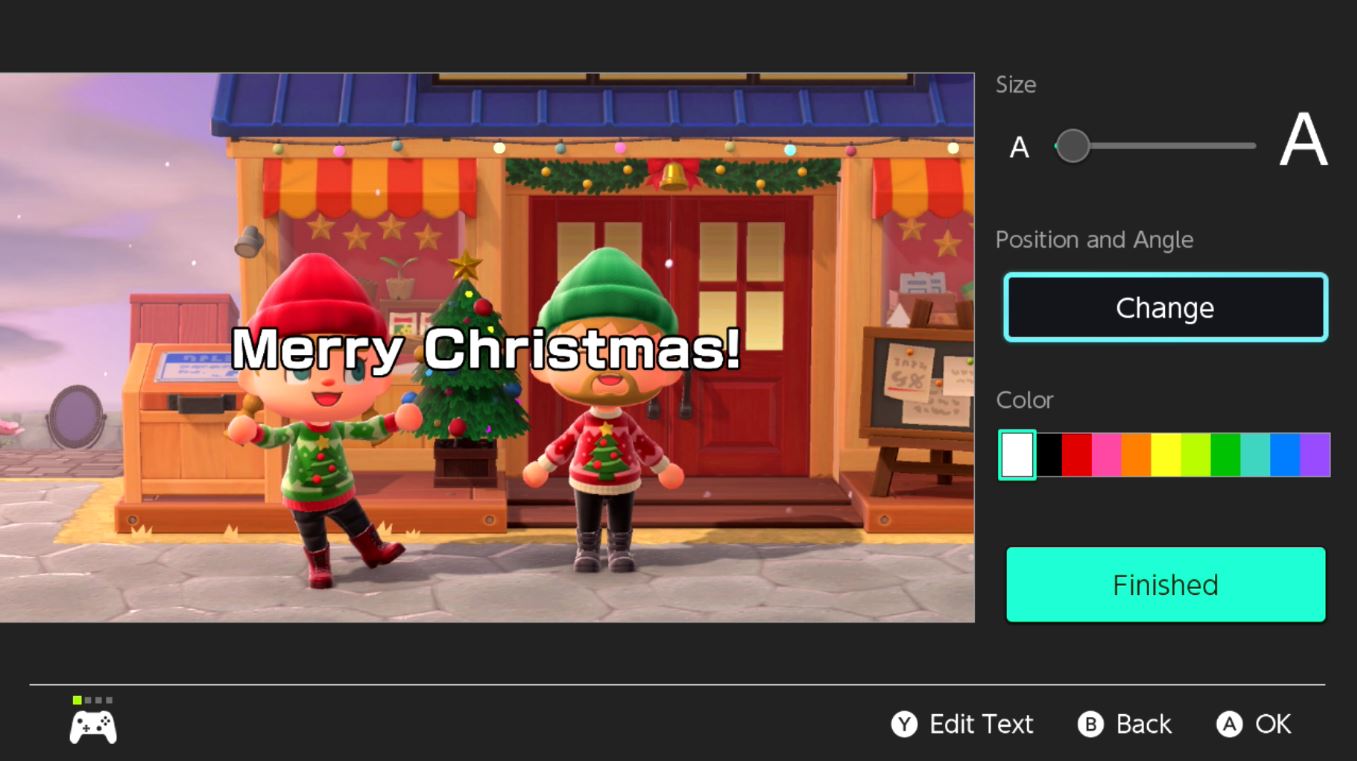
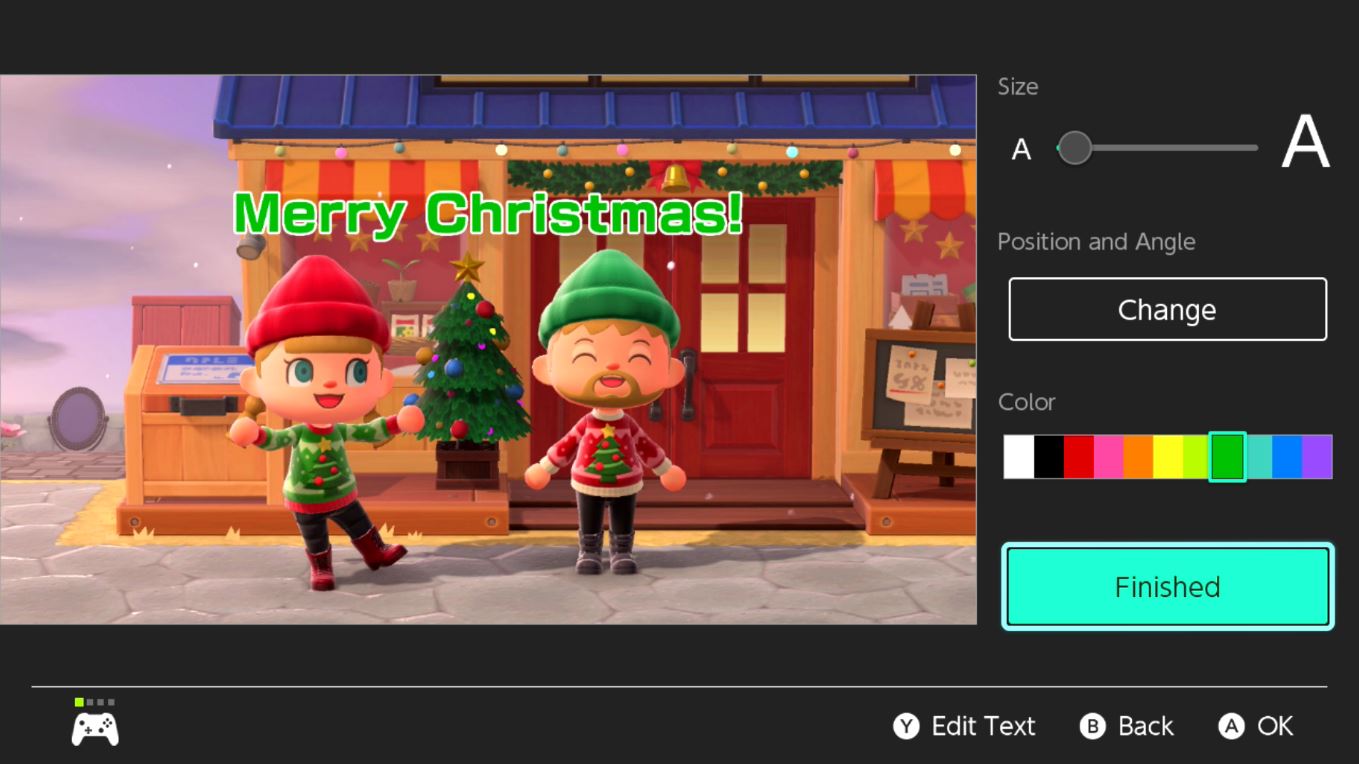
- Use the text slide to determine how big you want your message to be.
-
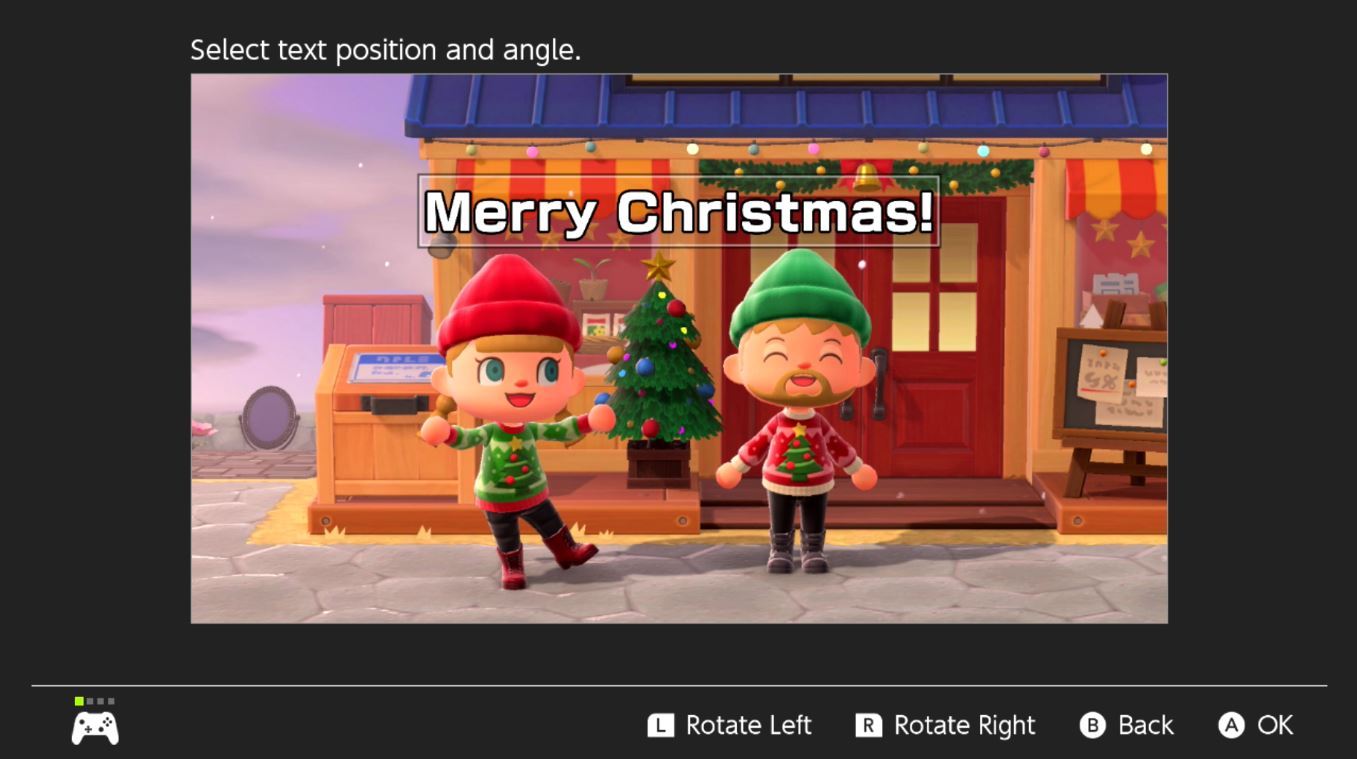
To change the location of the text click on Change.
- Use the left joystick or the buttons on the left Joy-Con to move your text up and down or left and right until it's where you want it to be.
-
When you're happy with the text positioning, press the A button to bring the text options menu back up.
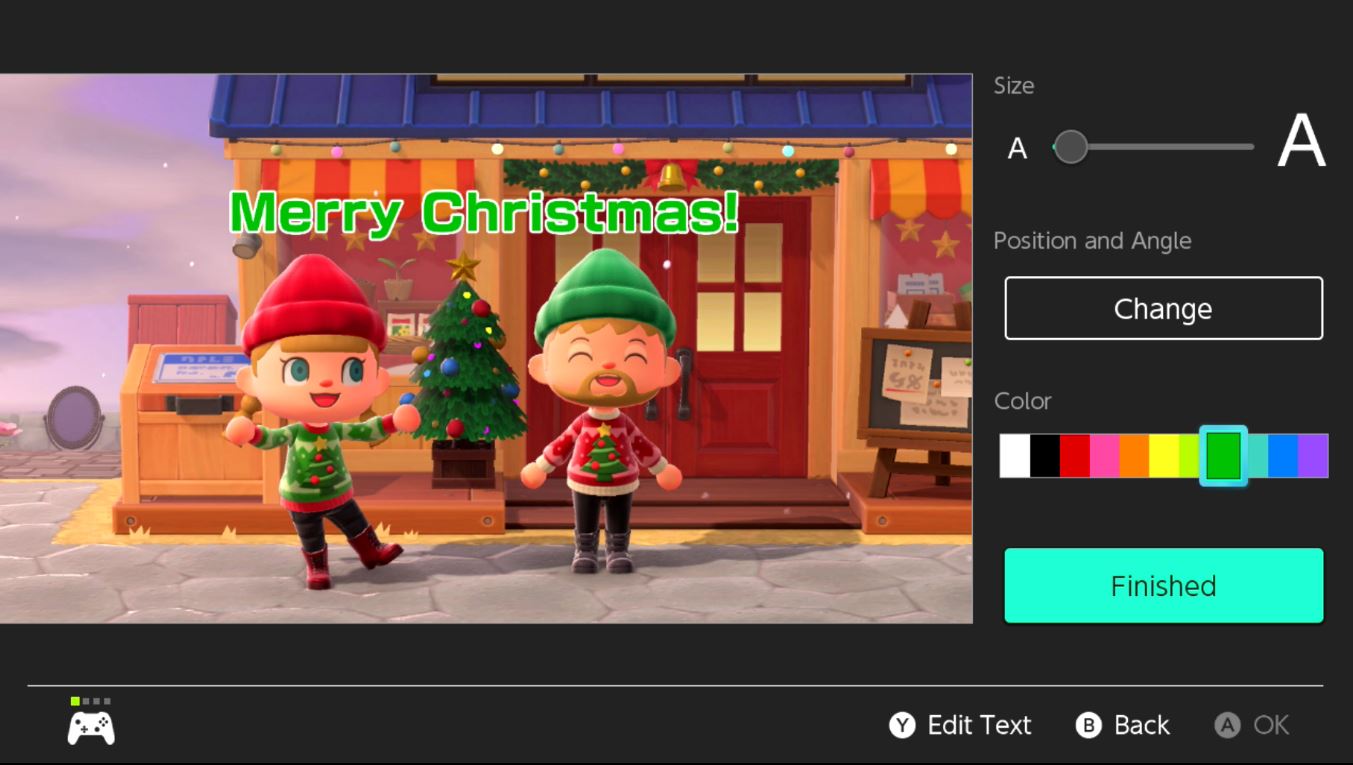
- If you want to change your text's color, choose from one of the 11 text colors.
-
When everything looks good, select Finished. This will save a new copy of the image with the text over it instead of writing over the original image.
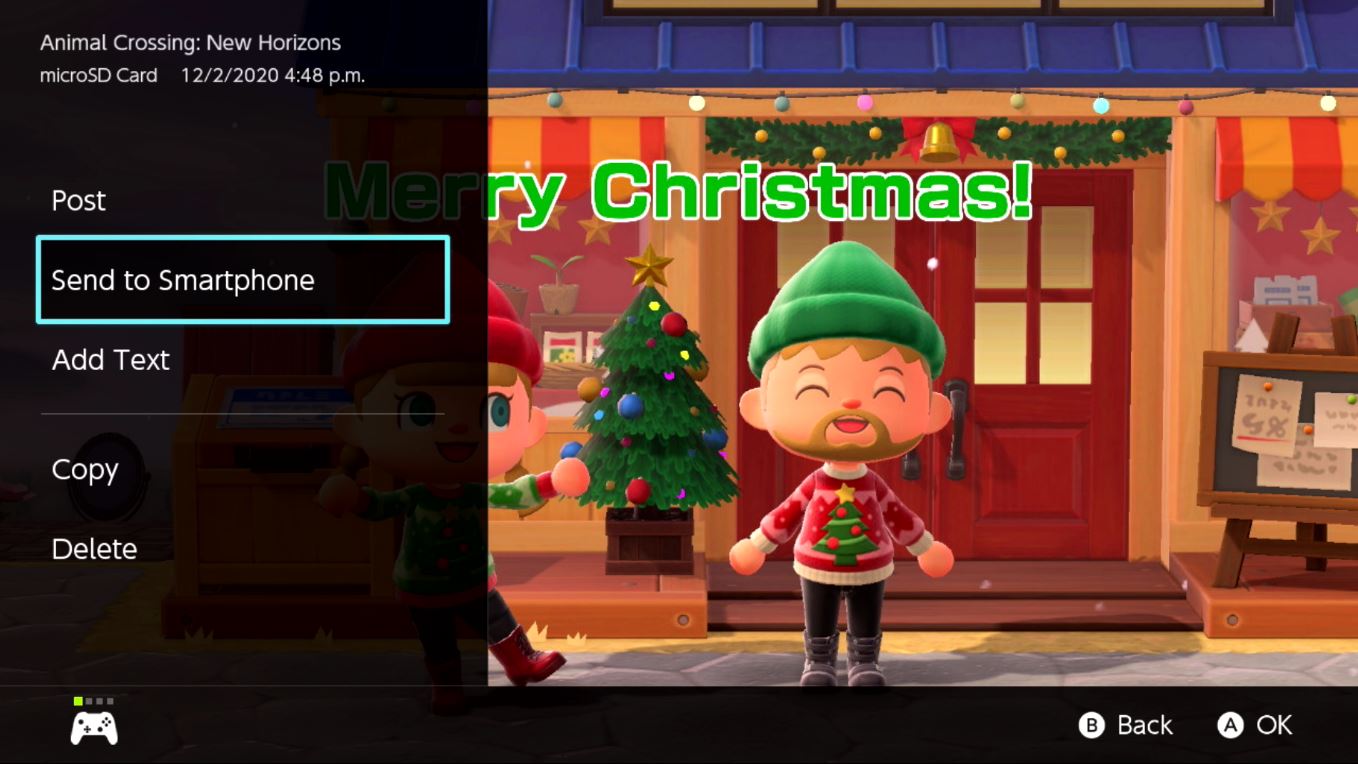
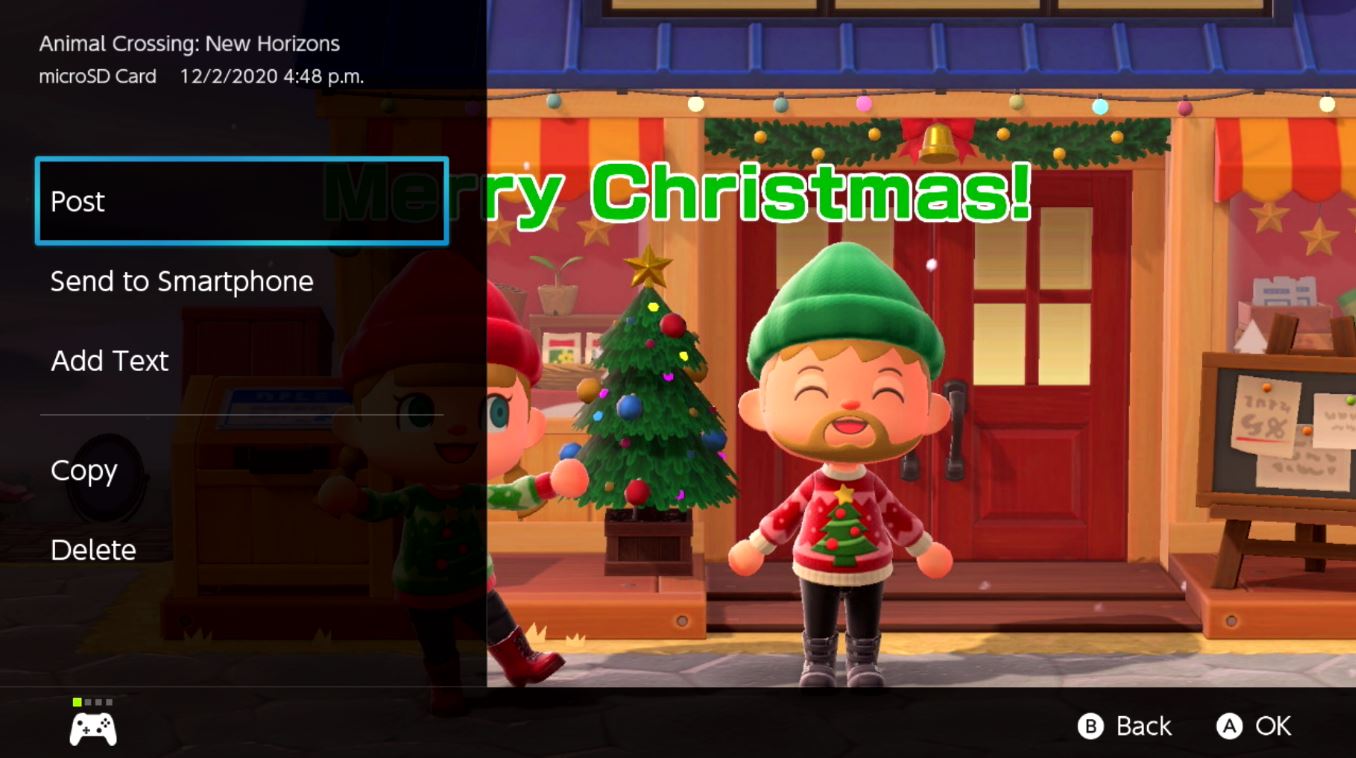
- The finalized image will appear with text on it. Now it's ready to be sent. Press the A button again to bring up the menu.
-
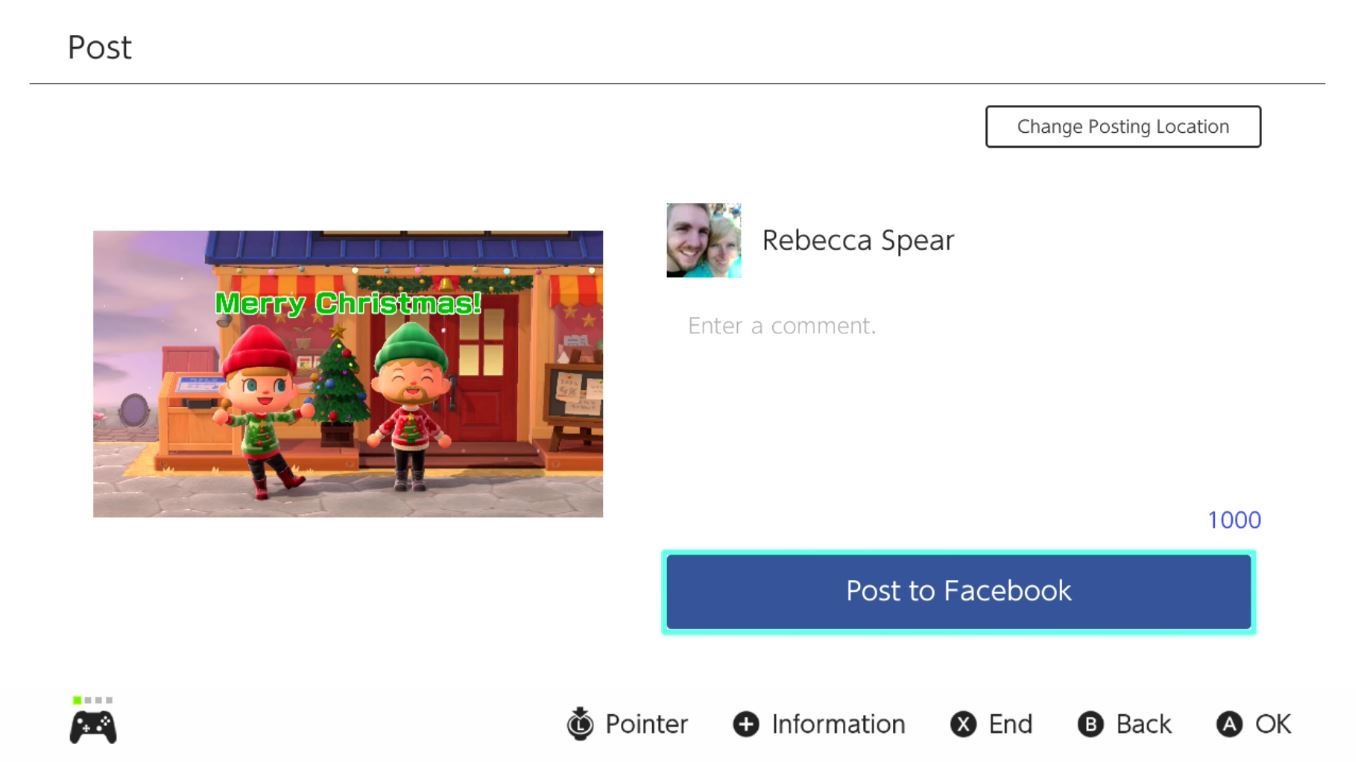
If you choose Post, you can either post to Twitter or Facebook. If you haven't connected your Twitter or Facebook account to your Switch yet, then you'll just need to enter your account information to allow this to happen.
- Alternatively, you can also select the Send to Smartphone option. If you want step by step instructions for that method, check out our how to send your Switch screenshots directly to your phone guide.
If you happen to have some kind of photo editing software like Photoshop Elements, you could even take several of your Animal Crossing screenshots and make a fun collage.
How to make the perfect Animal Crossing Christmas cards
That's everything you need to know about taking perfect Christmas cards in Animal Crossing. Have fun getting together virtually with your family and friends to take those festive pictures!
Looking for more ways to entertain yourself? Check out the best Nintendo Switch games of all time.
Get More Switch
Nintendo Switch
ACNH: Get family and friends together for perfect Christmas card pictures posted first on http://bestpricesmartphones.blogspot.com


No comments:
Post a Comment