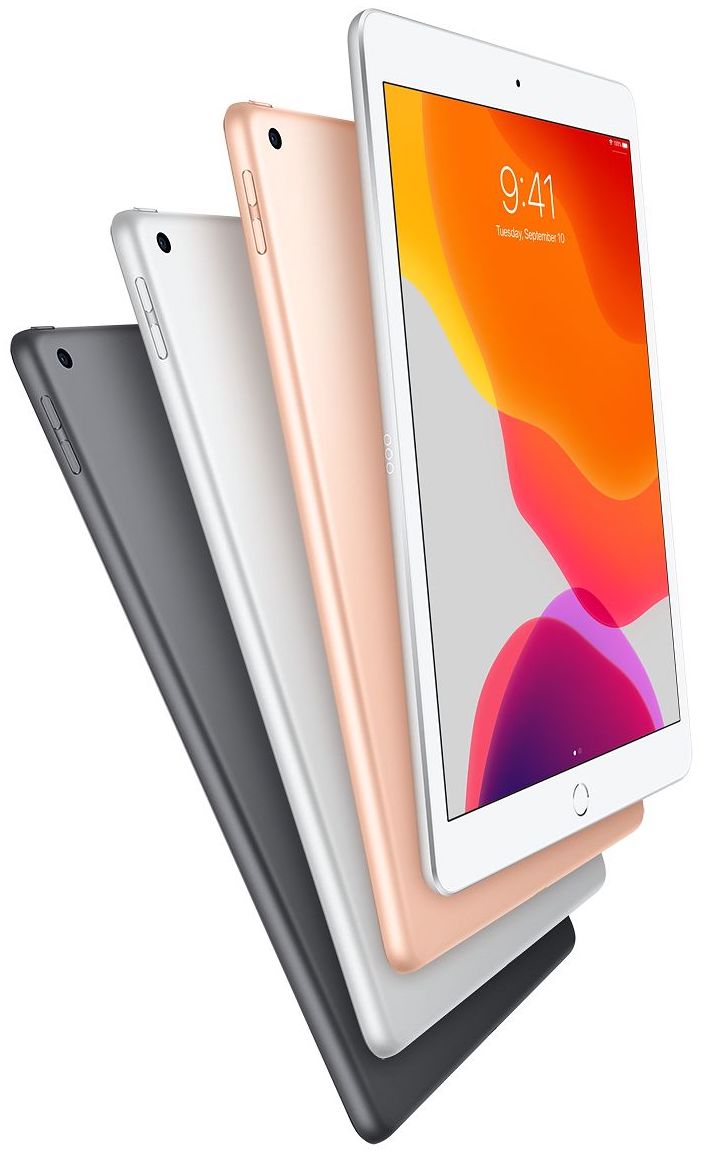
Apple makes it incredibly easy to capture, edit, and even markup almost any screen on your iPad or iPad Pro.
iPad Screenshots are great for capturing and sharing epic victories from your games, great moments from your videos, funny conversations on social networks like Snapchat or Facebook, feedback on your projects, bugs you want to report, or almost anything and everything you see on your screen. Because the iPad Pro, iPad, and iPad mini screens are so big, there's a lot you can share!
iPad Pro (Face ID)
How to take a screenshot on your iPad Pro with Face ID
The iPad Pro with Face ID does not have a Home button, therefore it uses a different set of buttons for taking a screenshot.
- Navigate to the screen you want to capture.
- Set up the view exactly the way you want it for the shot.
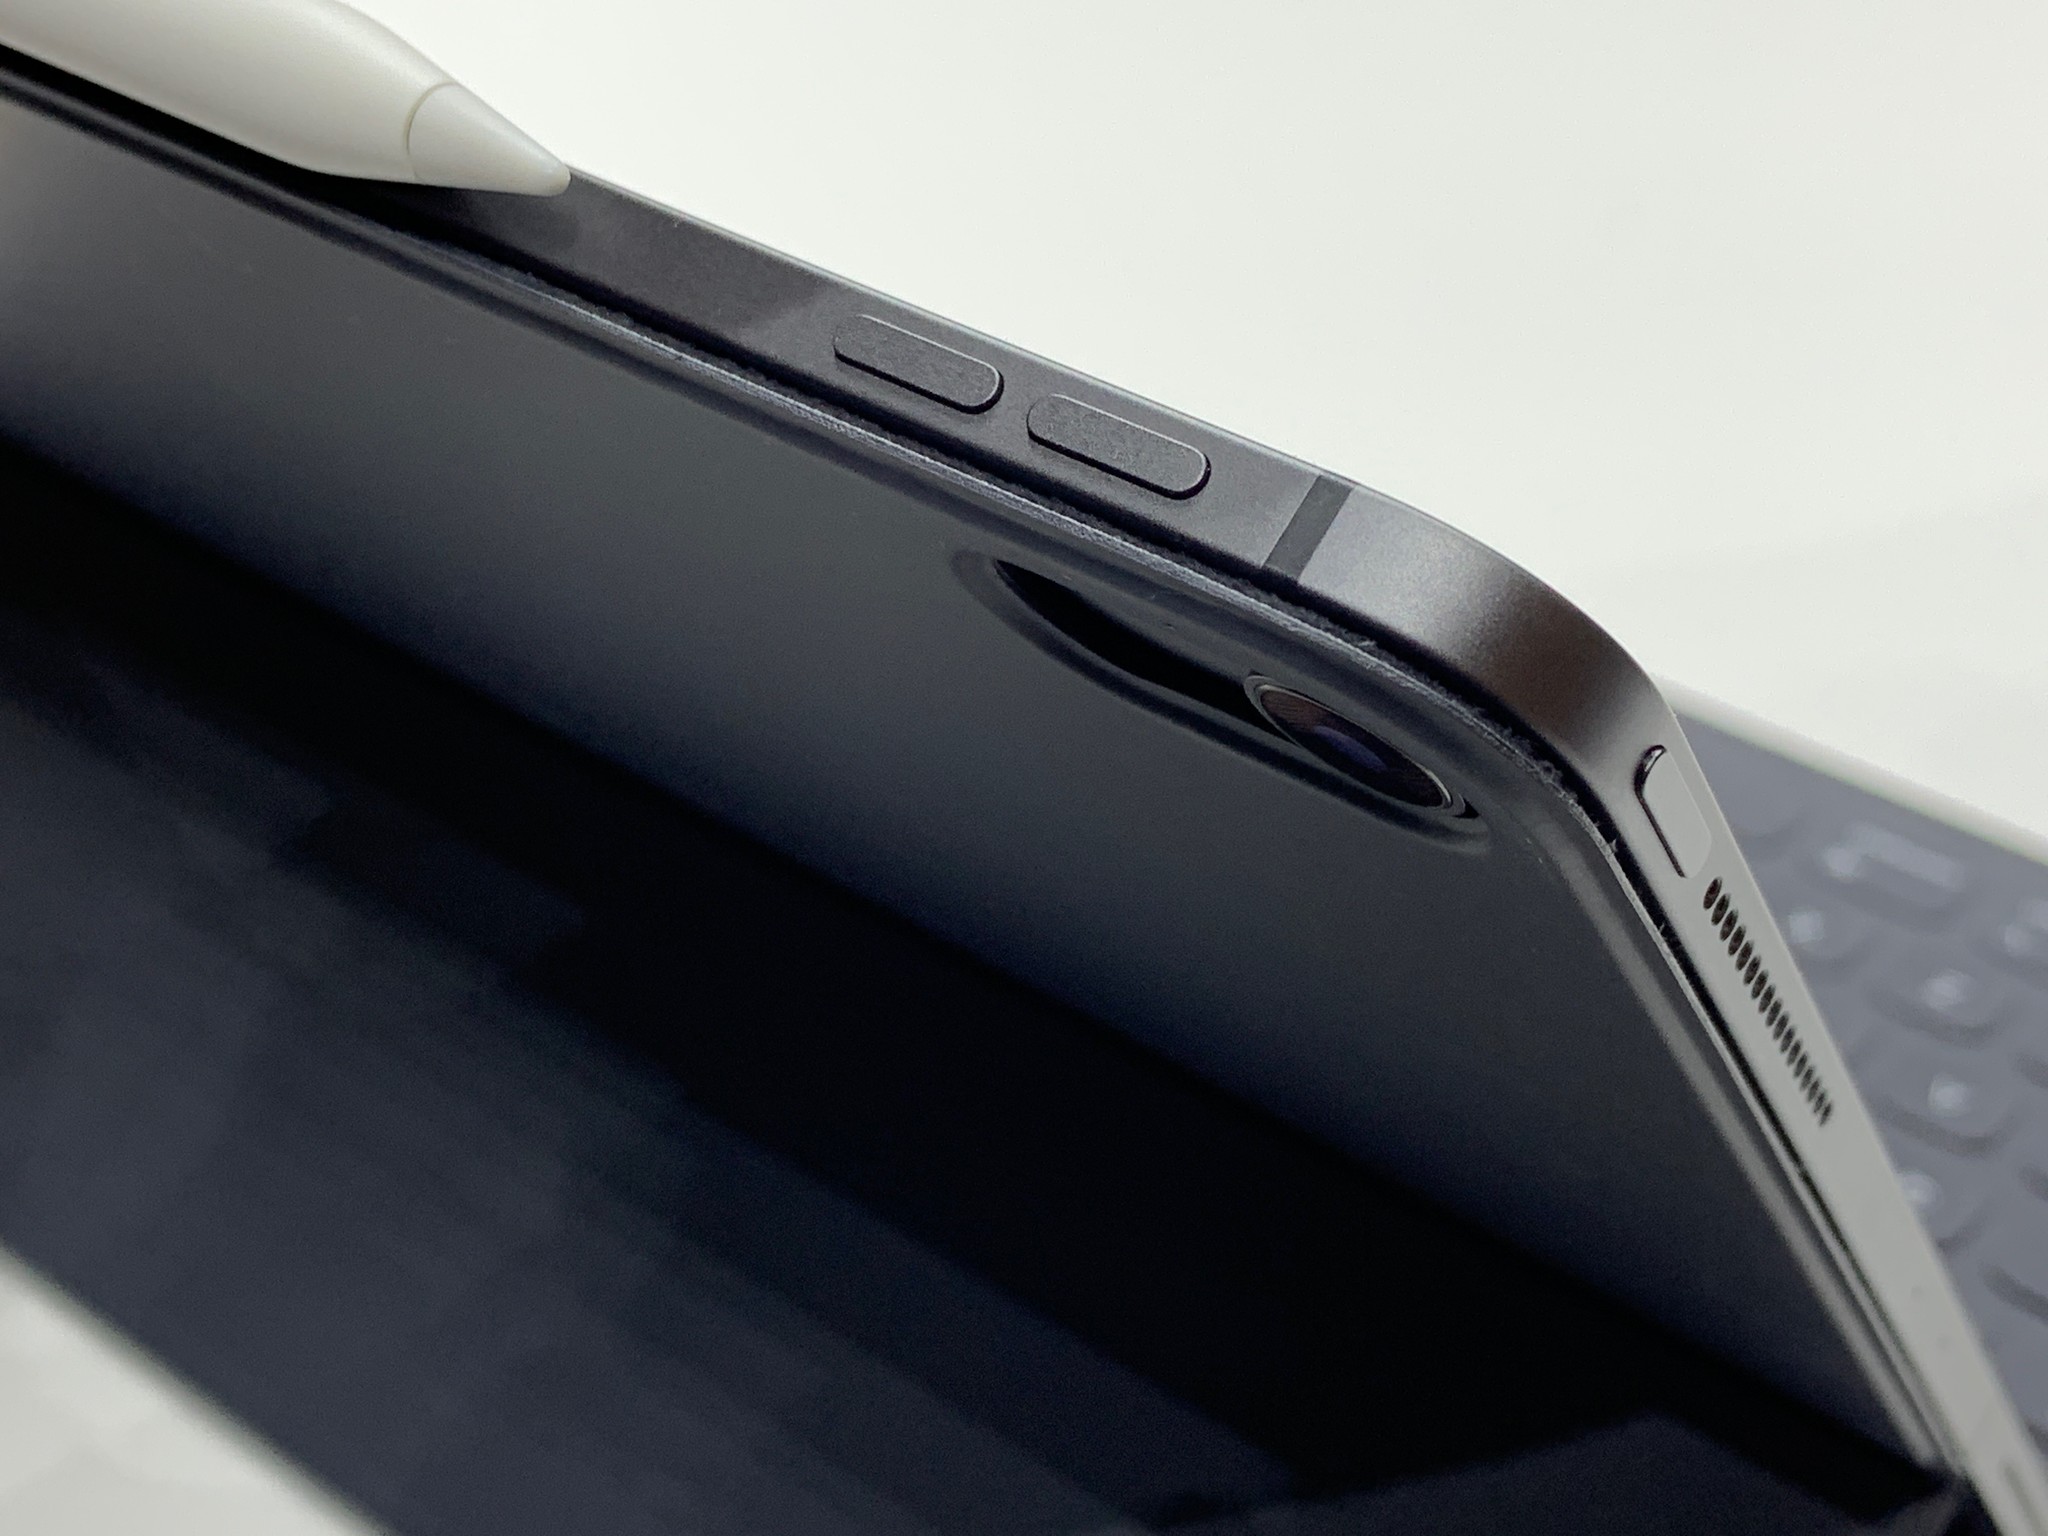
- Press the Sleep/Wake button on the top of the iPad Pro and the Volume up button on the right side of the iPad Pro at the same time.
The screen will flash white and you will hear the sound of the camera shutter clicking (if your sound is enabled).
iPads and iPad Pro (Touch ID)
How to take a screenshot of your iPad, iPad mini, iPad Air, or iPad Pro (2017 and older)
- Launch the app (or apps in split view/picture-in-picture) you want to screenshot.
- Arrange the app (or apps) exactly the way you want them to appear in the screenshot.
- Press and hold the Sleep/Wake (on/off) button on the top of your iPad.
-
Quickly click the Home button at the bottom of the screen.
- Release both buttons.
While you can certainly try and hit both buttons at the same time, holding the Sleep/Wake (on/off) button an instant before tapping the Home button will minimize the chances of accidentally activating Siri or, if you're trying to screenshot the lock screen, blowing through it with Touch ID. Just be quick about it, or you'll pull up the power-off screen.
When you successfully trigger a screenshot, you'll see a white flash and, if audio is on, hear the camera shutter sound. That confirms your screen has been captured and saved to your iPad.
How to take a screenshot with Apple Pencil
In iPadOS, Apple has implemented the ability to use your Apple Pencil to take a screenshot, including turning full web pages into PDFs that you can immediately edit with Instant Markup tools.
- Open the app or web page to the content you want to screenshot.
- Place your Apple Pencil in the bottom-left or bottom-right corner of the screen.
- Drag the corner of the screen toward the center.
This gesture will take a screenshot, no buttons necessary. Now, you can edit your screenshots with Instant Markup.
How to edit your screenshots with Instant Markup
As soon as you take a screenshot, it will appear at the bottom left corner of your screen and wait there for a few seconds before fading away. During that time, you can tap on it to enter Instant Markup mode.
With Instant Markup, can use a marker, highlighter, pencil, eraser, or Magic Rope to edit and annotate your screenshot. You can also change the color of the writing tools from white, black, blue, green, yellow, and red. Instant Markup lets you crop your screenshots, too. Touch and hold one of the edges or corners and drag it to the new crop.
There are four additional tools you can add to a screenshot in Instant Markup by tapping the More button in the bottom right corner of the screen (it looks like a plus symbol), which are:
- Add a text field - This lets you add a layer of text to your screenshot. Tap it to select the tool, then tap the newly added text field to call up the keyboard so you can write your funny quip.
-
Signature - If you've already created a signature in Preview, you'll be able to add it to your screenshot from here.
- Magnifier - This is a call-out feature that will zoom in to a particular area that fits within the magnifier you've placed. You can resize and reshape the Magnifier border, and increase or decrease the amount of zoom.
-
Shapes - You can add a particular shape to your screenshot from square, circle, speech bubble, and arrow. You can either have a solid or outlined shape, and you can adjust its size and shape by dragging the edges.
If you make a mistake, you can undo each previous step by tapping the undo button in the bottom left of the screen. Conversely, you can redo any steps by tapping the redo button in the same location.
You can also share your screenshots at any time, right from the Instant Markup interface. Simply tap the Share button and choose whichever service you like.
How to find your screenshots on your iPad or iPad Pro
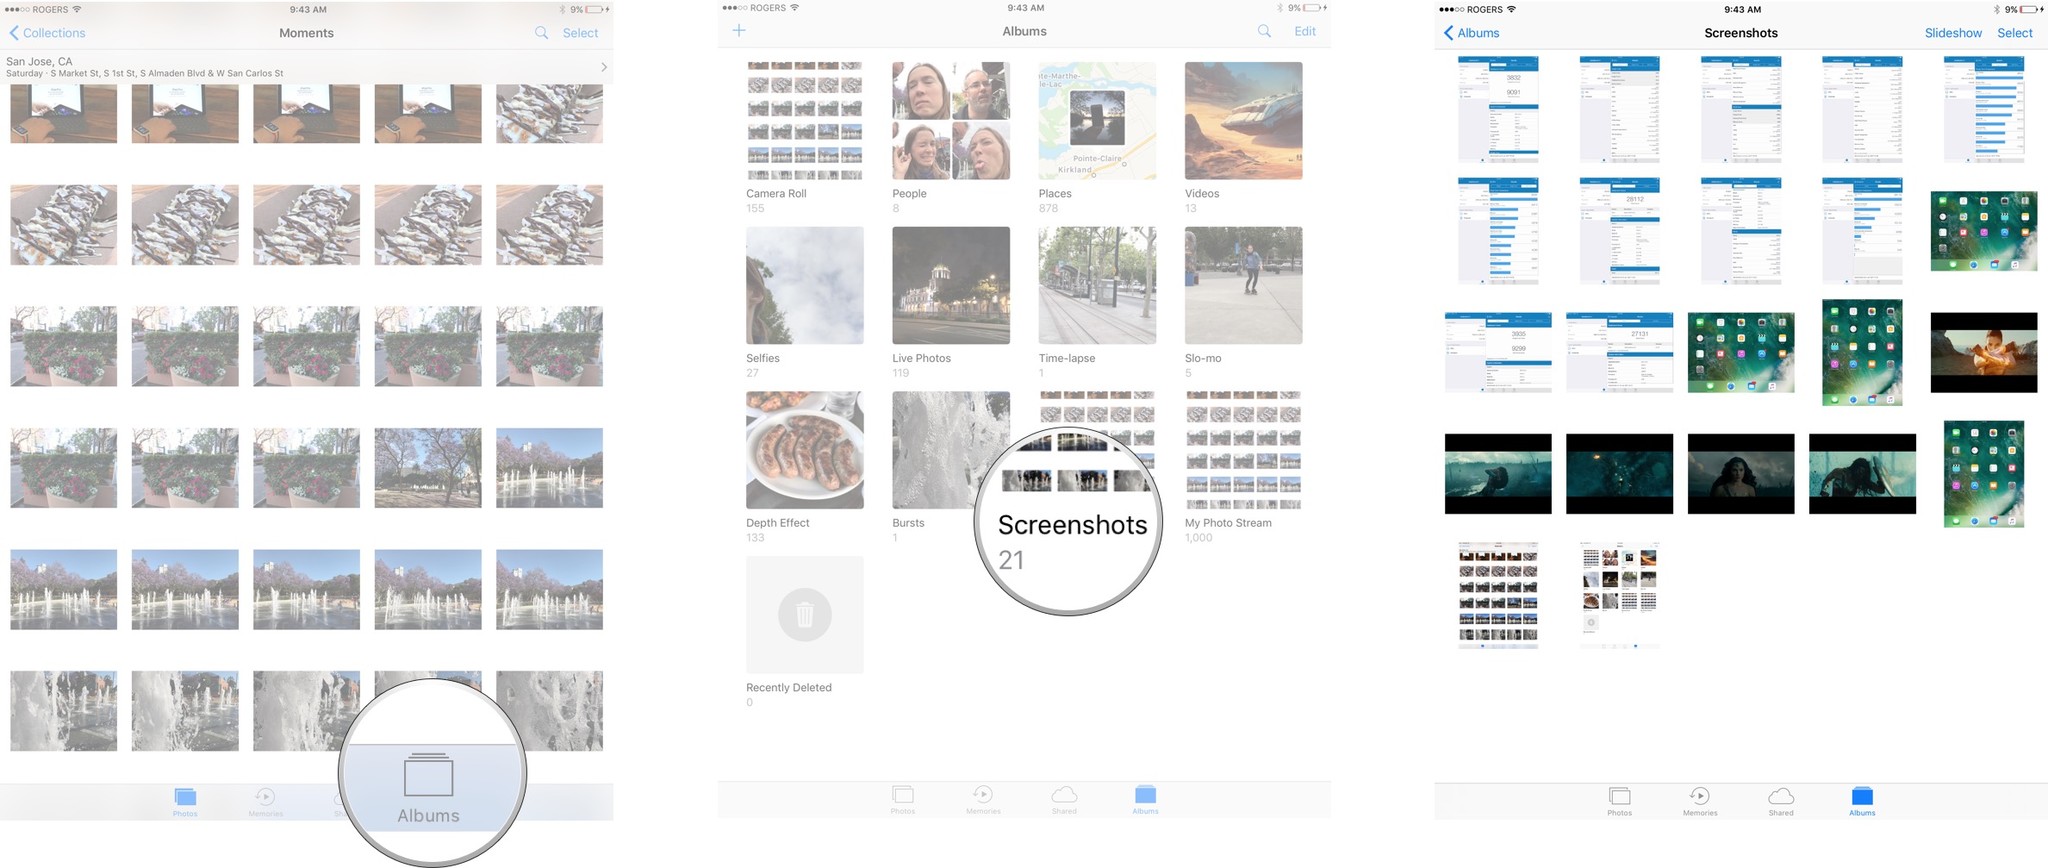
If you skip Instant Markup, you can still access your screenshots, edit, annotate, and share them, at any time.
You can also find your screenshots in the main Photos and Camera albums but you'll have to scroll through everything else as well.
How to take screenshots with iPhone, iPad, Apple Watch, Apple TV, and Mac
- How to screenshot your Apple Watch
- How to screenshot your iPhone
- How to screenshot your iPad
- How to screenshot your Apple TV
- How to screenshot your Mac
Updated May 2020: Updated for the 2020 iPad lineup.
Get More iPad
Apple iPad

iPad Pro From $799 at Apple iPad Air From $599 at Apple iPad From $329 at Apple
Here are all the ways you can take a screenshot on your iPad posted first on http://bestpricesmartphones.blogspot.com


No comments:
Post a Comment