
If you want to allow your Nintendo Switch to do things it normally cannot, you're going to have to do a Switch jailbreak. There are a few things to keep in mind before you get started. It's important to remember that there are risks involved when attempting to strong-arm a piece of hardware into doing something for which it was never intended. You, of course, will be voiding any warranties and you will also be running the risk of damaging your Switch and not being able to play the best Nintendo Switch games on it anymore. Therefore it would be recommended that you attempt these adventures on a secondary Switch or one which would not be devastating to lose.
Now that we have all that out of the way, let's get on with the fun part!
Products used in this guide
- The key: NF RMC Jig ($8 at Amazon)
- The connection: USB-A to USB-C cables ($11 at Amazon).
What you will need to jailbreak your Switch

- The right Switch: You will need a Nintendo Switch console that was sold before July 2018 as they remain unpatched and can run the custom firmware (CFW) needed. Additionally, this should be a Switch you don't mind risking.
- An RMC Jig: To gain access to Recovery Mode (RCM), you need a way to ground the pins on the right Joycon rail. While there are ways you can do this with items you have around the house, it's really not recommended as you significantly increase the chances of frying your Switch before you even get going. If you have access to a 3D printer, you can print one yourself. Additionally, you can purchase pre-made RCM jigs on Amazon, and eBay for pretty cheap, and the cost is worth your sanity.
- A computer: You'll need a computer, whether a Mac or a PC, so you can download the software we'll be using to hack the Switch.
- A USB-C to USB-A cable: You'll need to make a connection between your Switch and your computer.
How to Jailbreak your Switch
There are several different ways to jailbreak your Switch, but we'll cover the method we used. Click on any of the links to learn more about what you need to do in each step.
- Boot your Switch into Safe Mode
- Use the RMC Jig
- Follow instructions for Mac or PC
1. Booting your Switch into safe mode
-
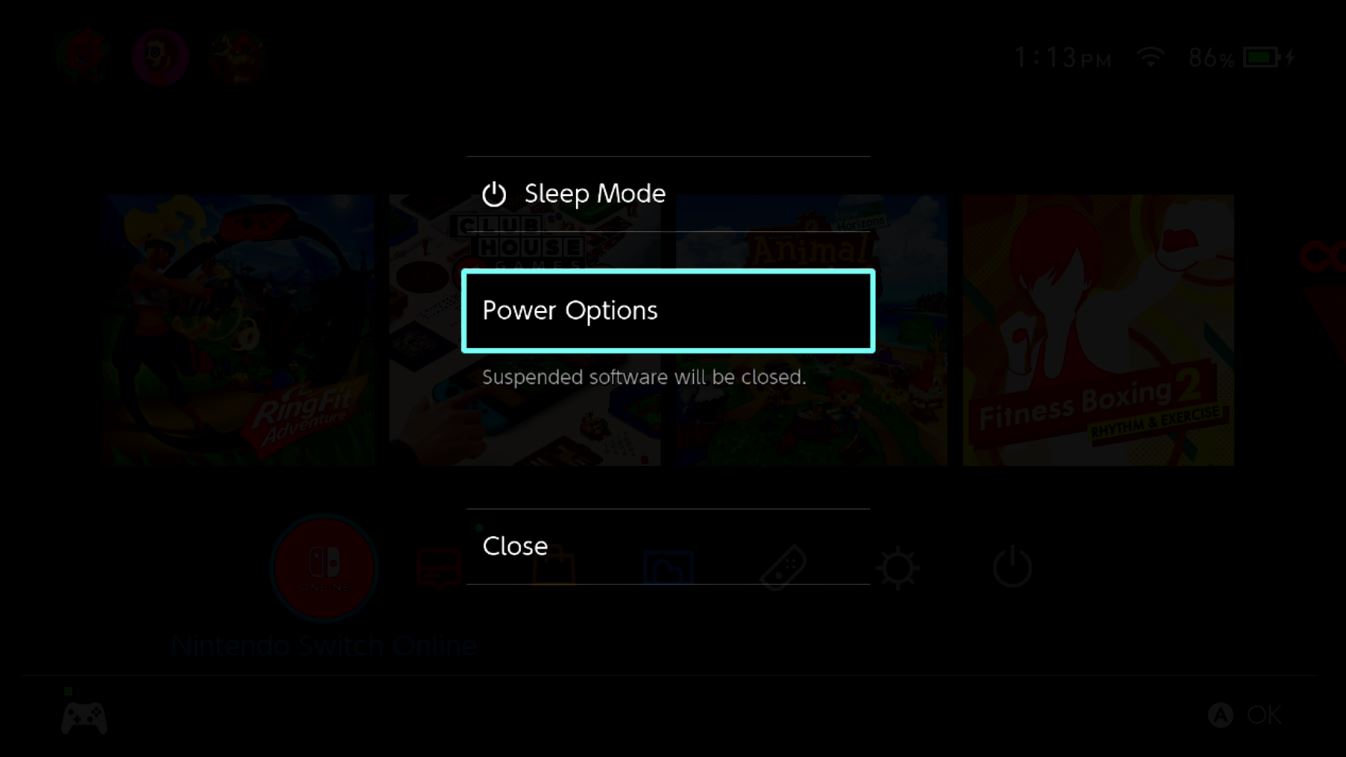
You'll first need to ensure that your Switch is shut off completely. To start, hold down the Switch's power button until a menu pops up.
- Select Power Options.
-
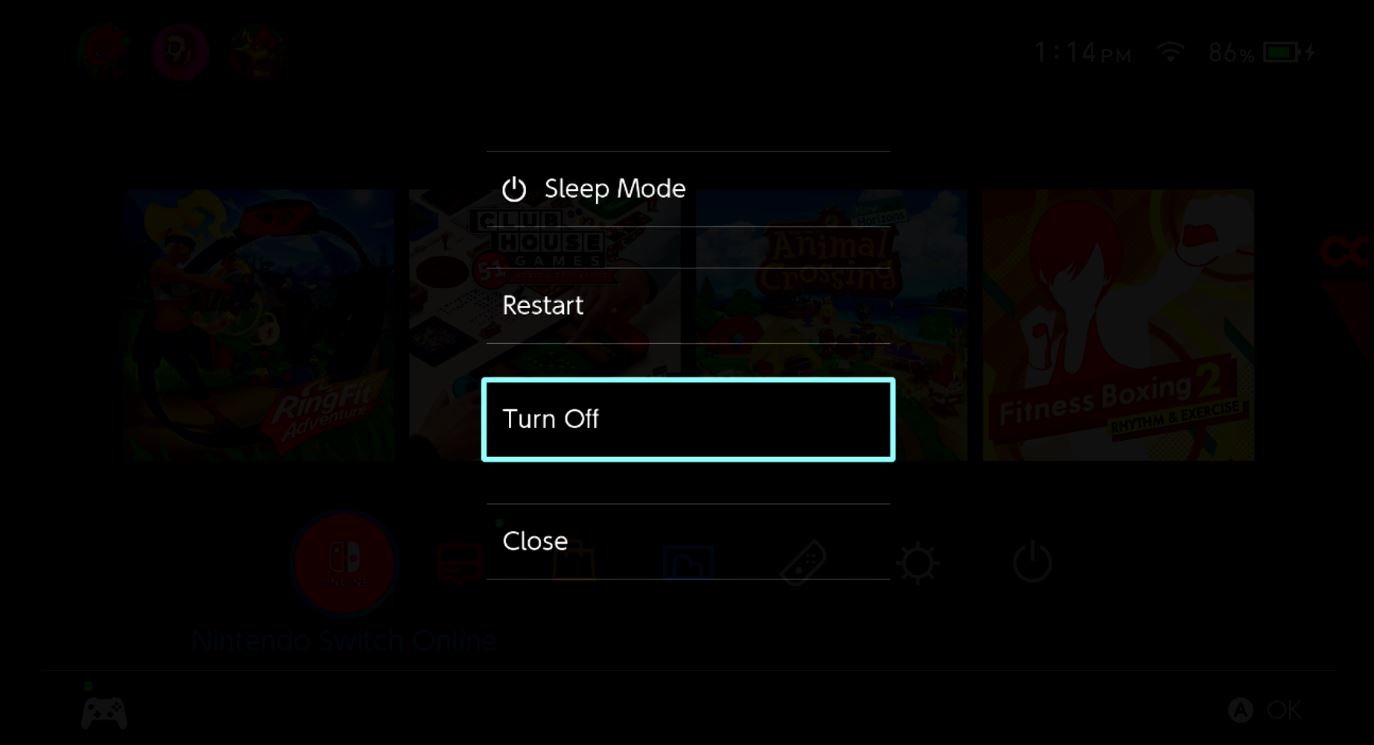
Now select Turn Off.
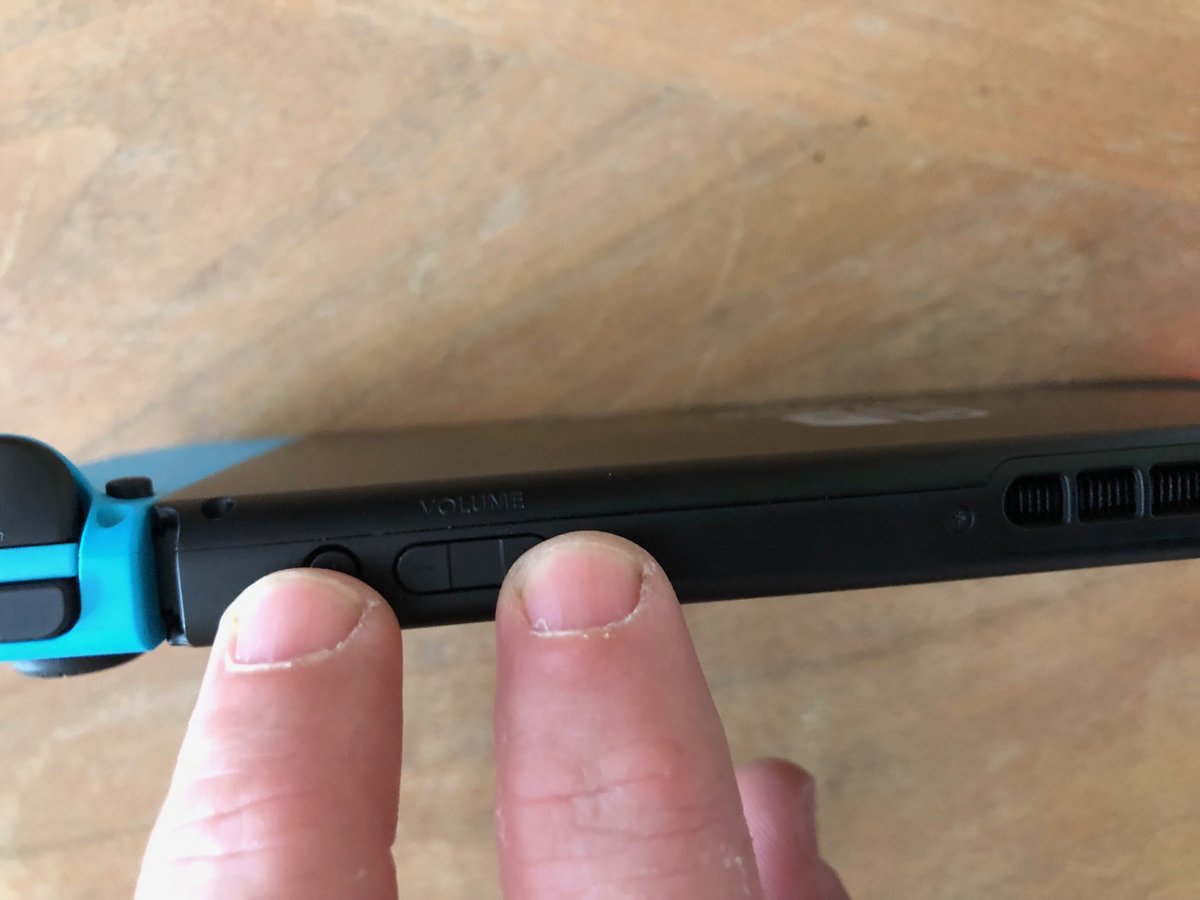
2. Use the RMC Jig
Short the pins on your Switch with a Jig. There are a few ways of shorting the pins on your Switch, but the safest and most effective method is to use a jig that you can find in multiple places on the internet for cheap. If you don't want to spend any money, you could also build your own jig with a paper clip or by 3D printing one. There is also a pretty in-depth tutorial on building a paperclip jig here
- Insert the jig into the Switch's right Joy-Con rail. Ensure you have the metal prongs pointing down so the pin will be properly grounded.
-
Finally, push the power button and the volume up button for about 5 seconds. If your screen is black and you don't see the Nintendo logo, that means you did it correctly. If, however, your Switch boots up per usual, you'll want to try again.


If you purchased an RCM Jig or 3D printed one, this process should be reasonably easy. If you decided to make your own though or used one of the other methods, it can take a few times to find the right spot. If you're totally unsuccessful in getting into RCM, you'll want to consider buying an RCM Jig or 3D printing one.
You can now move on to steps to complete the process on either Mac or Windows.
3. Now switch to your computer

We've covered the next set of steps for both Mac users as well as PC users.
Mac users
- Using the UBS cable, plug your Switch into your computer.
- Use your web browser to visit the Web Fusee Launcher here.
- Select the button that says, "Do the thing!"
- Select "APX" and confirm. Once you see the {re}switched screen on your Switch, you know you have done it!
To get back to normal, remove your jig and power off your system by holding down the power button. When you turn it back on, it will be like nothing ever happened!
PC Users
- Using the USB cable, plug your Switch into your computer
- Download Zadig USB driver installer here
- Run Zadig once you have it downloaded
- The selected device from the drop-down on top should be "APX" (that is your Switch).
- Select the driver "libusbK (v3.0.7.0)"
- Now click the "Replace Driver" button
- Download TegraRcmSmash from the download section here.
- Download the sample payload here
- Now, all you have to do is drag the Fusee.bin file onto the TegraRCMSmash.exe
Once you see the {re}switched screen on your Switch, you know you have done it!
To get back to normal, remove your jig and power off your system by holding down the power button. When you turn it back on, it will be like nothing ever happened!
Now that you know how to set your Switch free, it will just be a simple matter of injecting a custom firmware once it gets released. Custom firmware will allow users to do just about anything under the sun. I, for one, can't wait to start playing Commodore 64 games on my Switch.
Other Switch Jailbreak methods
As we said before, there's more than one way to jailbreak a Switch. We've included a few other tips and instructions for jailbreaking using some other methods.
Other things you might need to jailbreak a Switch using different methods
To jailbreak a Switch using other methods, you'll still need to use the jig and a USB-A to USB-C cable as well as some other tools.
- A MicroSD Card: You should have a MicroSD Card that is 64GB or larger. While it is possible to use one as low as 4GB, you'll want 64GB or higher to avoid frustration with having to move or backup files.
- A Payload sender app or Payload injector: If you're using Windows, use TegraRCMGUI. If you're using MacOSX or Linux, use Web Fusée Launcher. If you want to do this on Android, use Rekado. Much like the RCM Jig scenario, if you're looking to make things all around easier and don't mind sparing a few bucks, you can also purchase a payload injector from Amazon and eBay, most will also include an RCM Jig. If you're just looking to get up and running, the apps are fine, but you really should consider a payload injector in the long term, as they are really helpful.
- A test payload: A test payload gives you a place to test your payload environments safely. You can download this test payload and place it somewhere on your computer that you'll remember. We'll refer to it later.
- USB Cables: Lastly, to make some other processes doable, you'll possibly need the right cables for the job:
- USB-A to USB-C cable
- A USB-C cable
- A USB-OTG cable (Android)
How to jailbreak Switch: Additional methods
Here are some of the other programs and tools you can use to jailbreak your Switch. These steps assume that you've put the RCM jig in place and have the Switch connected to your computer using a cable.
TegraRCMGUI method
- With your Switch in RCM Mode, open TegraRCMGUI
- Go to the Settings tab
- Click on Install Driver (the APX driver needed will be installed)
- Once the driver is installed, go to the Payload tab
- Plug your Switch into your computer using your USB cable
- Your computer will connect to your Nintendo Switch, and you'll hear the new device alert. If your Switch turns on, try entering RCM Mode again
- Once your Switch is plugged in, the red icon should turn green and say 'RCM OK.'
- On the Payload tab, browse to and select the fusee-test.bin test payload you downloaded earlier
- Once selected, choose 'Inject Payload' if it hasn't already started. If you get the error 'RC=-50', restart TegraRCMGUI and try again.
Rekado method
- Open Rekado on your Android device
- Browse to the Payloads section. Approve the requests for storage access
- Click the '+' button and select fusee-test.bin file
- Plug your Switch into your Android device using your USB cable or adapter
- You should get a prompt to open Rekado with the option to use by default. Hit OK
- Under the Select Injector menu, choose the Boot Payload option and fusee-test.bin
If all went well, you will get a message on your Nintendo Switch saying it was successful and that your device is vulnerable, and you can send custom payloads before it reboots after the countdown. If you do not get that message or it appears that nothing has happened, you'll want to try again a few more times or perhaps even try a different cable. If it still doesn't work after that, your Switch is likely patched.
SD Card Setup

At this point, you now know how to access RCM mode, send payload files, and we've determined that your Nintendo Switch is vulnerable to Fusée Gelée. The next step in the process is setting up your SD card with the right software to make all the magic happen for you. Given how long folks have been modifying the Nintendo Switch, there's already a fantastic resource to help with this step.
- Go to the SD Setup site
- Choose Nintendo Switch
- From the Pre-configured bundles, choose 'Kosmos Defaults.'
- Add any other downloads you wish to include. You can view their descriptions if you hover over the names
- Once all your options are chosen, click on 'Download your ZIP.'
After you click on Download your ZIP, the file will begin downloading. You'll want to save this somewhere you will remember. Once downloaded, you can extract the file and move the data to your SD card as required.
- SD - Copy the contents of this folder to the root of your SD card
- Payloads - Contains all the Fusée Gelée payloads that will be used with your payload apps/injector, including Hekate and Lockpick_RCM. You will want to keep a copy of the payloads folder on your computer.
You may have additional folders included depending on which options you chose when putting together your zip file. Once you're done copying all these files to your SD card, you can then re-insert your SD card back into your Nintendo Switch, but don't power it on. We're not quite done.
SD Card Setup Next Steps
Now that you have your SD card back in your Nintendo Switch and all the files are in place, there a few other things remaining to consider. As we noted early on, you should never jailbreak your "daily driver" Nintendo Switch. There's always the potential for it to get bricked in the process, your warranty is null and void, and of course, Nintendo could also end up banning your account and console.
With that being said, there are a few essential steps you should take to help with avoiding the brick scenario before you do anything else. Not flawless by any means, but it's better to have a potentially working backup than no backup at all, and that's where backing up your NAND and BIS Keys comes in. Here's how you can do that!
- Enter RCM Mode, but this time, instead of sending the test payload, you'll want to send the Hekate payload that was included in the payloads folder of your SD Setup download
- In Hekate, go to Tools > Backup eMMC > eMMC BOOT0 & BOOT1
- When complete, remove your SD card and insert it into your computer. Then copy the 'backup' folder to a safe location or two. Once copied, you can delete it from your SD card
- Insert your SD card back into your Switch
- In Hekate, this time choose eMMC RAW GPP - This is where having a large SD card comes in handy. If your SD card is 32GB or under, Hekate will give instructions every few minutes on what to do. Once the backup process is completed, copy the 'backup' folder off of your SD card and store it in a safe place on your computer. You can then delete the 'backup folder on your SD card.
- In Hekate, close the Backup menu, go back to the Home tab and tap Reboot > RCM
- Now, in Hekate, under Payloads, send the Lockpick_RCM.bin payload to your Switch. It should have been included in your SD setup
- Once Lockpick processes and finds your keys, press the power button to shutdown
- Insert your SD card into your computer.
- Then copy the /switch/prod.keys file to a safe location
While those backups are big and annoying to move around, should you ever need to restore your Nintendo Switch, they're great to have. Keep them safe and stored in multiple places if possible. That way, you're sure to have a working copy stored somewhere.
SD Card Setup The Wrap-up
Congratulations! If you made it this far, give yourself a hand. You totally deserve it. From here on out, you should be able to get your Nintendo Switch into RCM Mode, load up Hekate using the payload sending app/loader of your choice, and then launch the Atmosphere custom firmware. As a quick reminder, here are the steps:
- Enter RCM Mode
- Inject the Hekate payload
- Once in Hekate, tap Launch, then CFW
From there, you'll have access to the Homebrew Menu as well, where you can explore additional Homebrew apps and tools available for the Nintendo Switch in the Homebrew App Store. To access the Homebrew Menu, hold down the R key while opening apps, games, or album. Keep in mind, on apps and games, you'll need to choose a user account first.
The key
NF RCM Joy-Con Jig

The secret to Safe Mode
By sliding this jig into the left Joy-Con rail, you can force the Switch into safe mode, allowing you to hack it. This jig is 3D printed and uses a 24 AG wire rather than a flimsy paper clip. With this, you don't need to use the Xecuter dongle.
The connection
AmazonBasics USB Charger Cable

For sending data
To set everything up correctly, you're going to need a USB-A to USB-C cable. This one is highly rated and doesn't cost very much, making it the perfect choice.
Jailbreak Switch accessories
Here are some other helpful things you can use to jailbreak your Switch.
Xecuter SX Pro

The Xecuter SX Pro includes everything you need to run custom firmware on your Switch
Lamicall Switch Stand
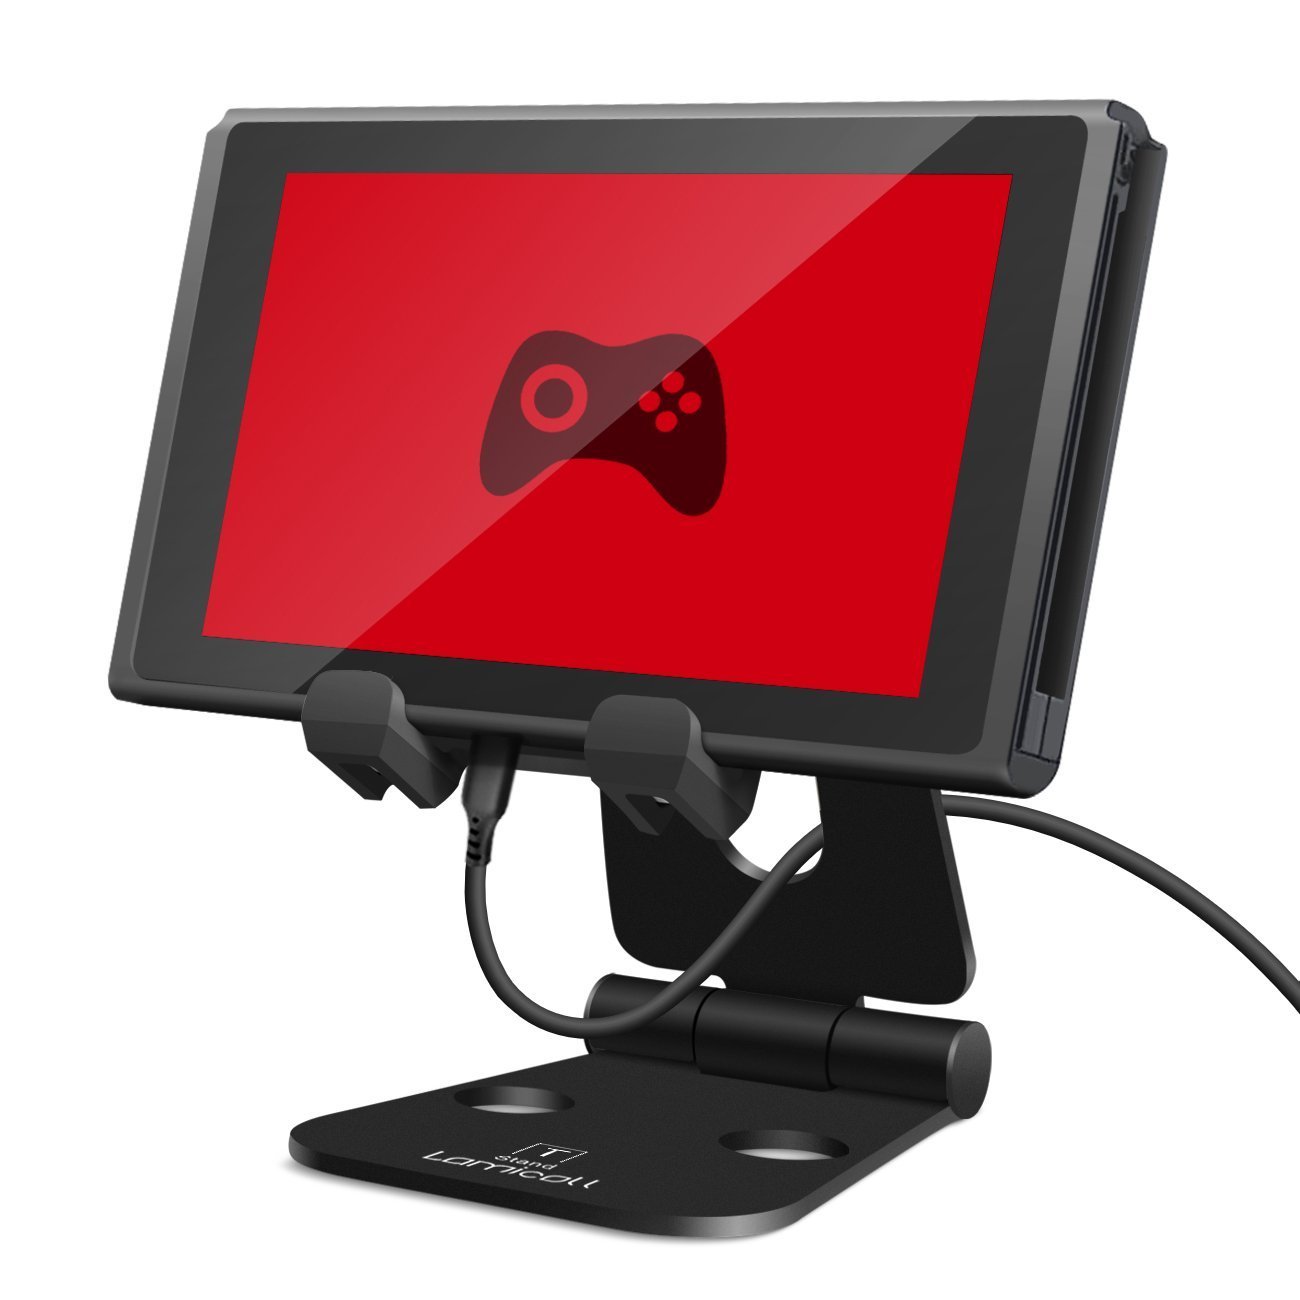
The kickstand on the Nintendo Switch is rather wobbly, which is why having an adjustable stand will come in handy while hacking your Switch.
SanDisk 128GB MicroSD Card
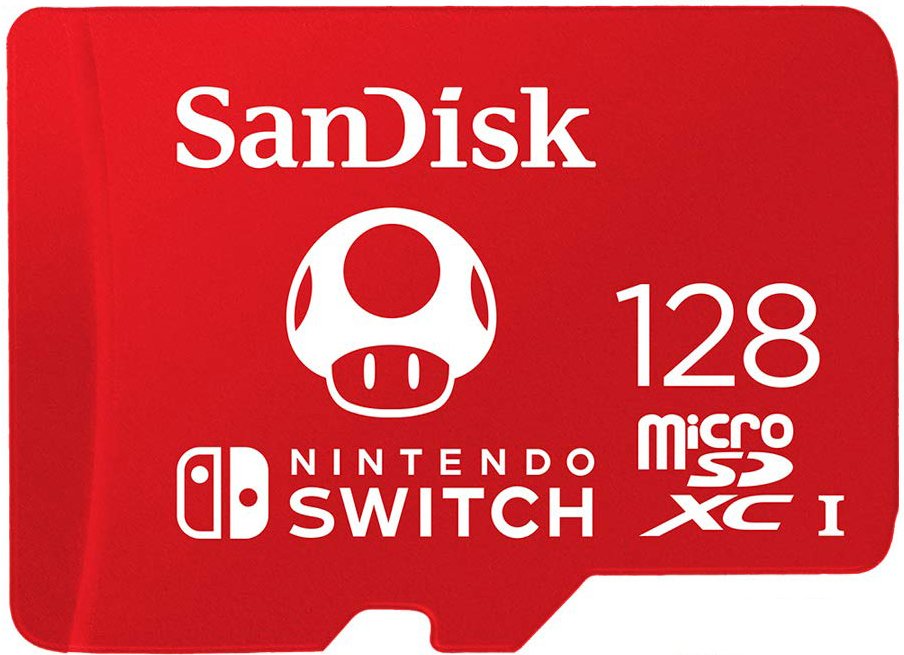
If you go with the microSD card method for hacking your Switch, we recommend getting something reliable like this SanDisk. It offers plenty of space and looks cool too.
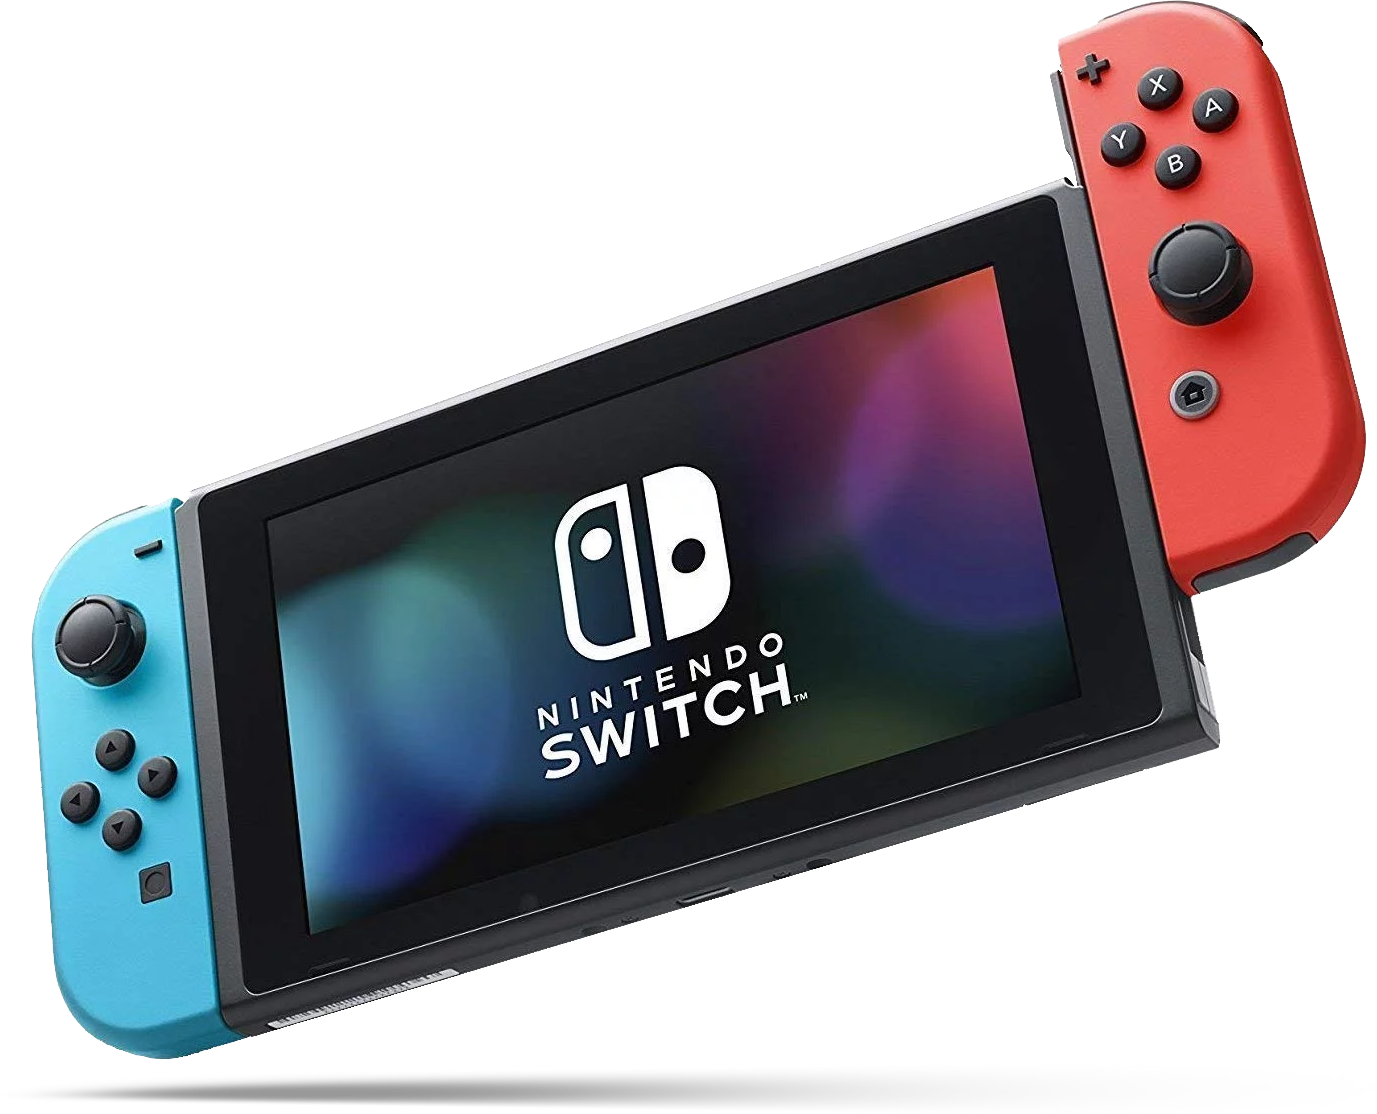
Get More Switch
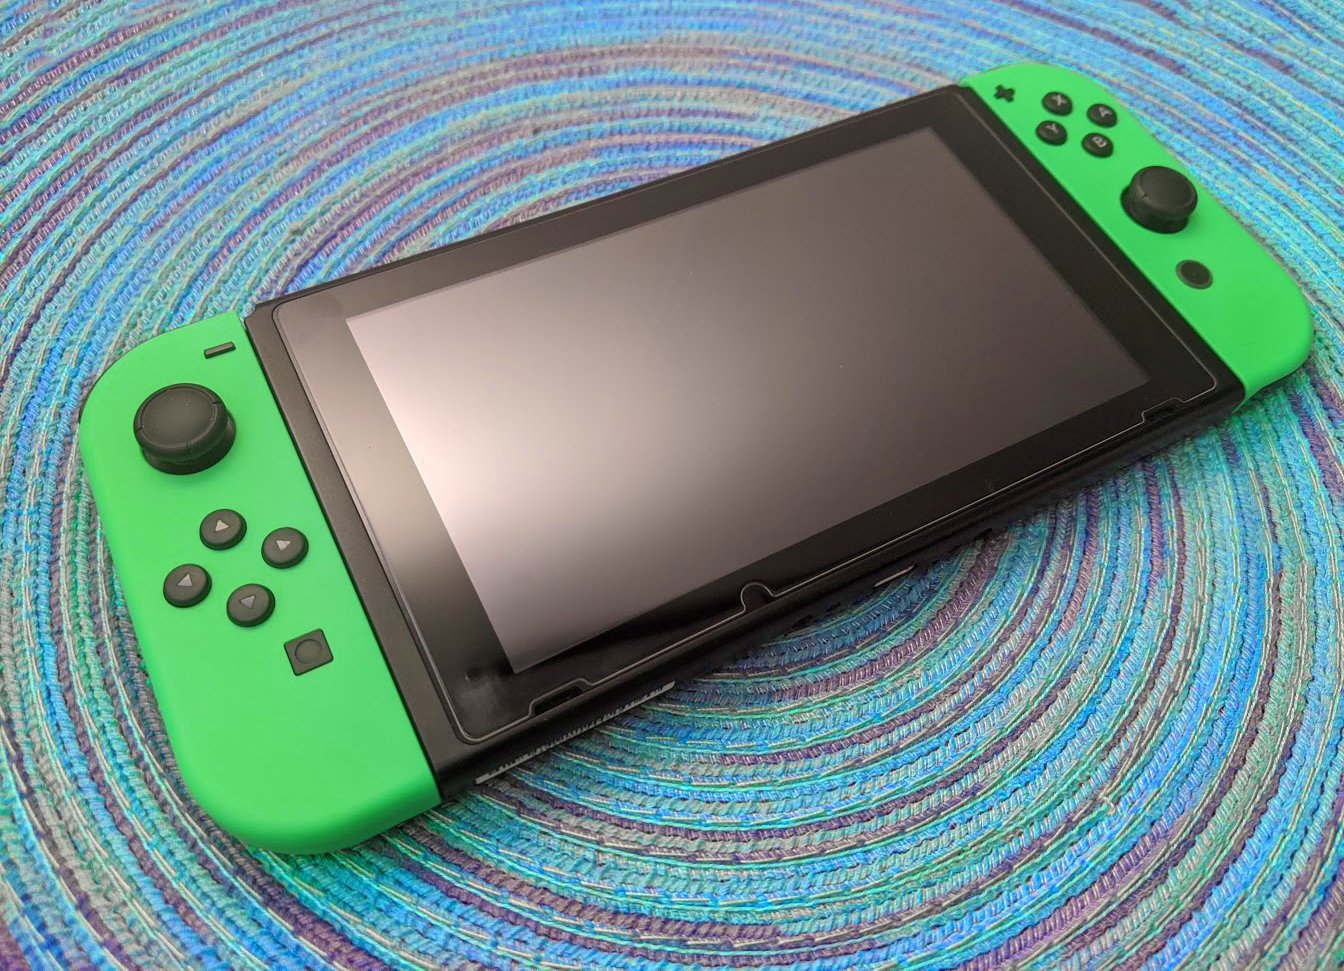
Nintendo Switch
Here's how to hack your Nintendo Switch posted first on http://bestpricesmartphones.blogspot.com
No comments:
Post a Comment