How do I clear my Mac so I can sell it? You have to reformat your hard drive and reinstall a clean version of the operating system.
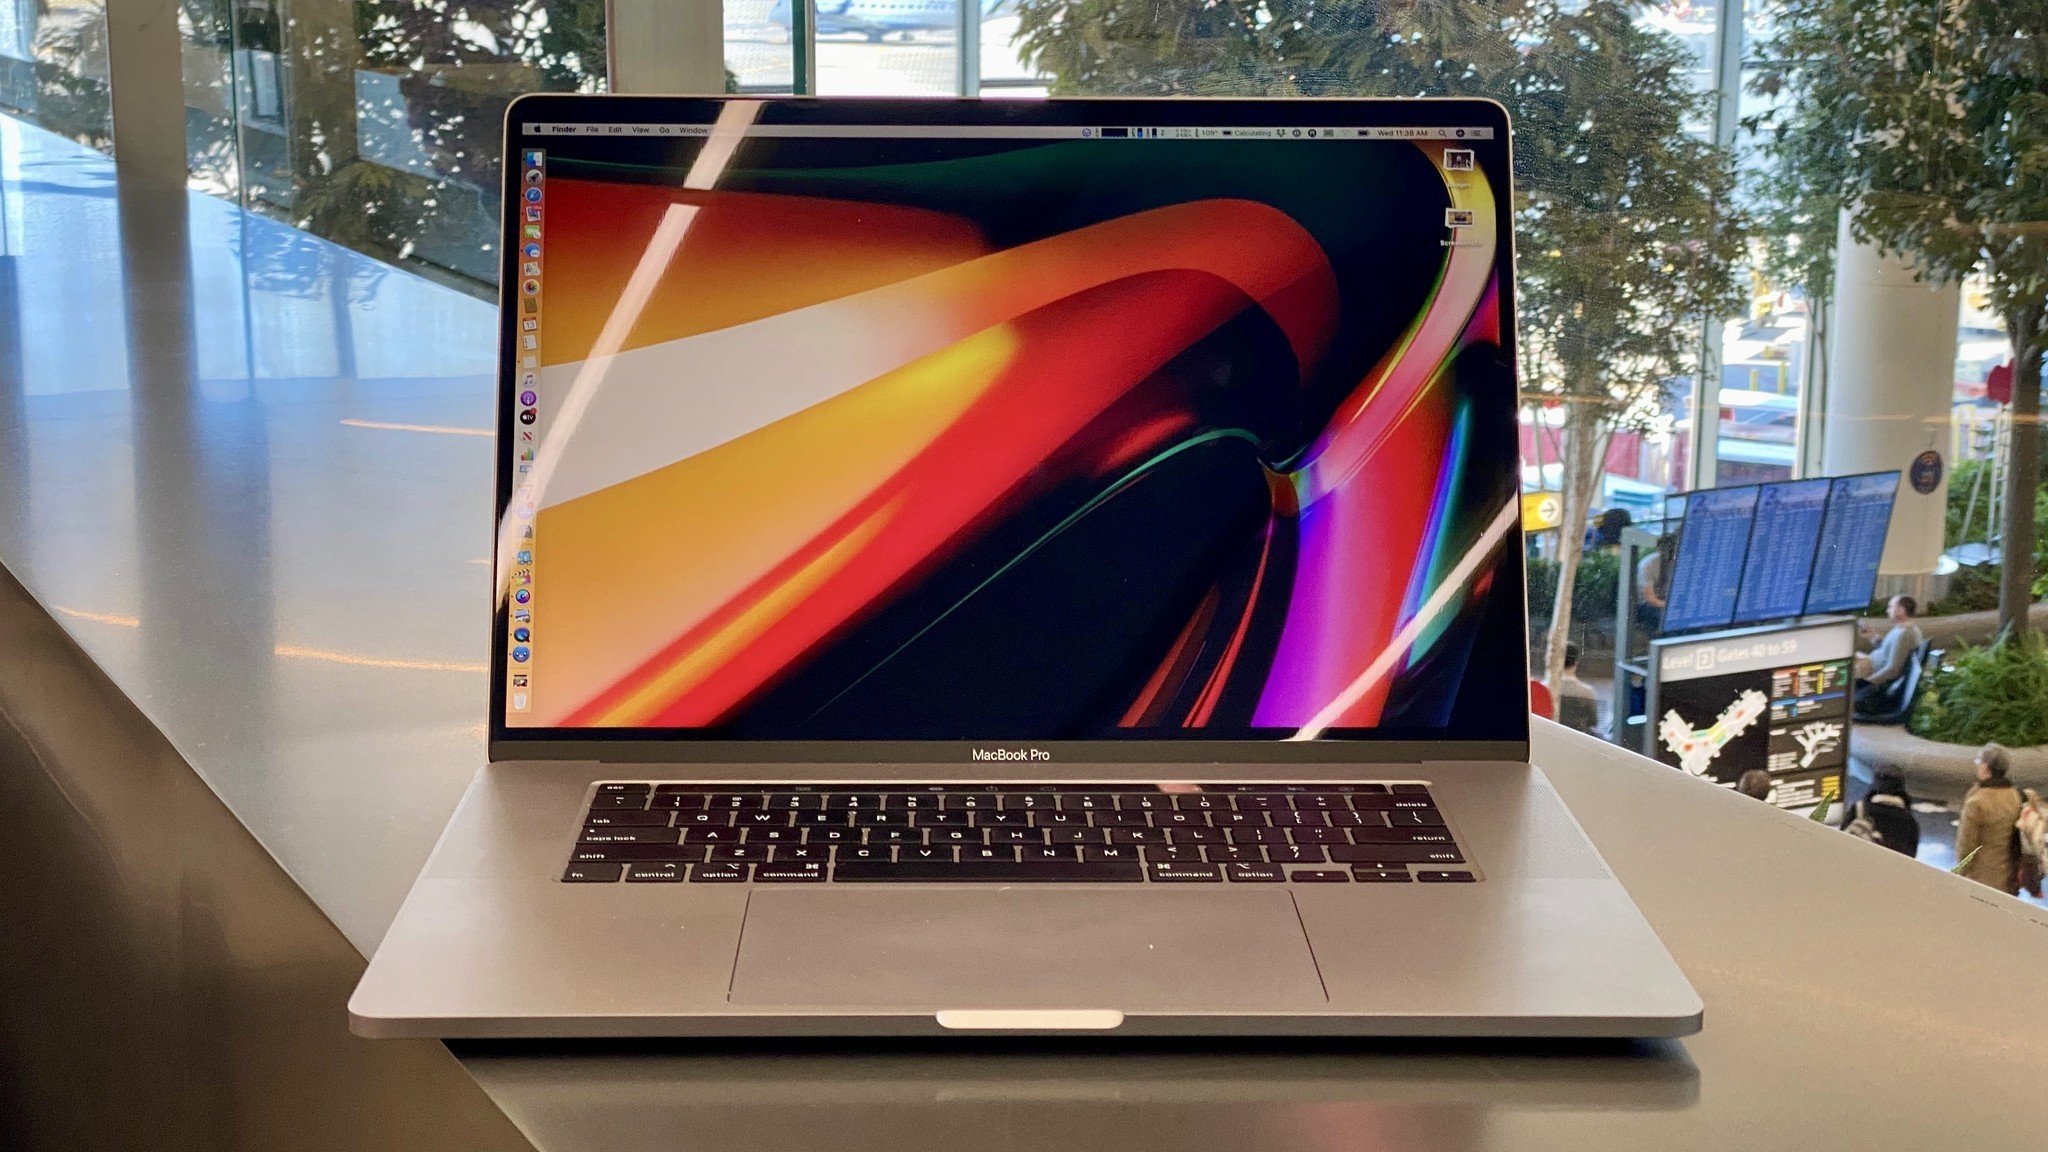
So, you're thinking about buying (or already bought) a new Mac, and you're considering what to do with your old one. You could hand it over to a friend or family member, keep it as a just-in-case backup (you know, for testing betas!), or you could sell it. If you know it's leaving your hands, you must reset the Mac before selling it or giving it away. Not only will this protect your information, but it's also harder for the new owner to use or access some of Mac's features if your digital prints are all over it.
The first thing you should do before hitting the streets to sell your old Mac is clear it of any personal data. You don't want to accidentally sell your computer to a stranger when you are still logged into iCloud.
The next step is to reinstall Mac's operating system so that the new owner can get started without having to figure out how to start up in recovering mode. Believe me that can be a pain.
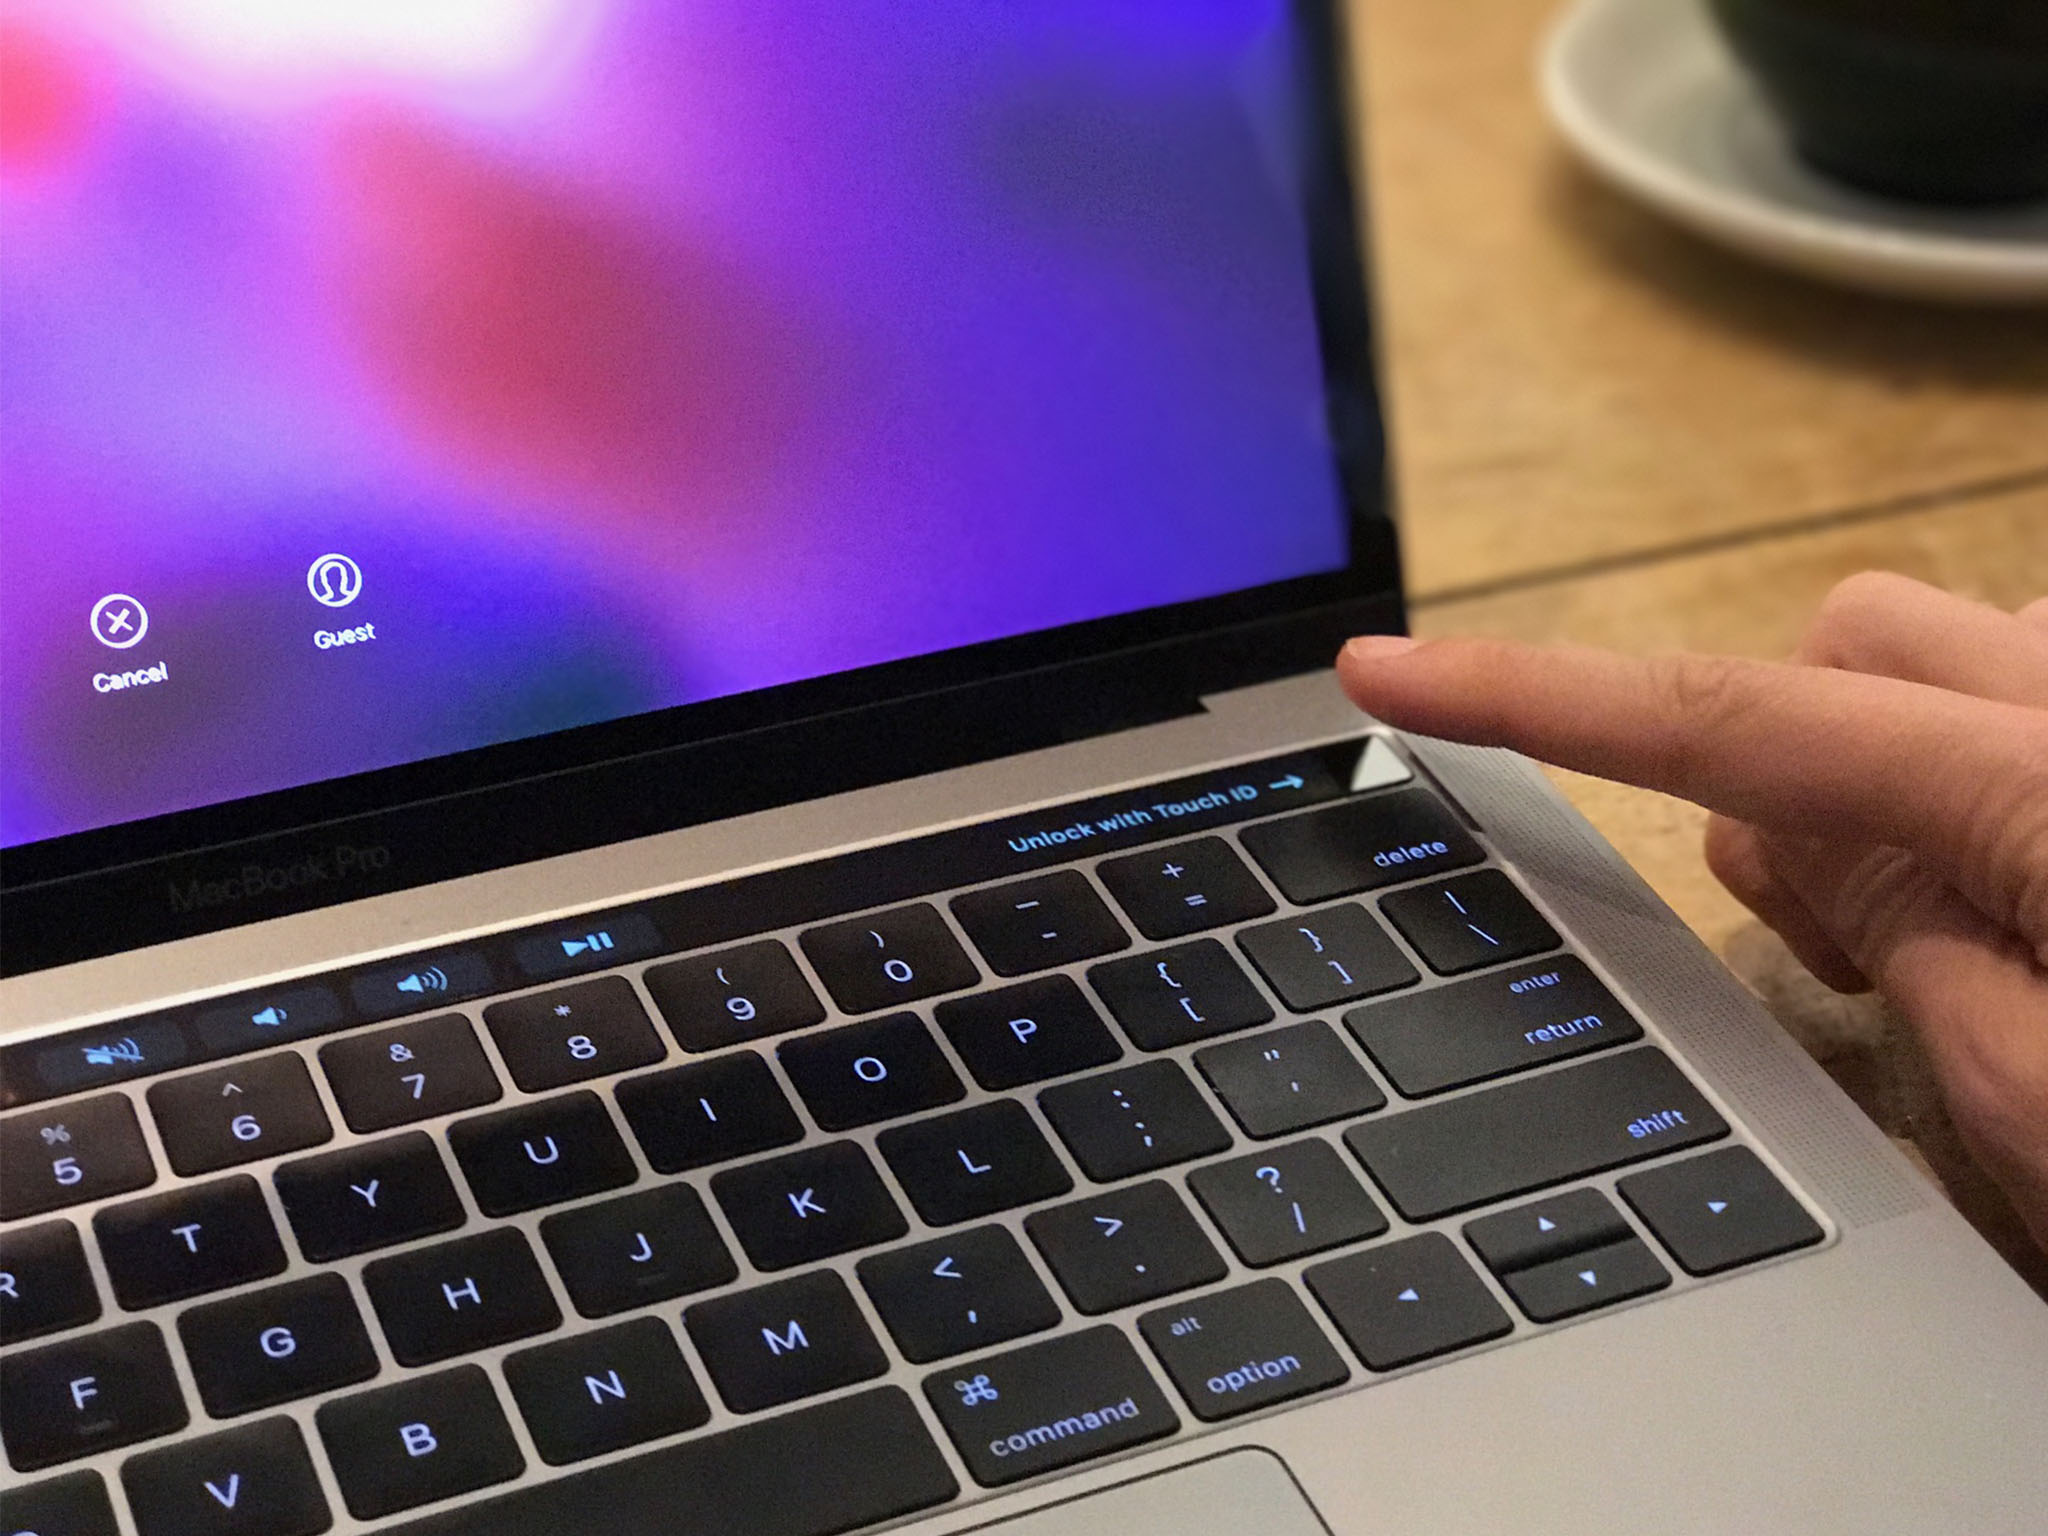
If you're going through erasing your old Mac and reinstalling the operating system, we've got some common troubleshooting tips to help you out. Don't forget to follow the additional steps if you're selling a MacBook with Touch ID.
Here's how to reset your Mac before selling it or giving it away.
Clean the Mac of your personal data before erasing it
If you're about to sell your old Mac, the one thing you don't want to do is to give away the data you've been storing on it all these years. It's a security and privacy thing for you, but it's also important for the buyer. If you leave behind anything that needs to be logged into with a password, that buyer will have to track you down and get your password to change ownership. A completely fresh-from-scratch Mac is the best way to do this.
Step 1: Back up your Mac
If you already have your new Mac on hand, you can transfer all of your data from your old Mac or use an older Time Machine backup. If you don't have your new Mac yet, well ... then you probably shouldn't be selling your old one yet. But, if you really don't think you'll need your old computer before getting your new one, make sure to back up your data so that nothing happens to it before you get what you need onto your new Mac.

Step 2: Sign out of everything
The software you have on your Mac is licensed to you, which means it doesn't get transferred to your computer's new owner (except the operating system). To avoid complications with the new owner attempting to download and install software licensed by you, make sure to sign out of everything your personal information is connected to.
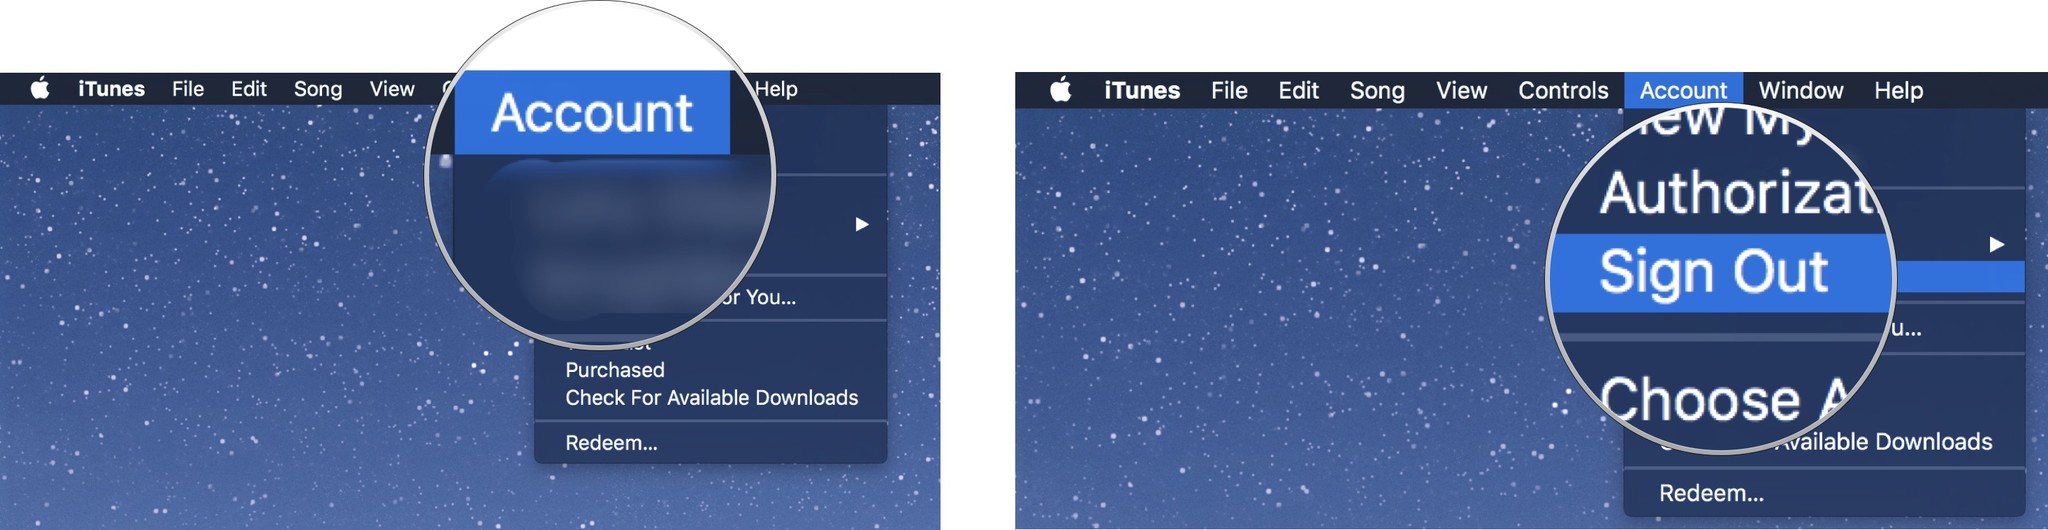
How to sign out of iTunes (macOS Mojave and older) or the Music app (macOS Catalina or later)
- Open iTunes/Music on your Mac.
- Click Account in the Menu bar on the left side of your screen.
-
Select Sign Out.
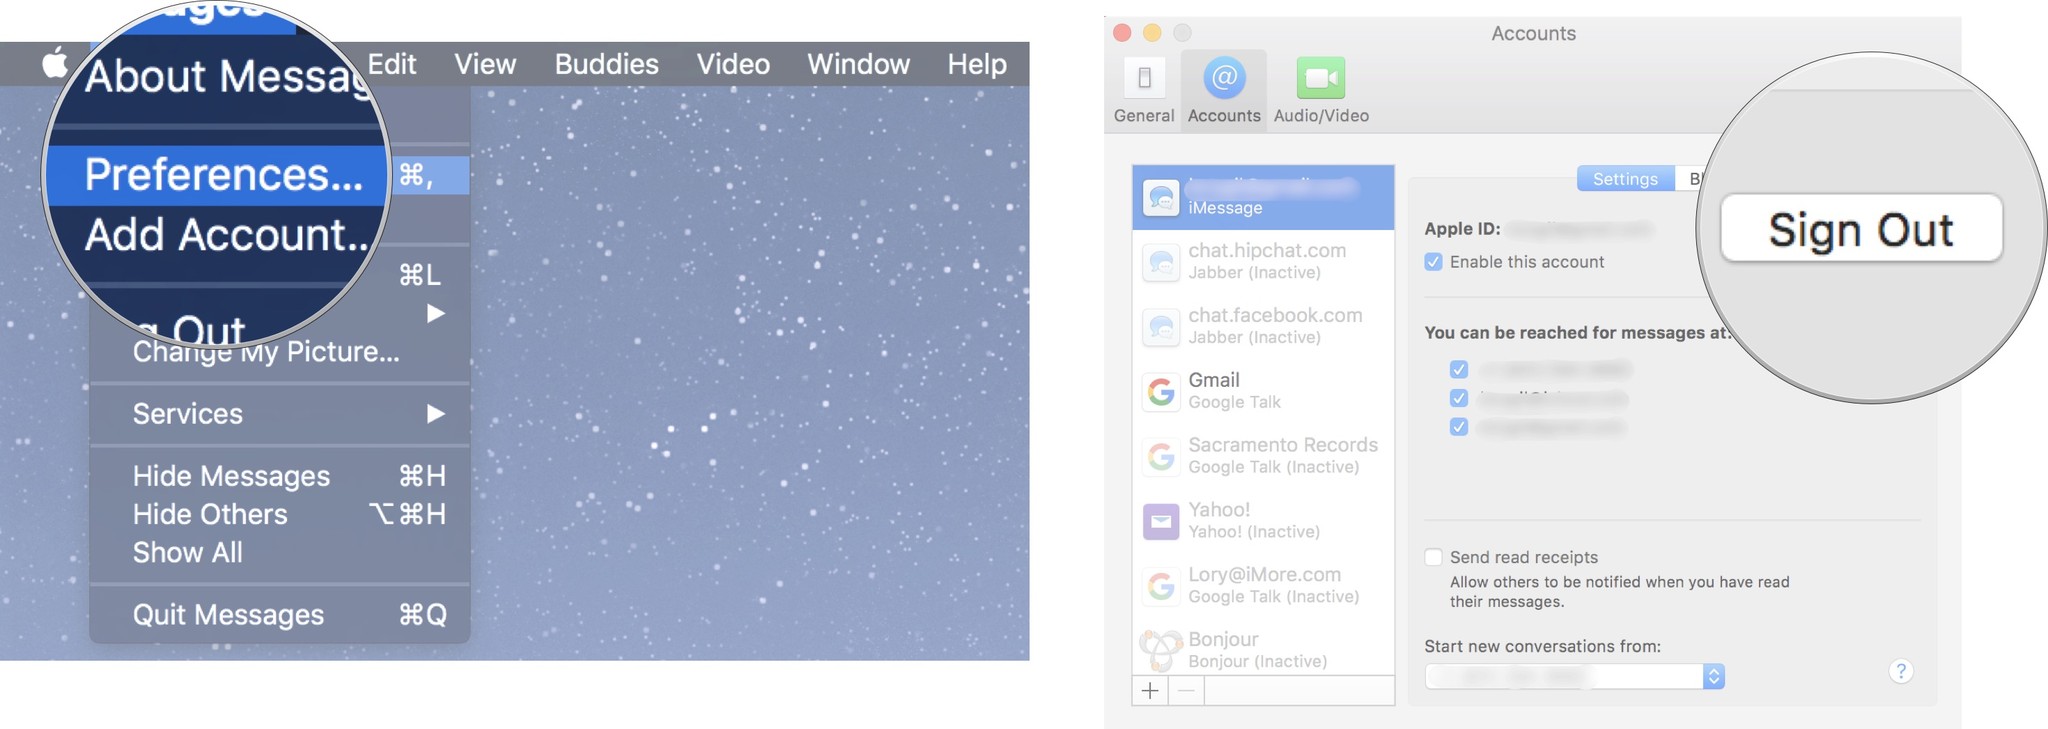
How to sign out of iMessage
- Open Messages on your Mac.
- Choose Messages in the Menu bar at the top left corner of your screen.
- Click Preferences from the drop-down menu.
- Select your iMessage account.
-
Click on Sign Out.
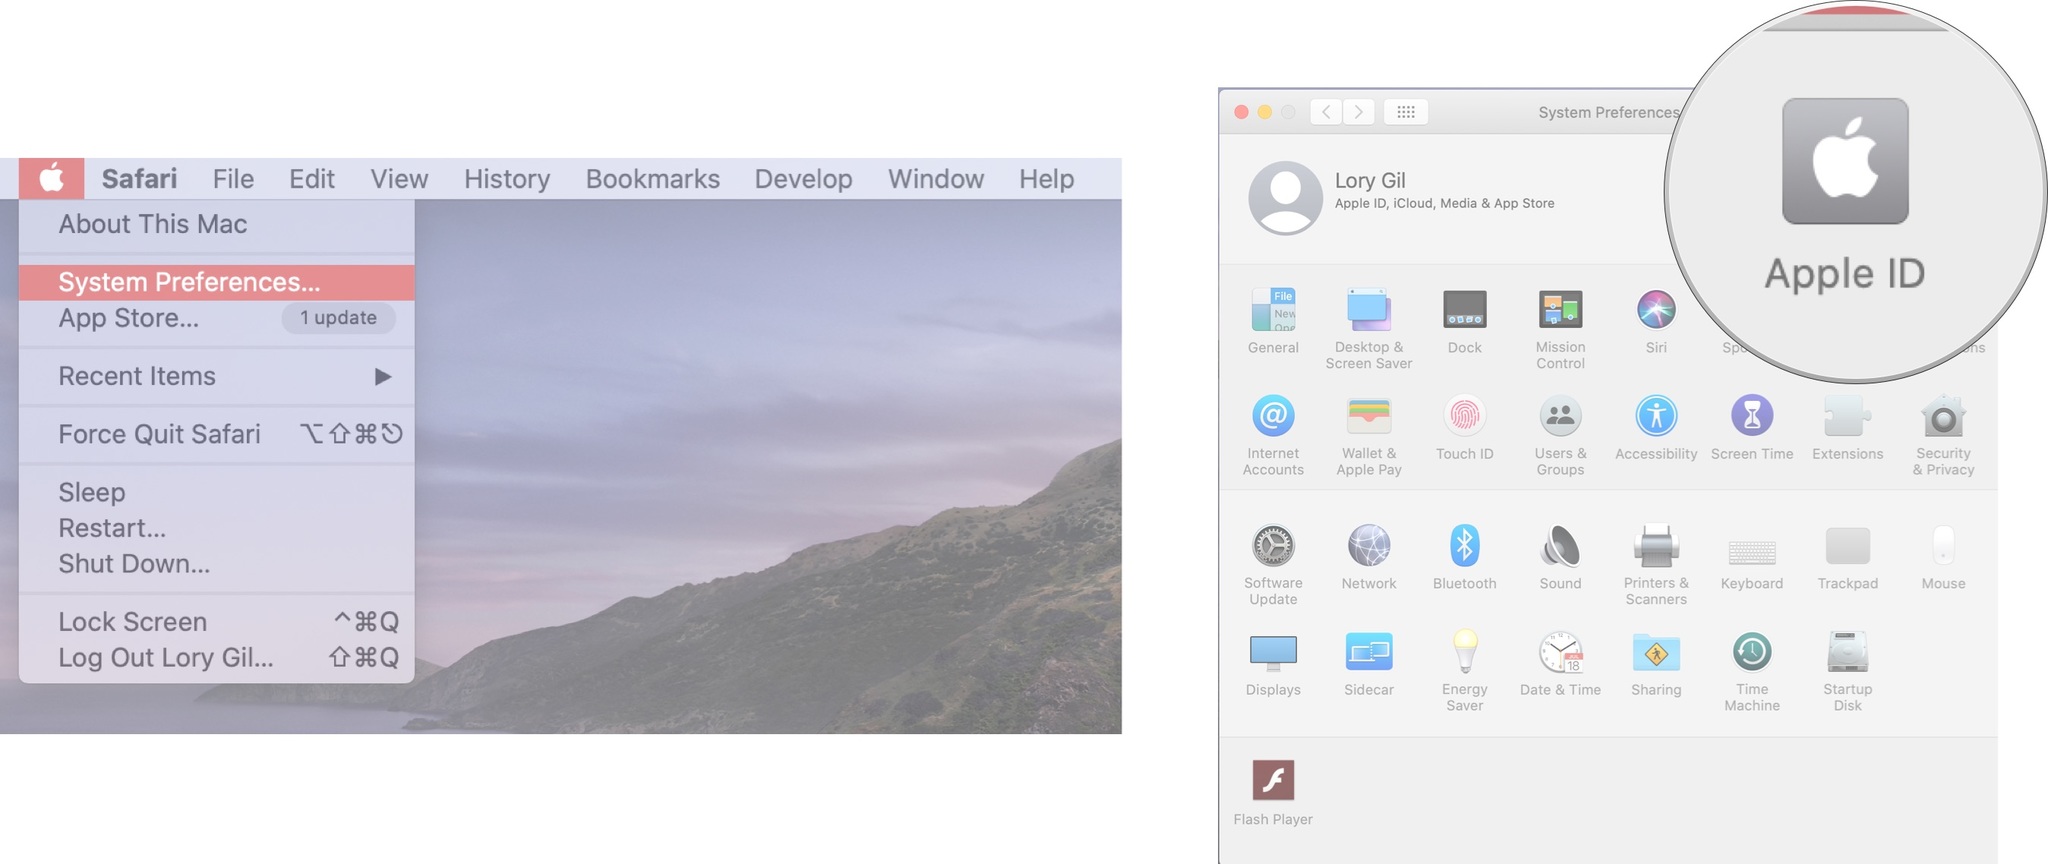
How to sign out of iCloud
- Click on the Apple icon in the upper-left corner of your Mac's screen.
- Select System Preferences from the drop-down menu.
-
Choose on Apple ID (on macOS Mojave and older, click on iCloud).
- Un-tick the box for Find My Mac.
- Enter your system password when prompted.
- Click on Overview under your Apple ID.
- Click on Sign Out.
- Untick all of the boxes that keep a copy on the Mac. You do not want to keep a copy of anything on this Mac. The data will be saved on other iCloud devices.
- Click Continue.
- Click Delete from Mac to remove Safari passwords and credit cards from this Mac.
Step 3: Unpair your Bluetooth devices
If you're keeping your Bluetooth devices, you don't want to leave them paired to a Mac that you're getting rid of. It isn't really that important of a step, but if you sell your old Mac to, say, a roommate or someone living in the same house as you, you may experience accidentally connecting back to it.
- Click on the Apple icon in the upper-left corner of your Mac's screen.
- Click System Preferences from the drop-down menu.
- Click on Bluetooth.
- Hover over the device you want to unpair.
- Click on the X next to the device.
Note: If you're unpairing a keyboard, trackpad, or mouse on a desktop Mac, be sure to have a wired one plugged in, or you won't be able to type or use a curser, and you'll have to repair it all again.
Step 4: Erase your hard drive
Once your data is backed up and you've signed out of everything that might connect your old Mac to your personal information, you can erase everything on it by reformatting the hard drive.
- Restart your Mac.
- While the startup disc is waking up, hold down the Command+R keys simultaneously. Your Mac will boot into macOS Recover.
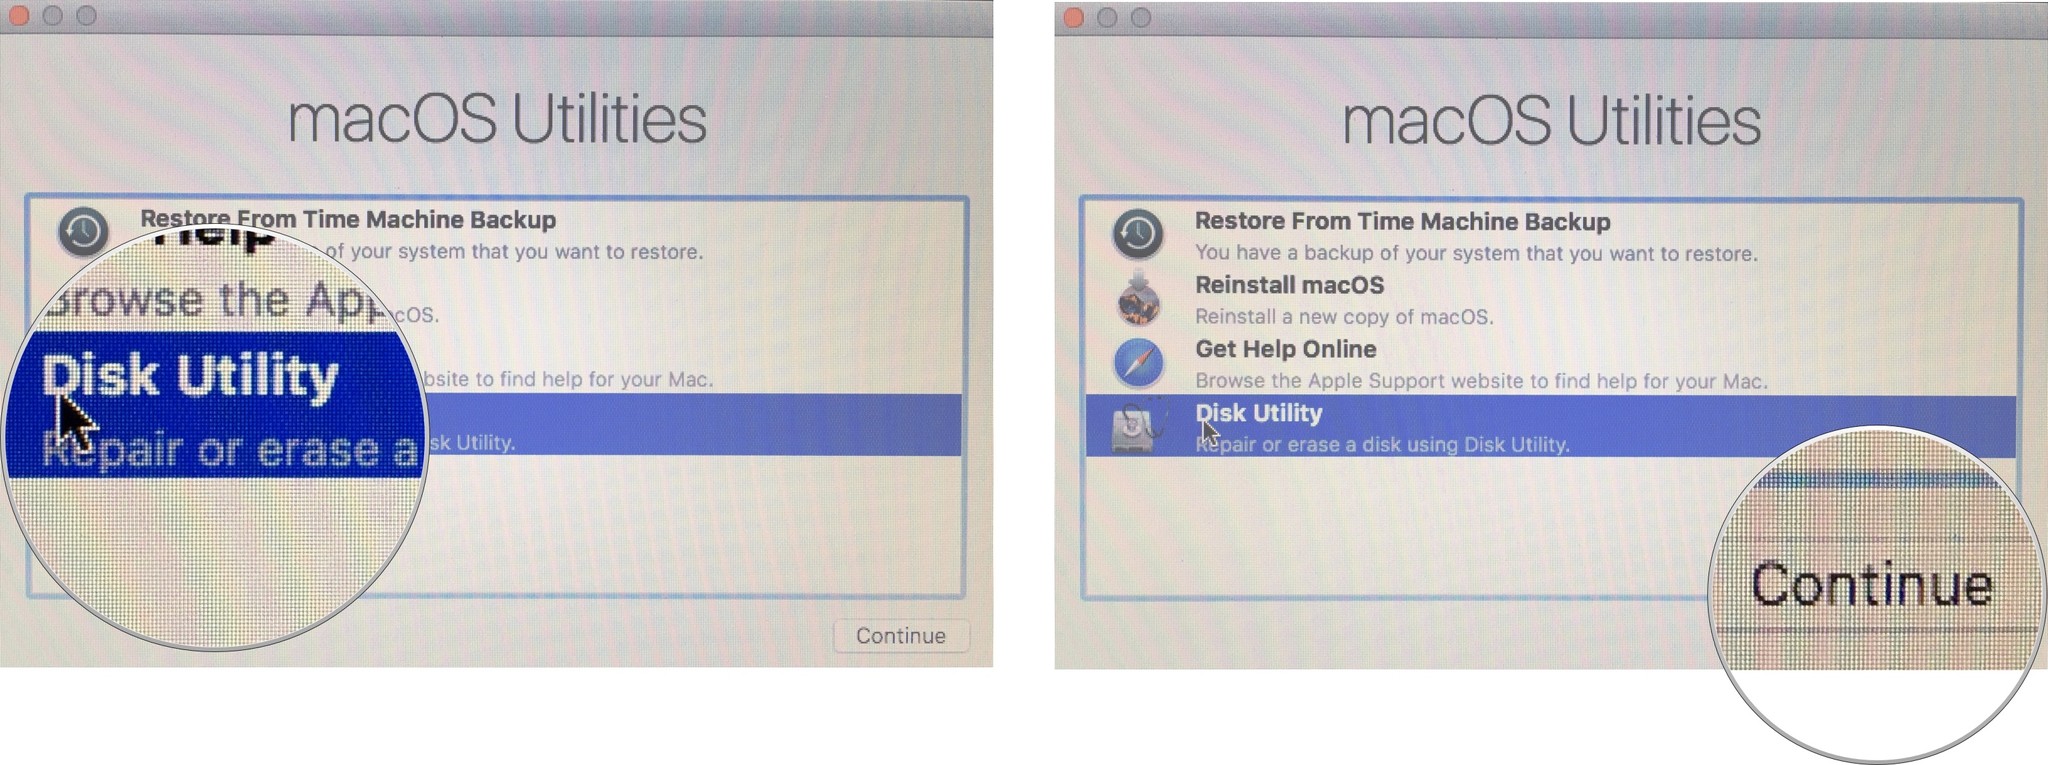
- Select Disk Utility.
-
Click on Continue.
- Click on View.
- Click on Show all Devices.
- Find your Startup disk (it should be named "Machintosh HD" unless you renamed it) in the sidebar.
- Select the data disk under the startup disk.
- Click Edit in the Mac screen's upper left corner in the menu bar.
- Click Delete APFS Volume from the menu bar or click the Remove button in the disk utility bar.
- If the Erase Group Volume button appears, click that to erase all of the volumes associated with the drive
- Confirm by clicking Delete when prompted.
- Click Done when prompted.
After you've deleted each data disk, it's time to erase your startup disk.
- Select your Startup Disk. This will be the main internal drive on your Mac. It's usually called Apple HHD or Apple SSD or something similar.
- Click the Erase button at the top of the Disk Utility window.
- If your Mac uses HFS+, select Mac OS Extended (Journaled) from the format list. If your Mac is using APFS, select APFS from the format list. See Troubleshooting for more information on which format to select.
- If the Scheme is available, select GUID Partition Map.
-
Click Erase.

-
Select Quit Disk Utility from the Disk Utility drop-down menu in the upper left corner of the screen after the process is complete.

Reinstall a clean Mac operating system
After you erase your hard drive, it will be ready to clean the operating system. These directions are different whether you're using an Intel- or Apple silicon-based Mac.
Install a fresh copy of macOS on an Intel-based machine
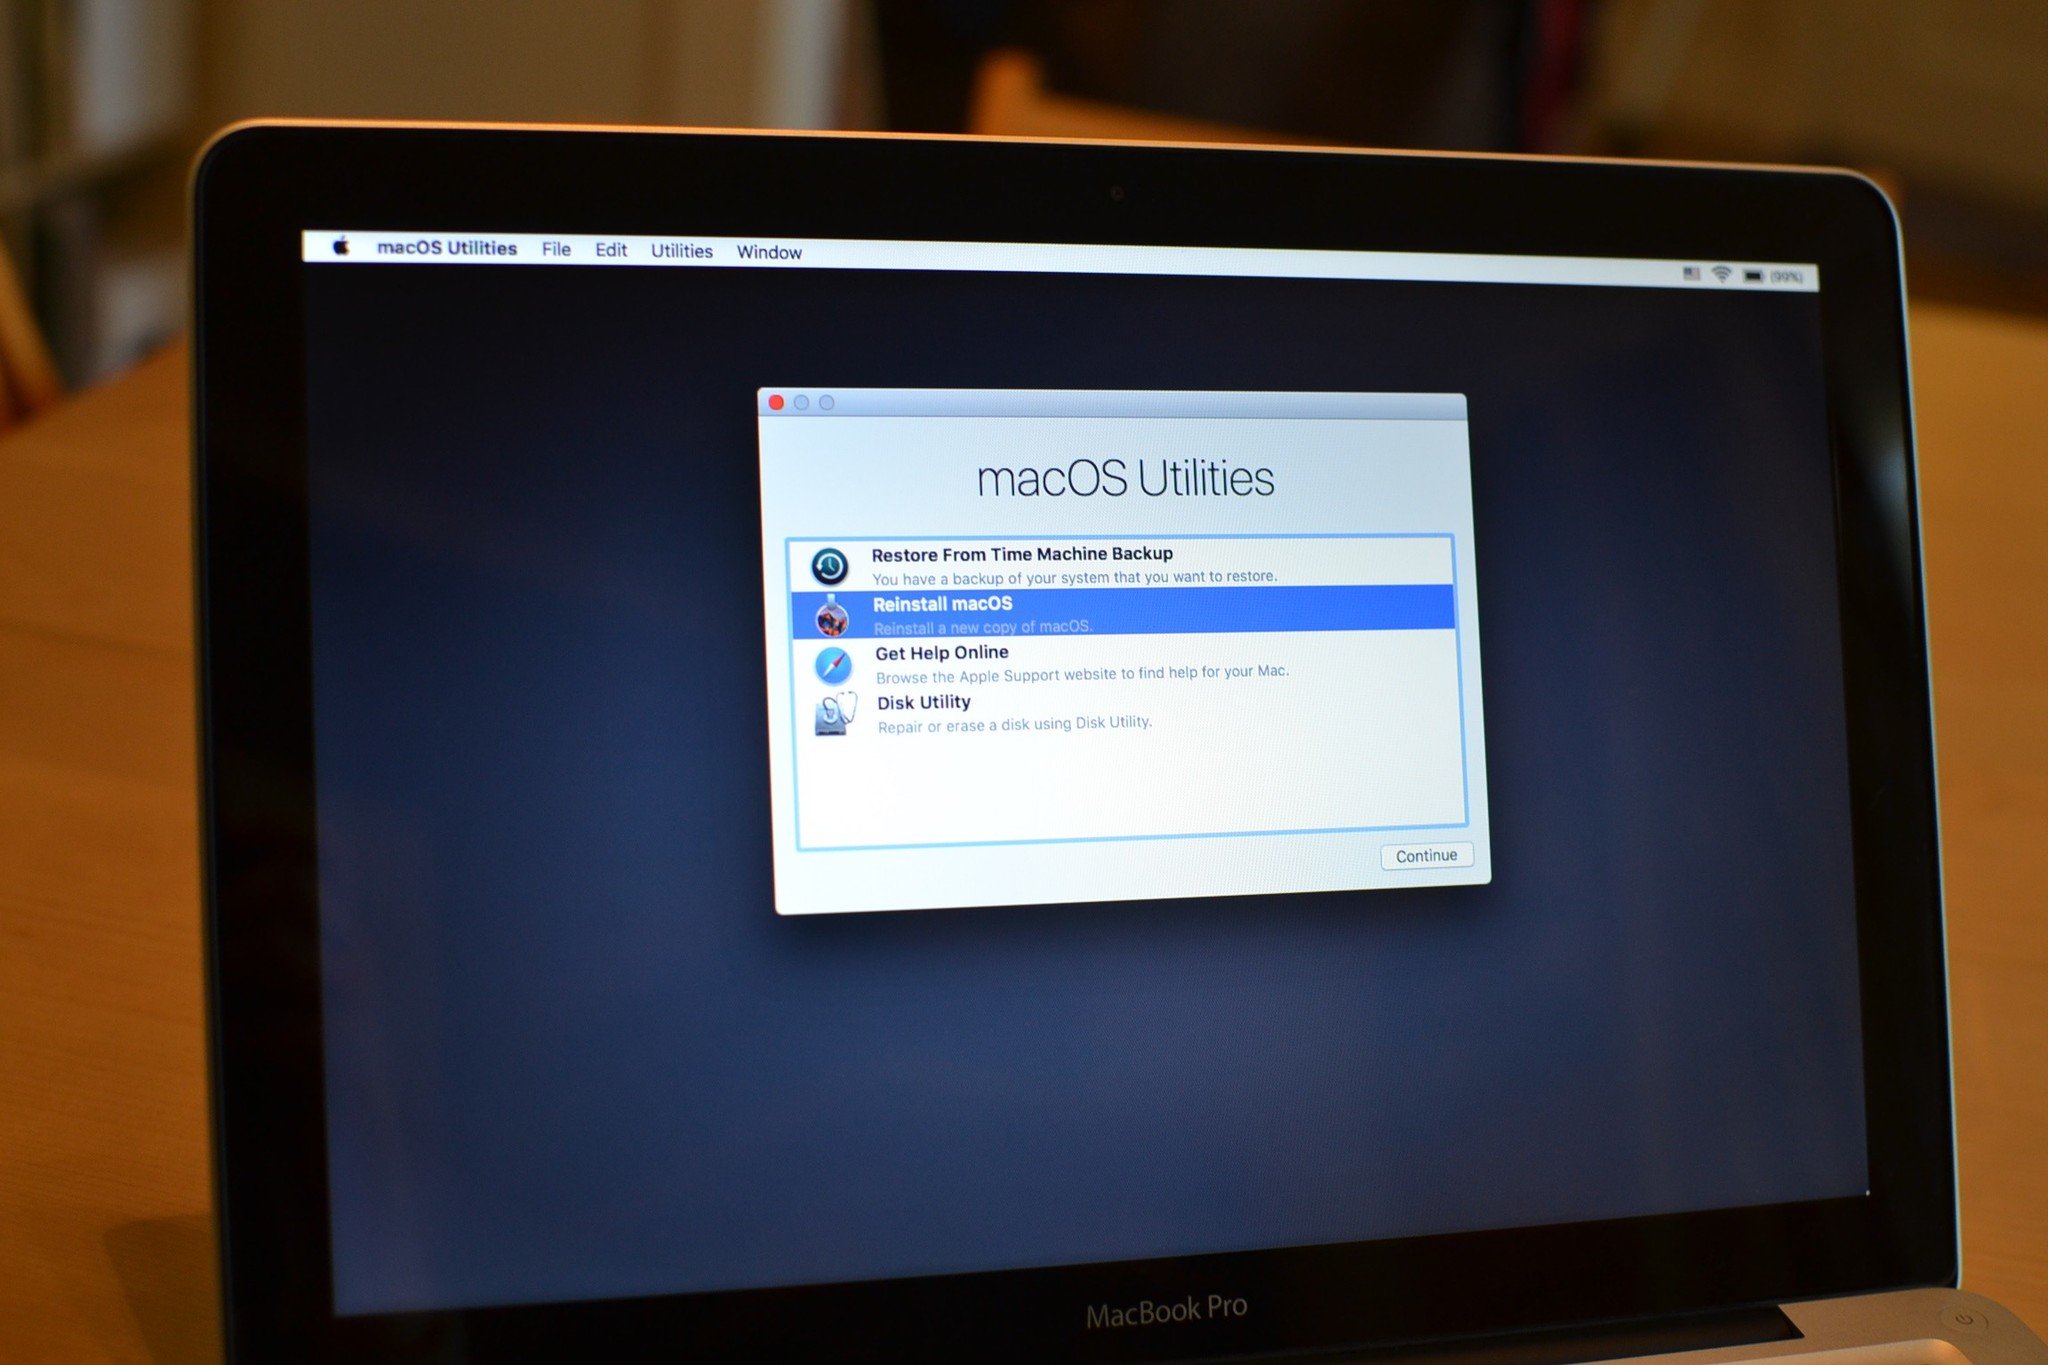
You should already be in the utility window after erasing your Mac. If not, restart your computer and hold down Command+R simultaneously until you see the Apple logo.
Make sure to reinstall macOS through Recovery Mode, holding down Command+R. You may be asked to sign in with your Apple ID.
If you get stuck during reinstallation, see our troubleshooting section for additional help.
Note: Make sure your Mac is connected to the internet to verify the software. You'll be asked to do so during the installation process.
If, while reinstalling macOS, you're asked to enter a password, enter the password you use to unlock your Mac, not your Apple ID.
- Restart your Mac.
- While the startup disc is waking up, hold down the Command+R keys simultaneously. You're Mac will boot into macOS Recover.
- Click on Reinstall macOS (or Reinstall OS X where applicable) to reinstall the operating system that came with your Mac.
- Click on Continue.
- Select your hard drive ("Machintosh HD) when asked to select your disk.
-
Click on Install to install the latest operating system that was on your Mac. Your Mac will restart after the installation is complete.
- Make sure you don't close the lid on a MacBook or put your Mac to sleep during this reinstallation period, even if it takes a while. If the computer goes to sleep, it will stop the installation process from continuing, and you'll have to start over. Your screen will go blank, show the restart Apple logo, and show a progress bar several times.
- Hold down Command and Q after the installation is complete. Do not follow the setup instructions. Leave that part for the new owner.
-
Click Shut Down to shut down your Mac.

Your Mac is now clean and ready for a new owner. They will complete the setup instructions to get started using the Mac and download the latest macOS operating system that is available and supported on their Mac.
Install a fresh copy of macOS on Apple silicon-based machine
As of December 2020, there are only three Apple silicon Macs, including the MacBook Air (late 2020), Mac mini (2020), and select 13-inch MacBook Pro models. To install a new copy of macOS on one of these computers, follow the directions below.
Troubleshooting erasing your hard drive or reinstalling macOS
We've gotten many questions about erasing or reinstalling macOS (usually reinstalling). Sometimes, the easiest way to fix issues with reinstalling macOS is to start by holding Shift+Option+Command+R, putting your Mac into an alternate version of Recovery Mode called Internet Recovery, which allows you to install the original macOS that came with your Mac. From here, you can either keep that operating system and let the new owner update to their preferred macOS or go through the macOS update process.
If the installer doesn't see your disk during the macOS reinstallation process or says you can't install the operating system on the disk, you may need to try erasing your hard drive again. Restart your Mac and hold down Command+R to bring up Recovery mode and repeat Step 4.
Since macOS changed to APFS, some readers have struggled with which format option to choose when erasing their disk. Here are some other possible troubleshooting issues from Apple's support document that may help you.
Are you formatting the disk that came built into your Mac?
If the built-in disk came APFS-formatted, don't change it to Mac OS Extended.
Are you about to install macOS High Sierra or later on the disk?
If you need to erase your disk before installing High Sierra or later for the first time on that disk, choose Mac OS Extended (Journaled). During installation, the macOS installer decides whether to convert to APFS—without erasing your files automatically:
- macOS Mojave and Catalina: The installer converts from Mac OS Extended to APFS.
- macOS High Sierra: The installer converts from Mac OS Extended to APFS only if the volume is on an SSD or another all-flash storage device. Fusion Drives and traditional hard disk drives (HDDs) aren't converted.
Are you preparing a Time Machine backup disk or bootable installer?
Choose Mac OS Extended (Journaled) for any disk you plan to use with Time Machine or as a bootable installer.
Will you be using the disk with another Mac?
If the other Mac isn't using High Sierra or later, choose Mac OS Extended (Journaled). Earlier versions of macOS don't mount APFS-formatted volumes.
To learn which format is currently in use, use any of these methods:
- Select the volume in the Disk Utility sidebar, then check the information on the right. For more detail, choose File > Get Info from the Disk Utility menu bar.
- Open System Information and select Storage in the sidebar. The File System column on the right shows the format of each volume.
- Select the volume in the Finder, then choose File > Get Info from the menu bar. The Get Info window shows the Format of that volume.
If you're still having trouble with either erasing your hard drive or reinstalling macOS, please reach out to us in the forums. We have a wonderful community of Apple users that are happy to help someone in need.
Check out iMore's macOS forums for more help
Any questions?
Is there anything about resetting your Mac to prepare it for sale that you need help with? Let me know in the comments, and I'll get you squared away.
Updated December 2020: Updated for the 2020 Apple M1 Macs.
It's time to sell your old Mac so you can buy a new one - here's how! posted first on http://bestpricesmartphones.blogspot.com
No comments:
Post a Comment