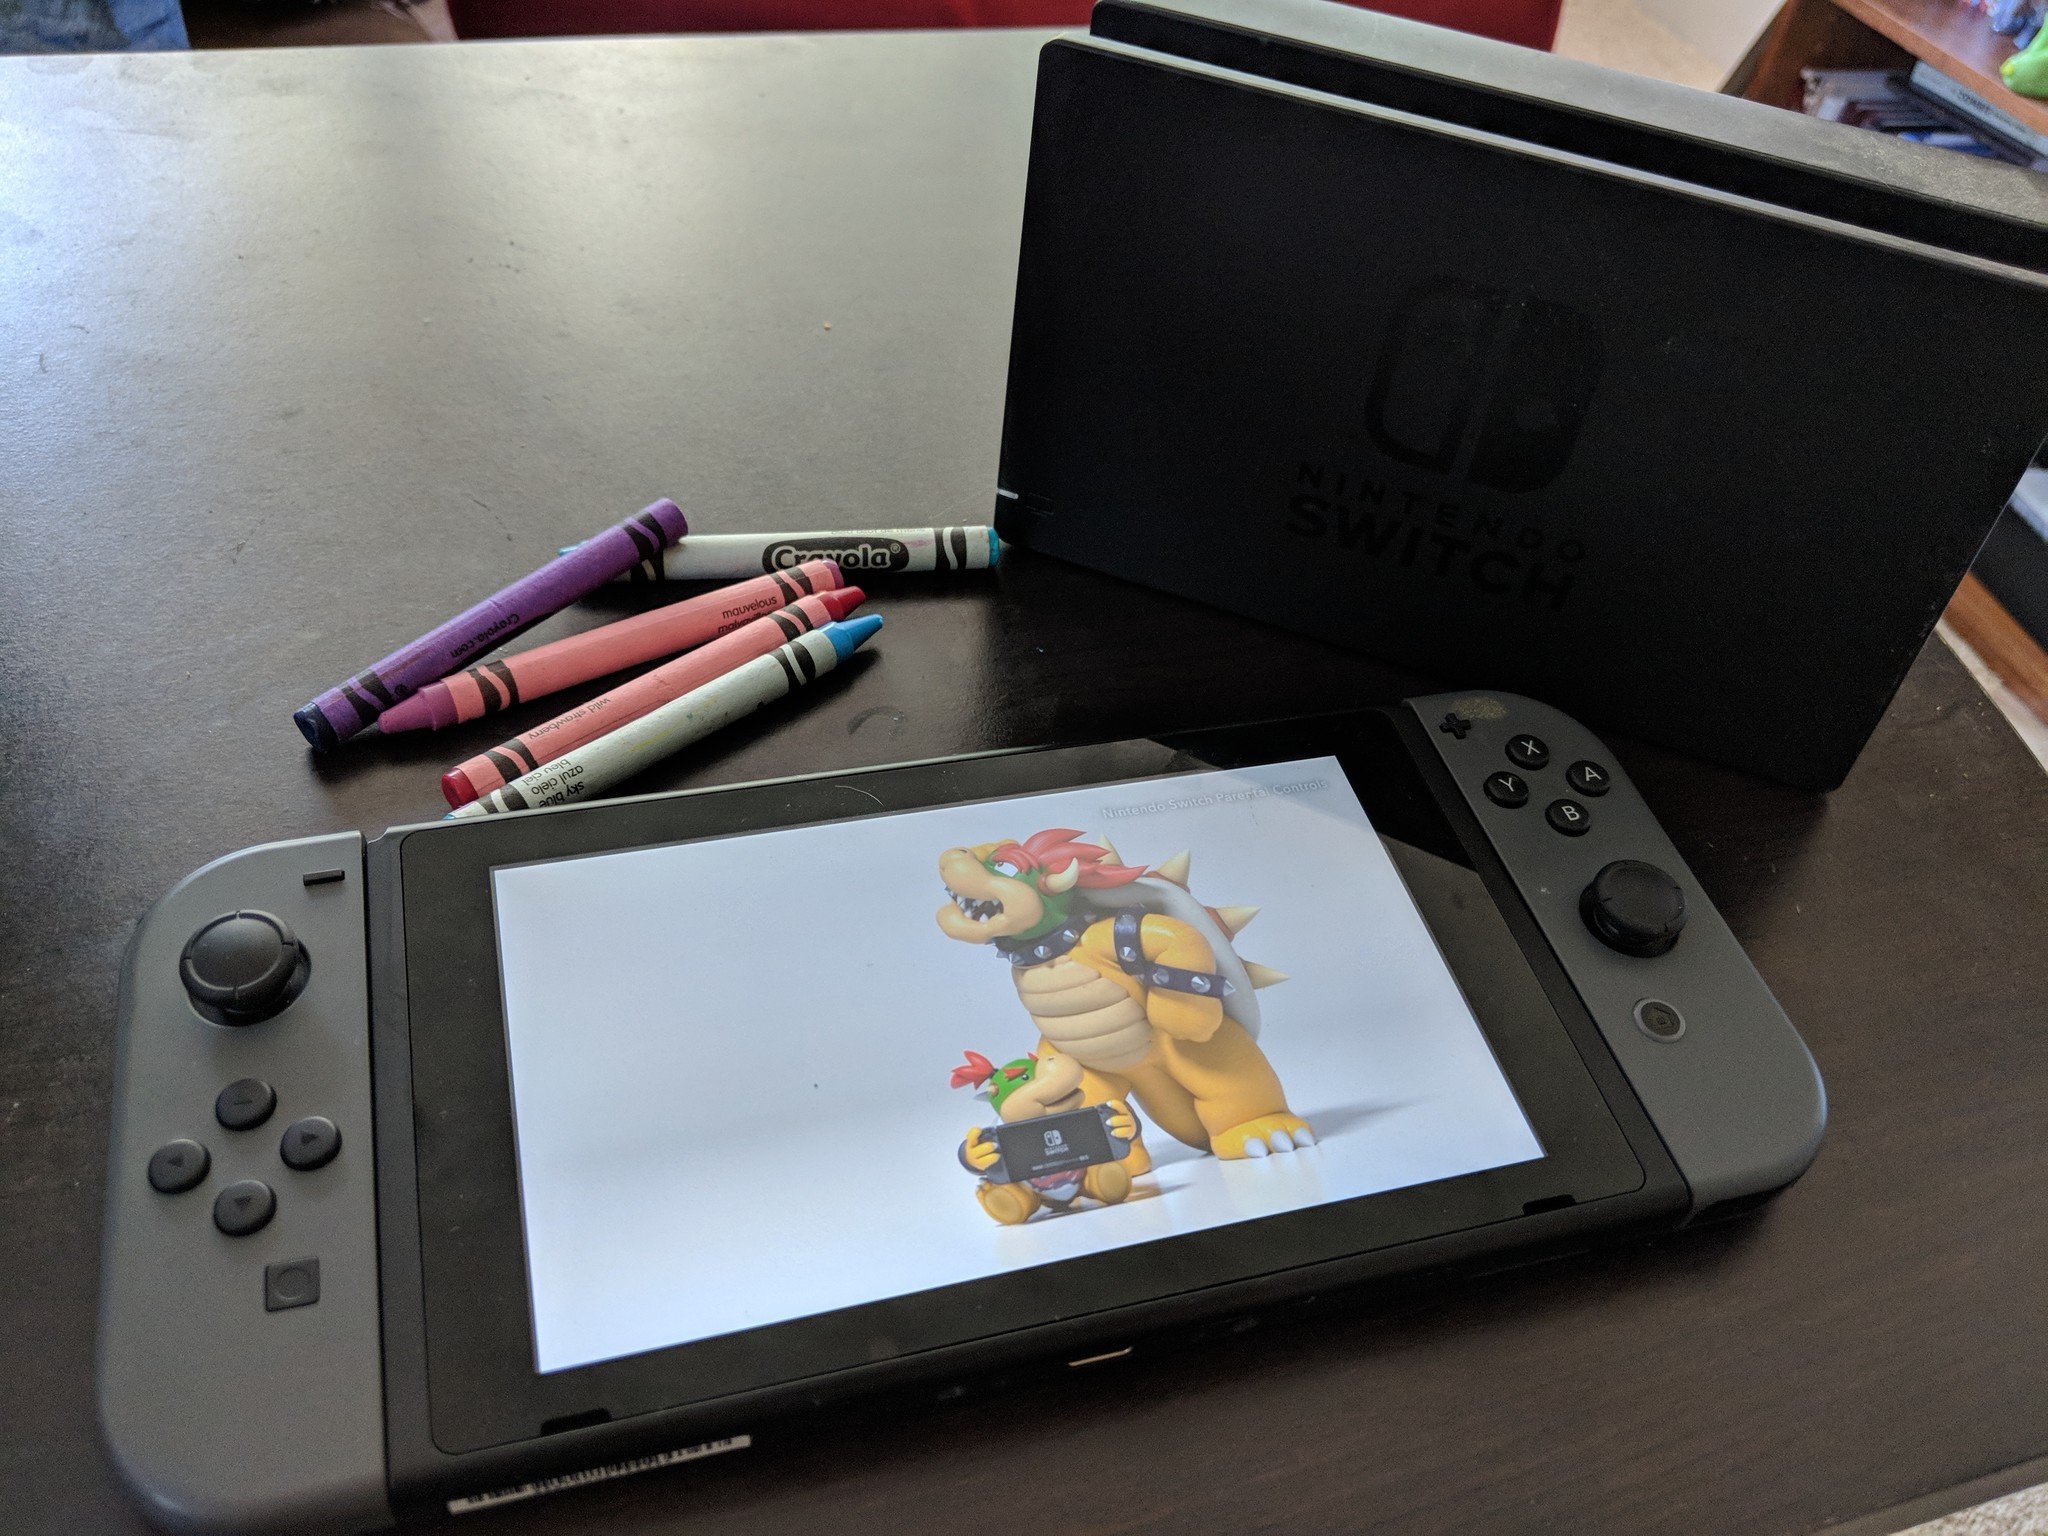
How do you stop your kids from accessing grown-up content or simply playing too long on Nintendo Switch? With parental controls!
No matter how good you are at ensuring your little tykes don't accidentally stumble across mature content, there is always a chance they might find it on their own. With parental controls on Nintendo Switch, you can ensure they don't accidentally play grown-up games or buy anything without your permission. You can even track and restrict your children's playtime using the Parental Controls app.
How to enable parental controls
When you first set up your Switch, you can enable Parental Controls from the set-up screen. You can also enable them at any time from System Settings on the Switch console.
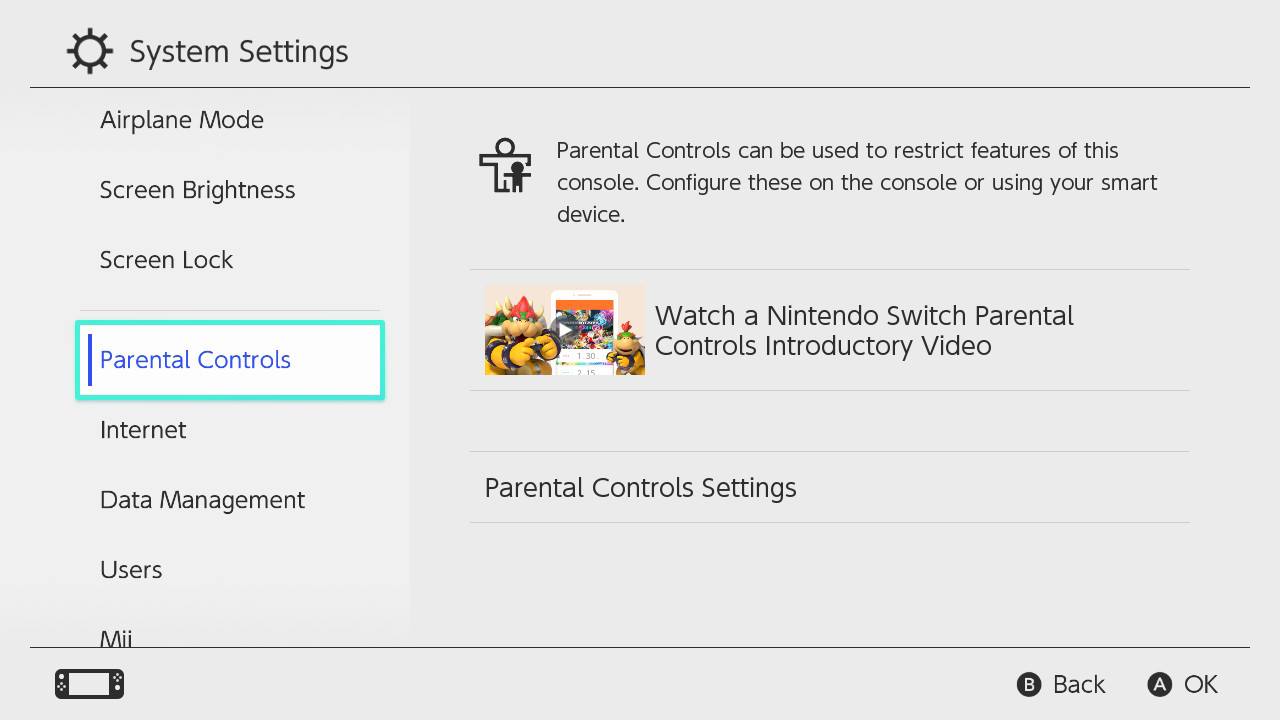
- Launch System Settings from the Home screen on your Nintendo Switch.
-
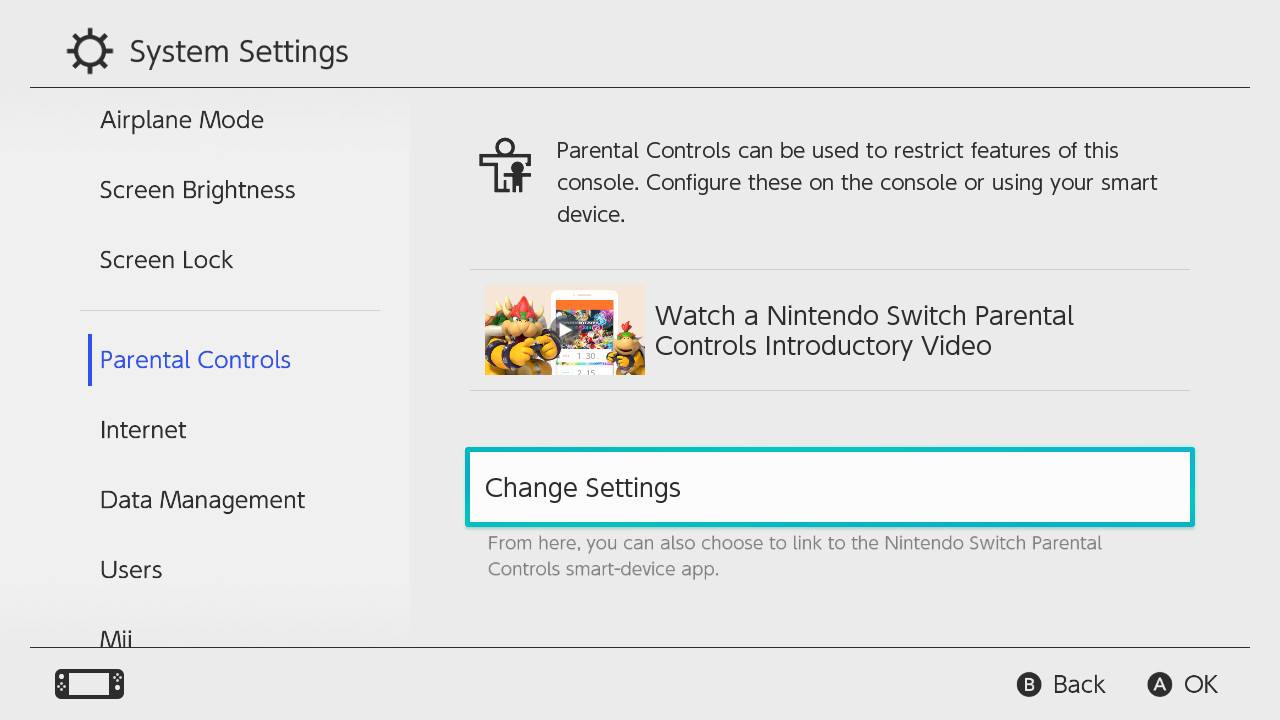
Scroll down and select Parental Controls.
- Select Parental Controls Settings on the right side of the screen. You will be prompted to close any software you are currently using.
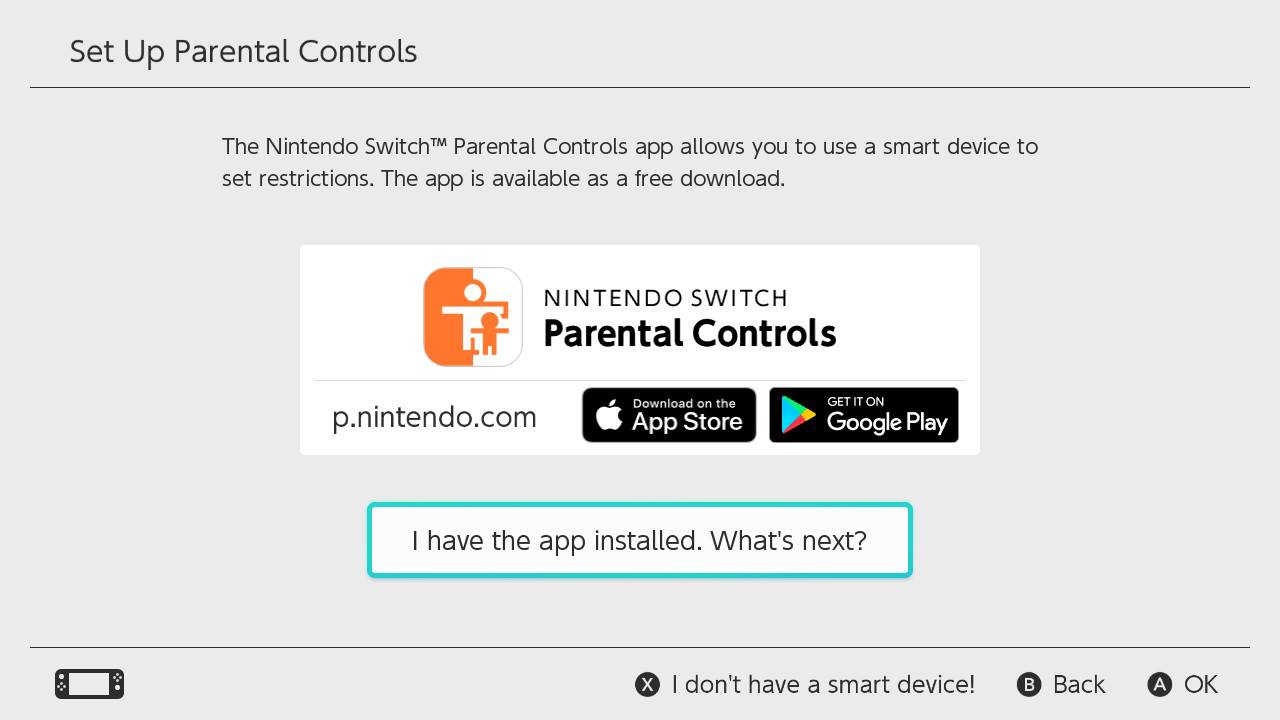
- You will be encouraged to download and install the Nintendo Switch Parental Controls app from the App Store or Google Play.
-
If you don't want to use the app, press X and follow the instructions to manually configure parental control settings. Otherwise, select I have the app installed. What's next? and follow the instructions for app setup.
How to manually configure parental control settings
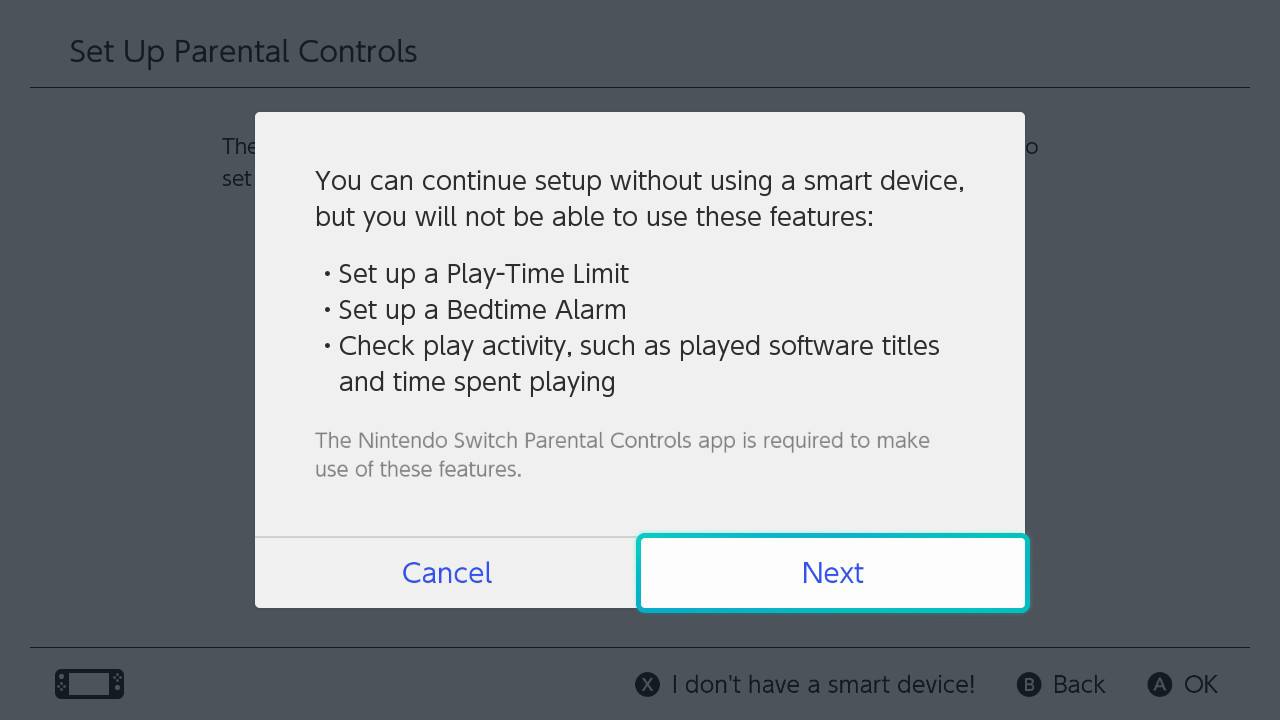
- After following the instructions above, you will receive a prompt informing you that you will not be able to set a play-time limit, bedtime alarm, or check play activity without using the app. Select Next.
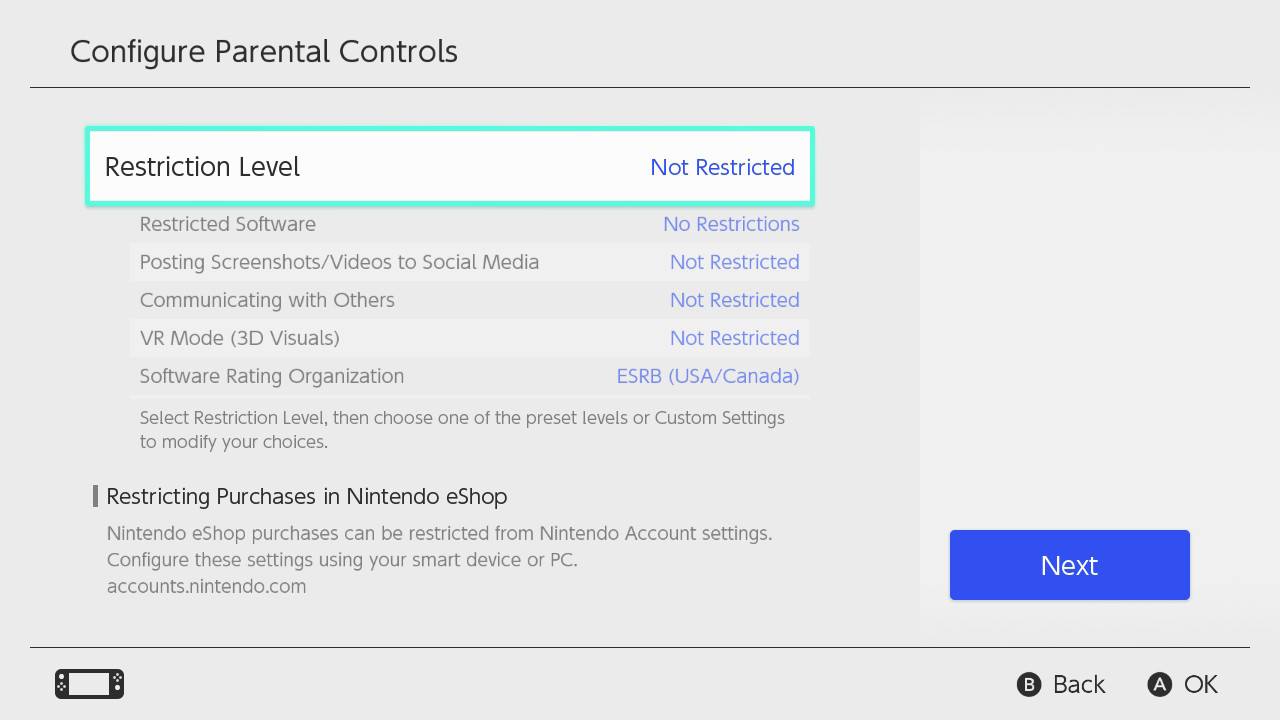
- Select Restriction Level
-
Select Teen, Pre-teen, or Child to use a pre-made setting.
-
For more control, follow the steps above and then select Custom Settings.
-
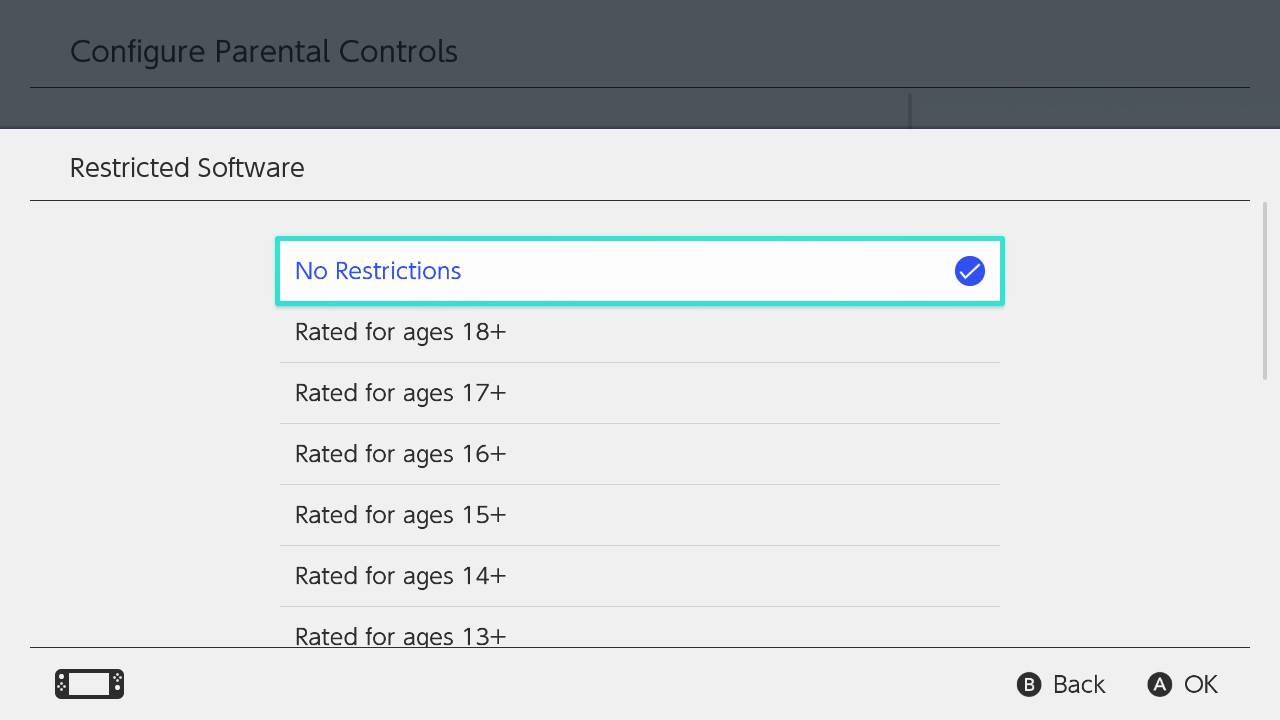
Select Restrict Software to choose the software rating restrictions.
You can select from games rated ages 3+ up to games rated for ages 18+.
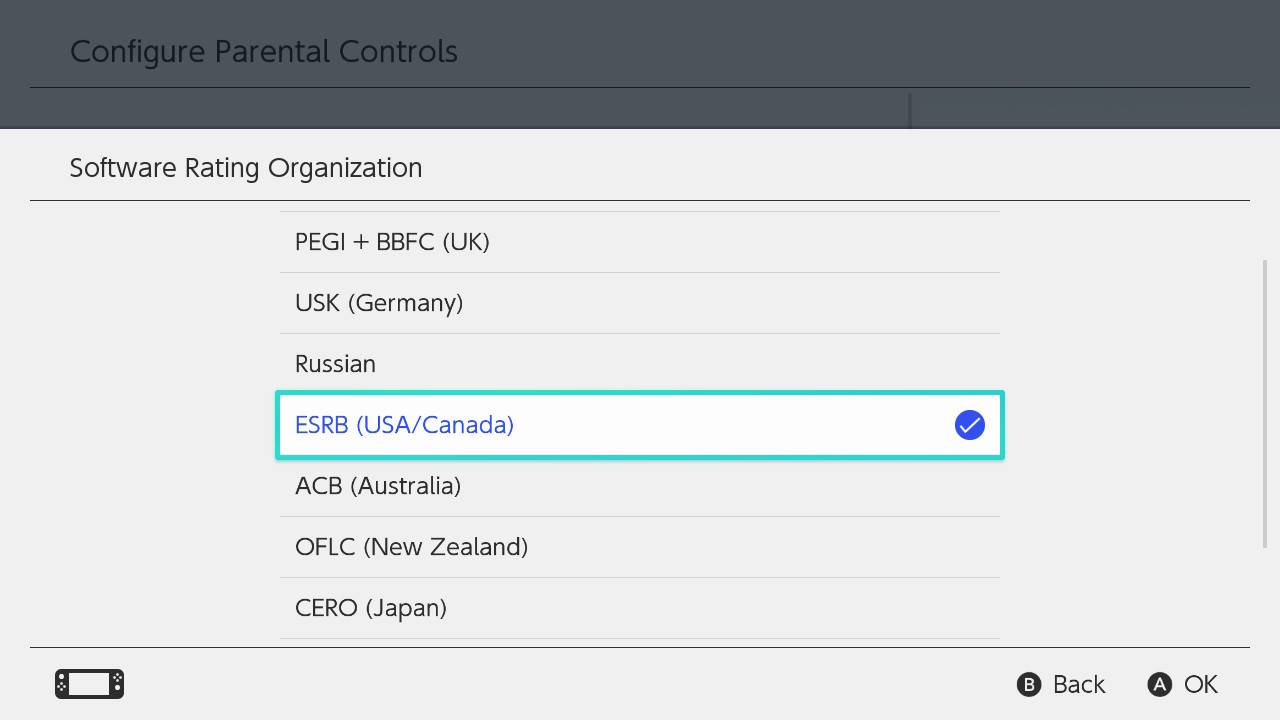
- Select Software Rating Organization to change the region for your rating regulations.
-
Select Posting Screenshots/Videos to Social Media to restrict or unrestrict the ability to post screenshots to your social media accounts.
Note: Nintendo account users under 13 years old can't post to social media no matter what the restrictions are set at.
-
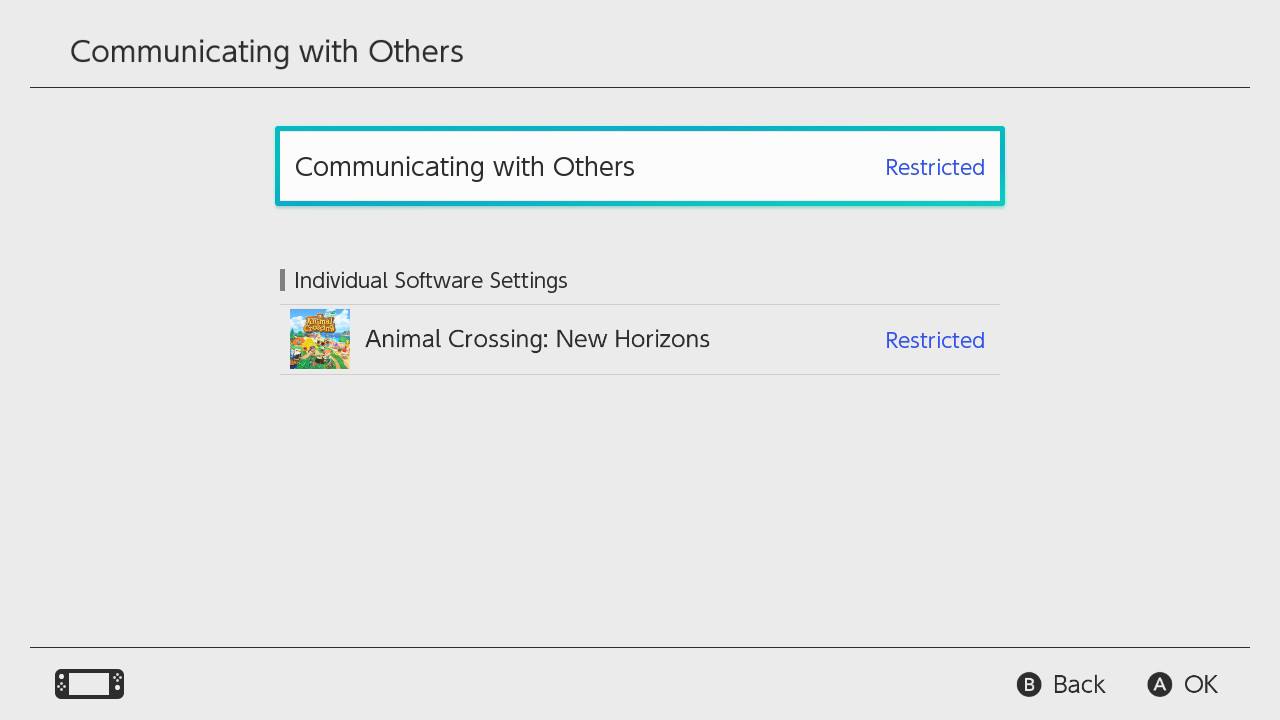
Select Communicating with Others to restrict whether you can send and receive messages, use chat features, read or share user profile information, and view and share images that users have created.
Some software will allow you to enable some communications restrictions individually.
- Select VR Mode (3D Visuals) to restrict gameplay in VR mode, which is recommended for children under age seven.
When you are done manually configuring parental controls, hit Next to save your settings.
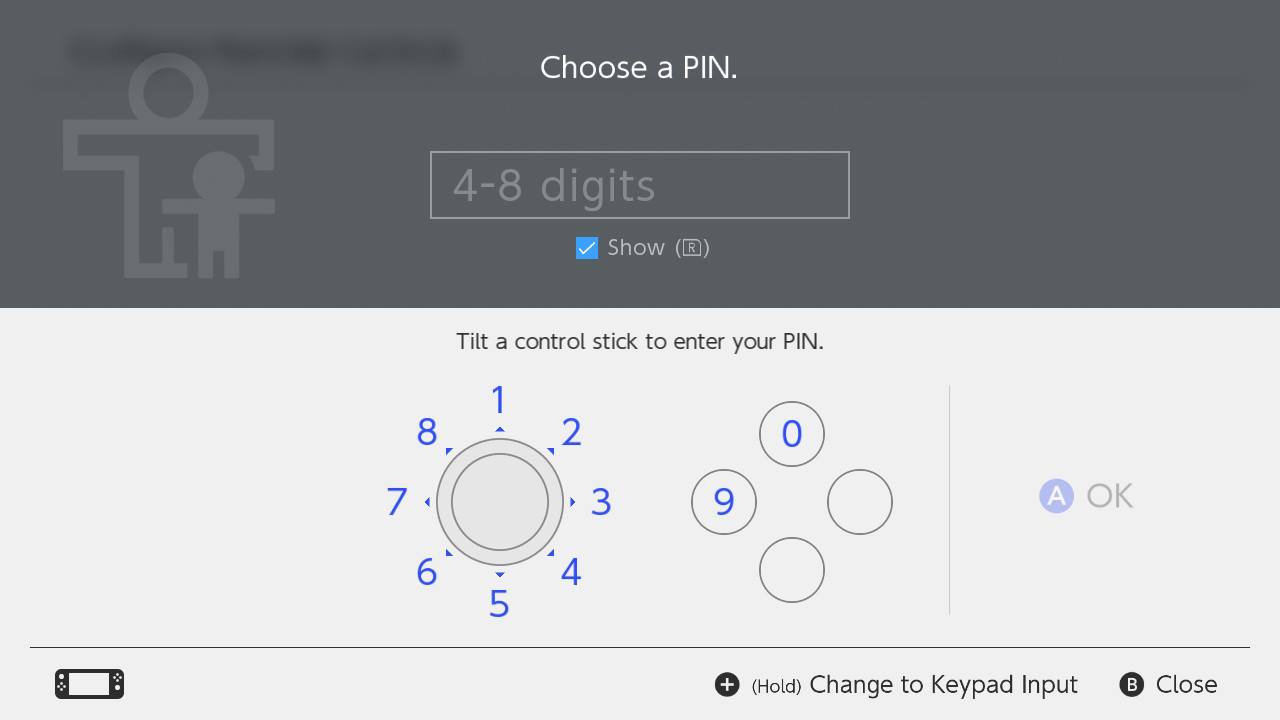
You will then be asked to enter a four to eight-digit PIN, which you will use every time you access Parental Controls in the future.
<img src="https://www.imore.com/sites/imore.com/files/styles/large/public/field/image/2020/04/switch-parental-controls-pin.jpg" width="800" height="450" alt="Switch Parental Controls Pin" title="" data-source="iMore" class="image-neutral image-large fill " />
How to use the Parental Controls app
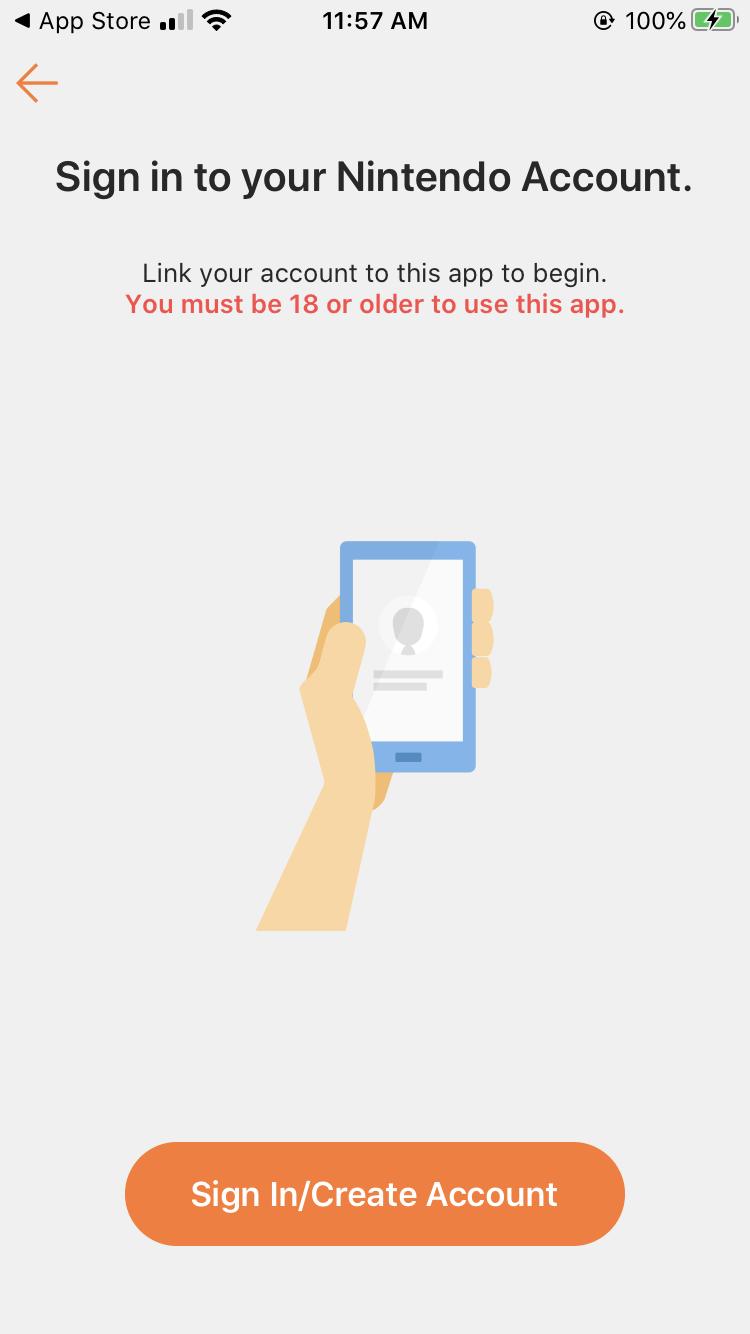
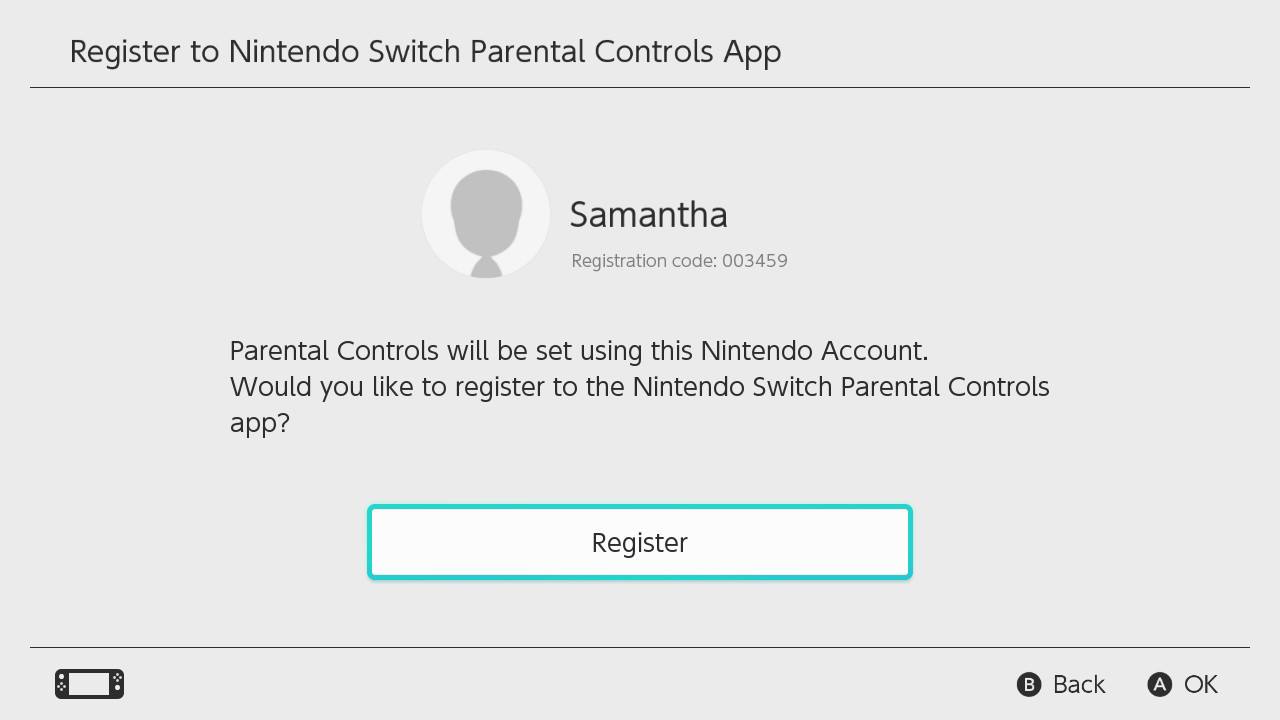
You can also set up restrictions for your Nintendo Switch using the companion Parental Controls app. Make sure you have your Switch nearby. You'll need to enter a code during the app setup process.
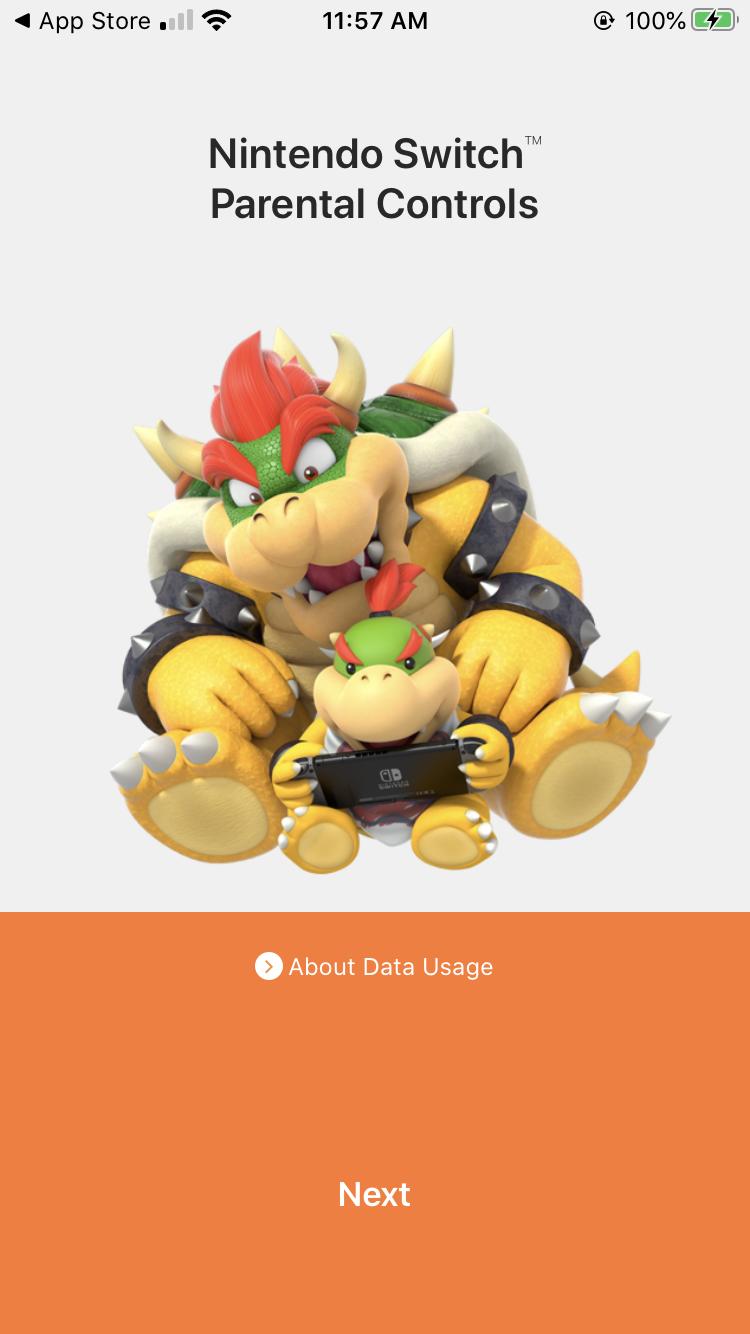
- Launch the Nintendo Switch Parental Controls app on your iPhone or Android device.
- Create or sign in to your Nintendo Account.
- Tap Next when asked to confirm that your Switch will be registered to the app.
-
When prompted to enter the code on your screen, follow the instructions to enter it on your Switch console
-
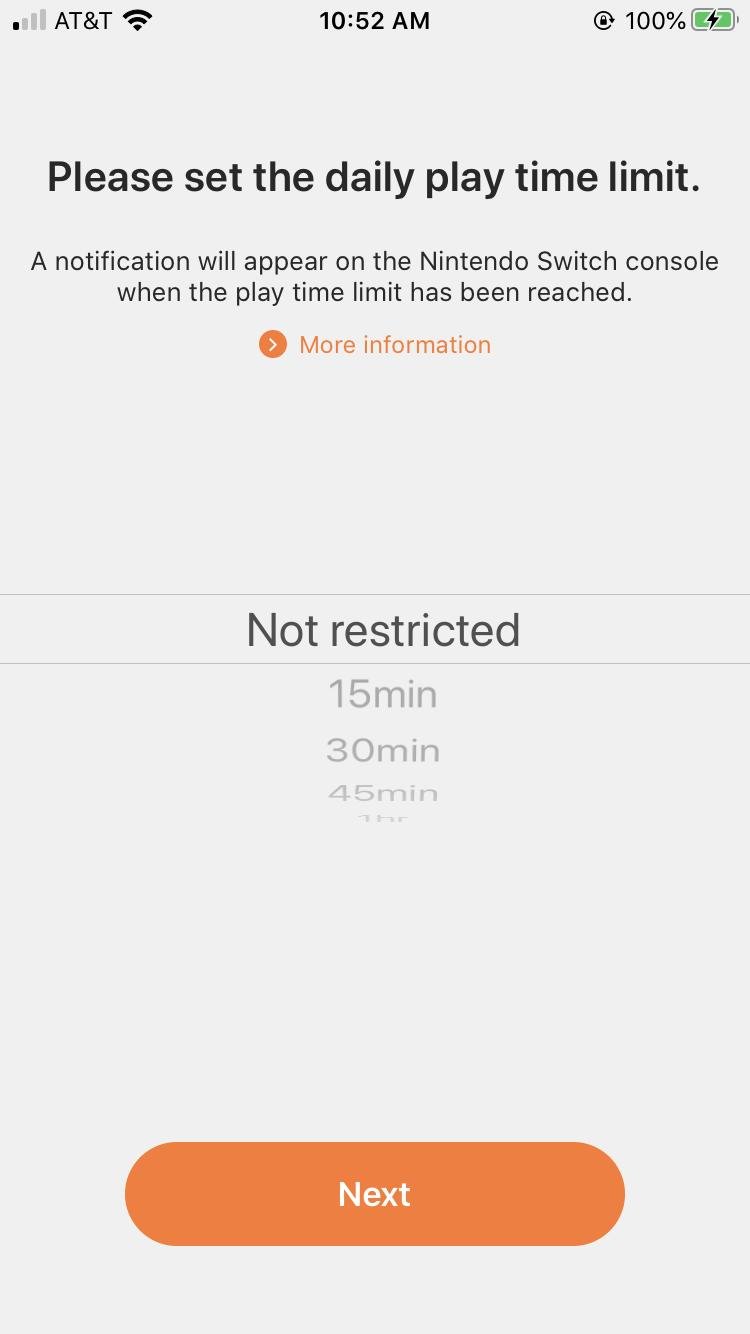
Go back to the Nintendo Switch Parental Controls app and tap Set Play Time.
- Set a daily limit on playtime from no limit up to six hours in 15-minute increments.
-
Tap Next.
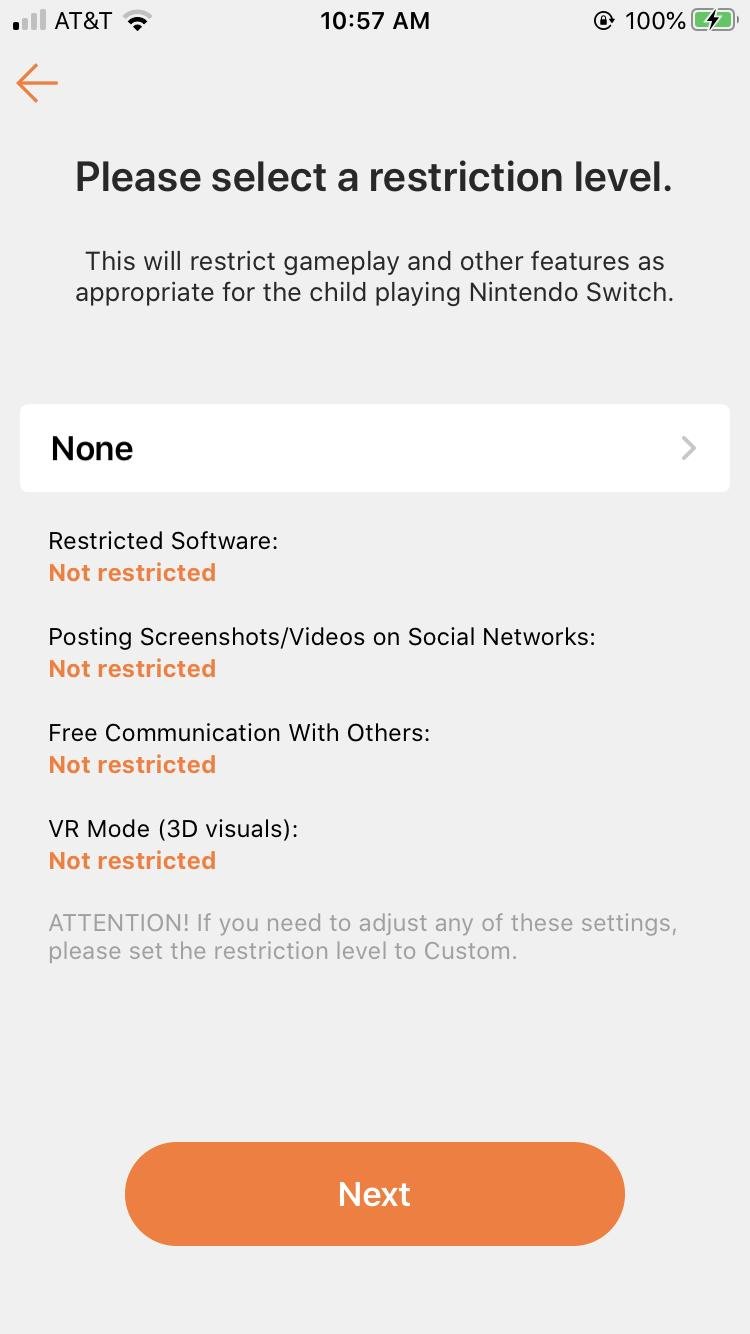
- Under Select restriction level, Tap None.
-
Select Teen, Young Child, or Child to use a pre-made setting.
Select Custom Settings to manually configure your parental control settings and follow the same instructions for manually configuring parental controls on the Switch console.
-
Tap Next.
You'll be asked to enable push notifications to get information about your Nintendo Switch game activity. Tap Allow.
Note: You will automatically be assigned a four-digit PIN when you set up the Parental Controls app. To change it, go to Settings > PIN > and change your PIN. I highly recommend doing this so you can use a PIN you will always remember.
How to enter your Parental Controls PIN
As of firmware 5.0, Nintendo changed how you enter your PIN. Before, you would use an on-screen number keypad to type in the numbers. Now, you use the joystick on your controller to select the numbers. It's a much more secretive way to enter your PIN, so prying eyes can't copy you, but it's also much more challenging to navigate if you're not handy with a joystick. If you'd like to change it back to the standard keypad entry, it takes just one press of a button.
When you're asked to enter your Parental Controls PIN, press and hold the Plus (+) button on the right Joy-Con controller.
The joystick controls will change to the keypad.
To return to the joystick control method, press and hold the Plus (+) button on the right Joy-Con controller again.
How to delete parental controls
If you decide that you don't want any restrictions on your Switch, you can delete the Parental Controls settings very easily.
- Launch System Settings from the Home screen on your Nintendo Switch.
-
Scroll down and select Parental Controls.
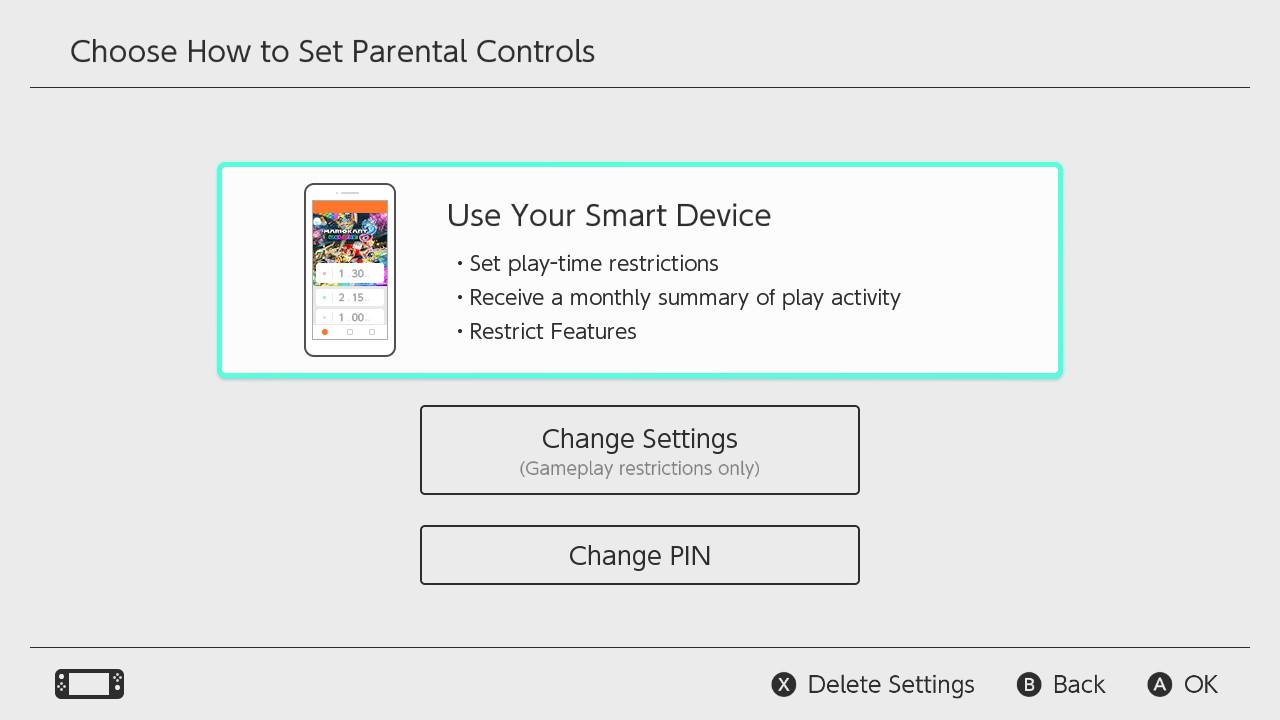
- Select Change Settings on the right side of the screen.
- Enter your PIN.
-
Hit Delete Settings on the screen or the X button on your controller.
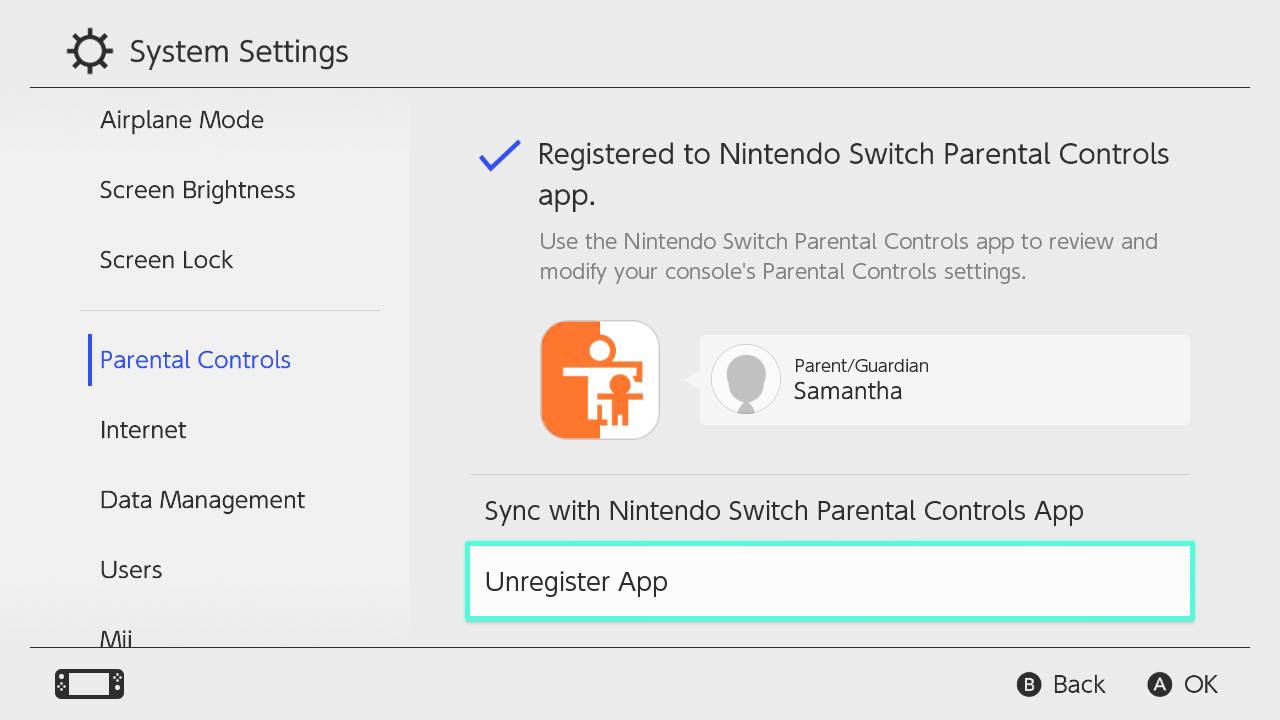
How to unregister the Parental Controls app
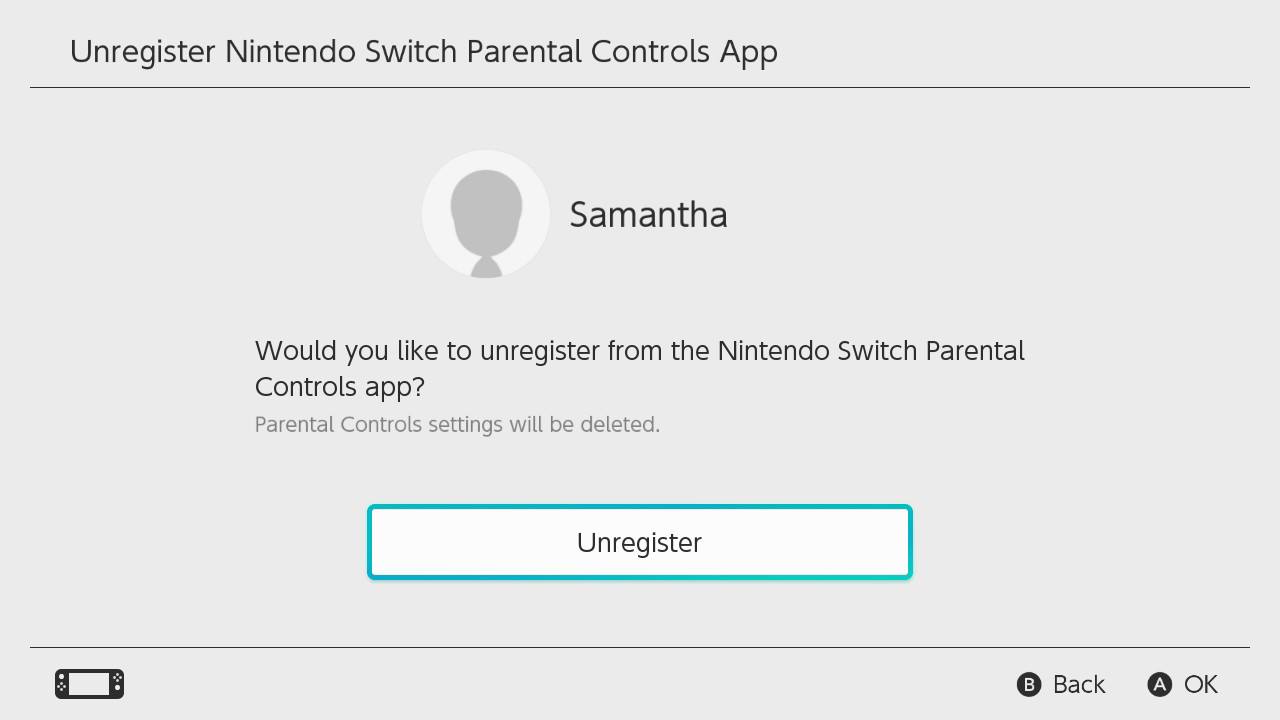
If you decide that you no longer want to have parental controls on your Switch, you can unregister it with the app and remove all settings that are currently in place.
- Launch System Settings from the Home screen on your Nintendo Switch.
-
Scroll down and select Parental Controls.
- Select Unregister App.
- Enter your PIN when prompted.
-
Select Unregister when prompted.
How to turn on eShop password restrictions
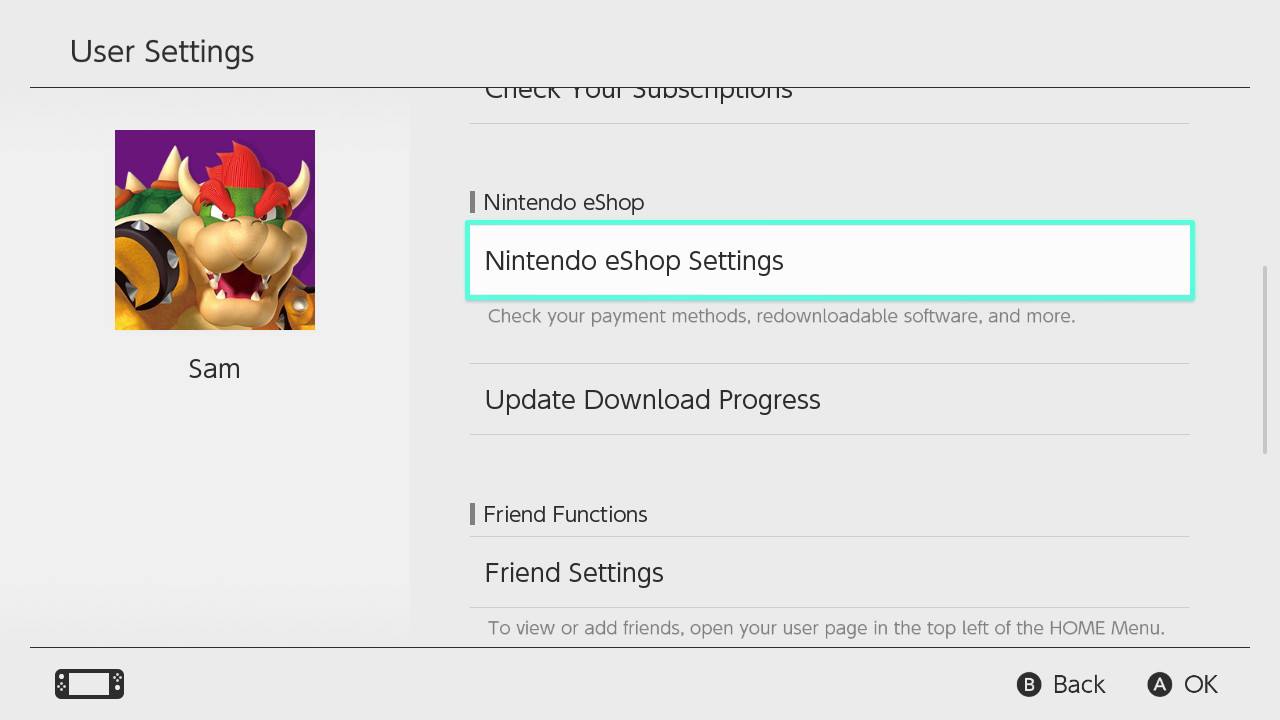
When you first sign in to your Nintendo account in the eShop, you can enable the ability to skip the requirement to sign in with your password to make purchases. If you choose to skip the sign-in process but later change your mind. You can re-enable it later.
- Launch System Settings from the Home screen on your Nintendo Switch.
-
Scroll down and select Users.
- Select the account you want to re-enable password restrictions in the eShop for.
-
Scroll down and select Nintendo eShop Settings.
- Scroll down to Password-Entry Settings and select Change.
- Select Enter.
- Hit Save or A on your controller to save.
Any questions?
Do you have any questions about setting up parental controls on your Nintendo Switch? Put them in the comments, and we'll help you out.
Get More Switch
Nintendo Switch
Protect your kids while they're playing Animal Crossing: New Horizons posted first on http://bestpricesmartphones.blogspot.com

No comments:
Post a Comment